Connect your Google Cloud account
Create a service account with two Compute Engine roles, connect its JSON key to Nuvlo, and create your first Compute Engine server.
On this page
- How Nuvlo uses Google Cloud
- Step 1: Enable the Compute Engine API
- Step 2: Create a service account with the right roles
- Step 3: Create a JSON key
- Step 4: Open Server providers in Nuvlo
- Step 5: Add the key file
- Step 6: Check that the account is connected
- Step 7: Create your first Google Cloud server
- Good to know
- Troubleshooting
Before you start
- A Google Cloud project with a billing account linked to it.
- Permission in that project to enable APIs, create service accounts, grant roles and create service account keys.
- A Nuvlo account where you are the owner, an admin or a developer. Viewers can’t connect providers. See roles and permissions.
How Nuvlo uses Google Cloud
Nuvlo creates Compute Engine VMs in one Google Cloud project: the project the service account belongs to. Google bills you directly. To connect more than one project, connect a key from each.
Step 1 Enable the Compute Engine API
In the Google Cloud console, select your project. Open APIs & Services → Library, search for Compute Engine API and choose Enable. It can take a few minutes before the API is ready. Nuvlo checks the project when you connect, so do this first.
Optional: enable the Cloud Billing API in the same way. With it, Nuvlo shows Google’s current prices for each region. Without it, plan prices are estimates based on Google’s standard list prices.
Step 2 Create a service account with the right roles
Open IAM & Admin → Service accounts and choose Create service account. Name it, for example nuvlo, and choose Create and continue.
Grant these two roles, then choose Continue and Done:
- Compute Instance Admin (v1) (
roles/compute.instanceAdmin.v1): create, restart, resize and delete VMs and their disks, and take and restore snapshots. - Compute Security Admin (
roles/compute.securityAdmin): create the firewall rule that opens SSH, HTTP and HTTPS the first time you create a server.
Nuvlo needs Compute Security Admin only to create that firewall rule, so you can remove it once your first server exists. A custom role with compute.firewalls.get, compute.firewalls.create and compute.networks.updatePolicy also works.
Step 3 Create a JSON key
Open the service account and go to the Keys tab. Choose Add key → Create new key, select JSON and choose Create. The key file downloads to your computer.
ImportantAnyone with the key file can create servers in your project, billed to you. Store it like a password; Google lets you download it only once.
If Google says key creation is disabled, your organization enforces a policy that blocks service account keys. Newer Google Cloud organizations do this by default. An organization policy administrator has to allow keys for this project first.
Step 4 Open Server providers in Nuvlo
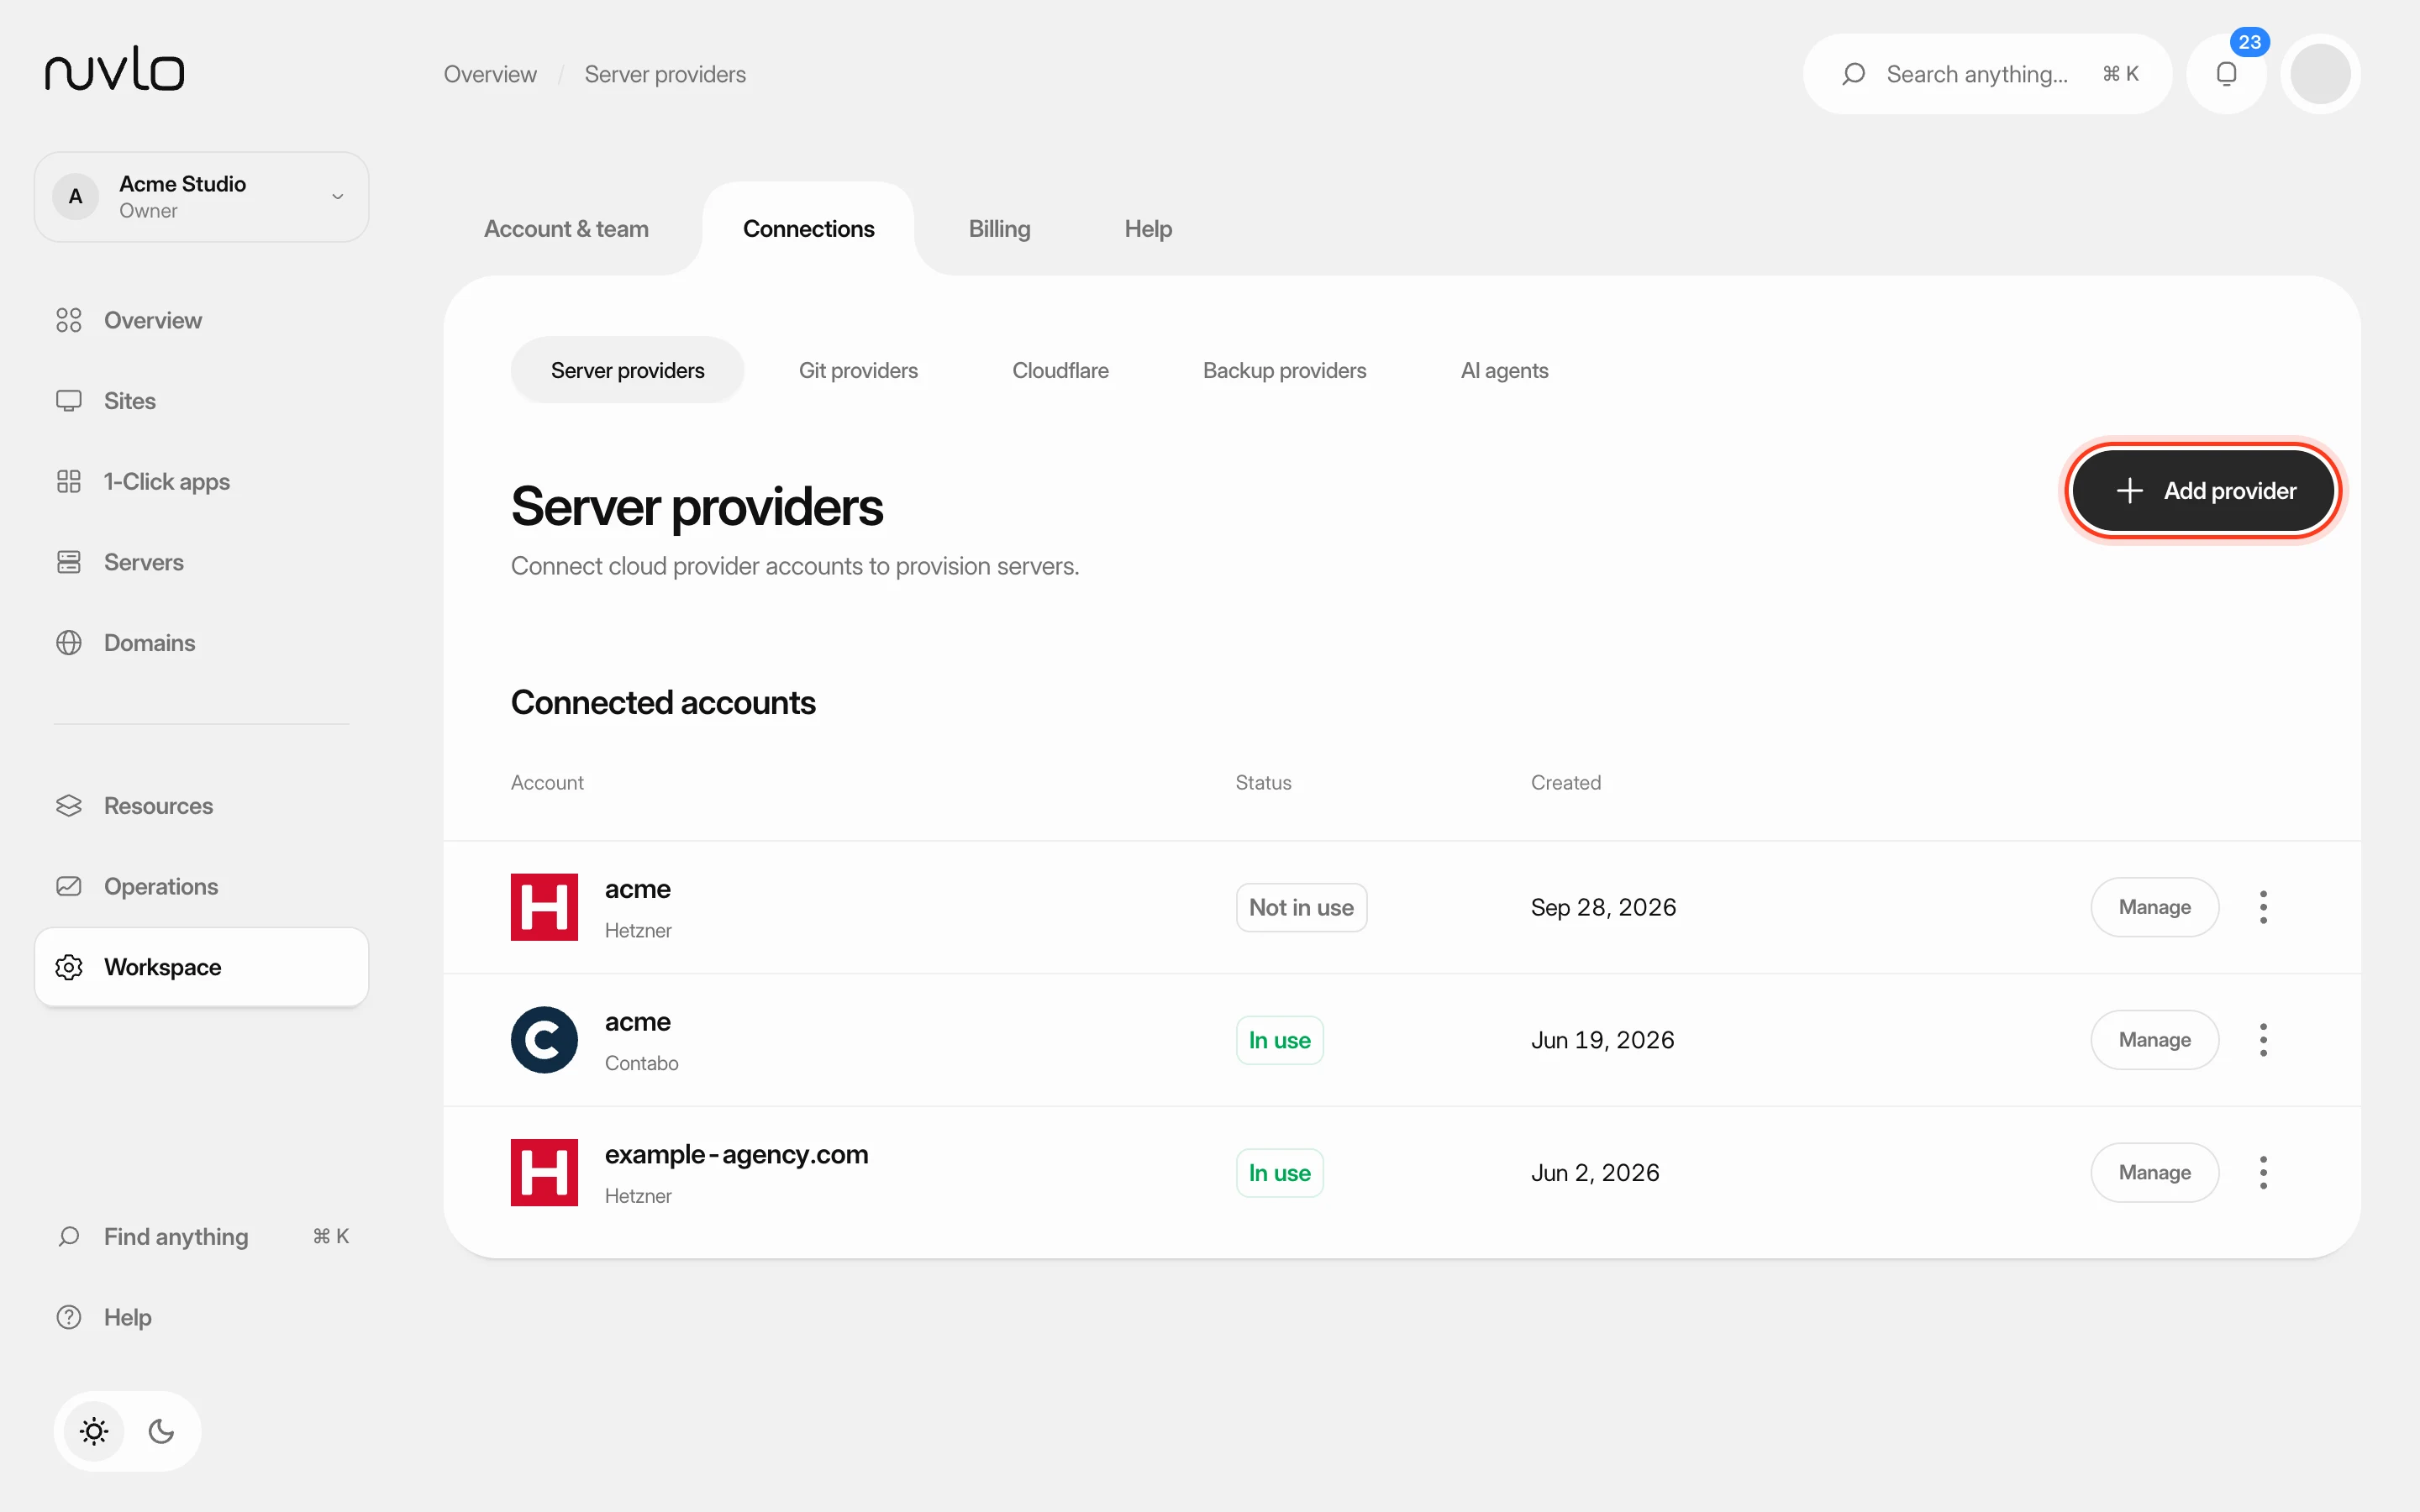
In Nuvlo, open Integrations → Server providers (go there). Choose Add provider, then Google Cloud.
Step 5 Add the key file
Optionally enter an Account label, such as the project name. Then choose Choose key file and pick the JSON file you downloaded. You can also open the file and paste its whole content into Service account key (JSON).
Choose Connect account. Nuvlo signs in with the key and reads the project before saving it. The file is read in your browser and only sent when you connect.
Step 6 Check that the account is connected
The account appears under Connected accounts with the status Not in use until your first server is linked to it.
Step 7 Create your first Google Cloud server
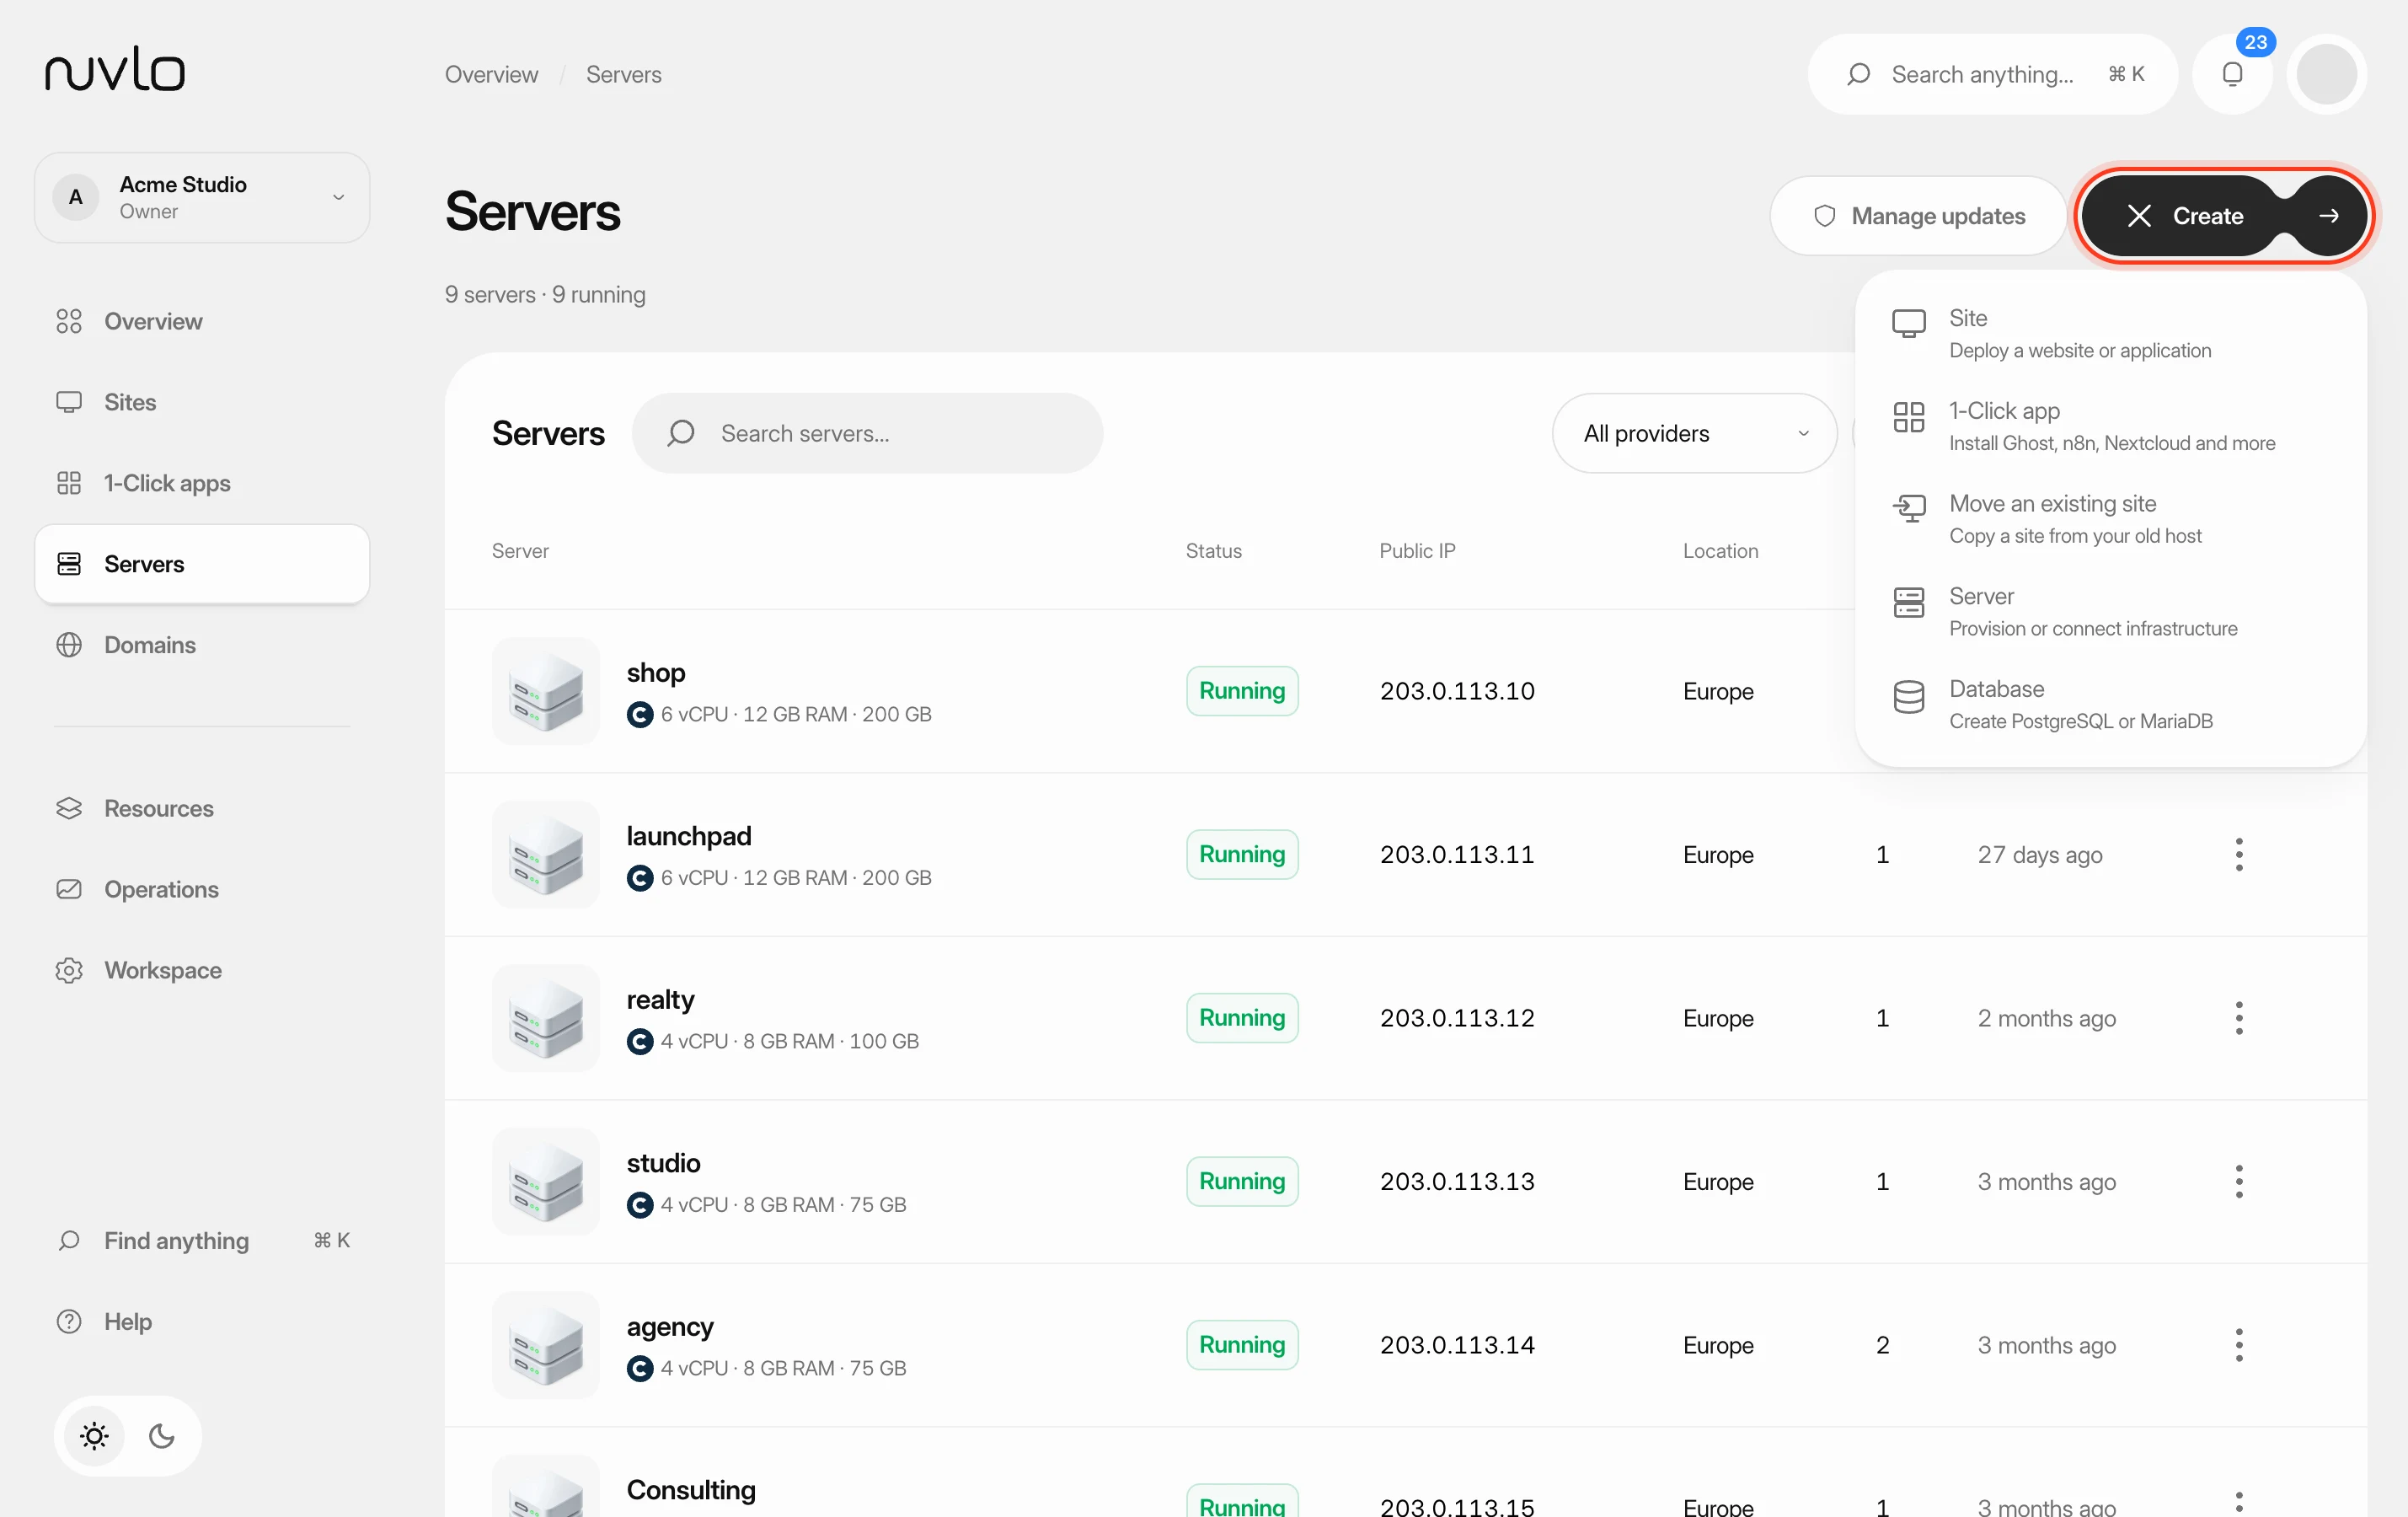
Open Servers and create a server (start here). Choose Google Cloud and your account, then choose what you will host.
On Region & plan, pick a region and a machine type. Nuvlo picks a zone in that region that offers the machine type. Outbound traffic is billed by Google per GB, so the Transfer column shows Billed per GB.
Finish the remaining steps and choose Create server. See Create a server for every option.
Good to know
| Topic | On Google Cloud |
|---|---|
| Regions | 43 regions on every continent except Antarctica, including the Middle East, Africa and South America. |
| Machine types | E2 (shared and high-memory), N2D, N4, C3, C4, and Arm C4A. |
| Network | Servers use the project’s default VPC network. Nuvlo adds a firewall rule named nuvlo-allow-web that opens ports 22, 80 and 443 to VMs tagged nuvlo only. |
| Operating system | Ubuntu LTS from Google’s official Ubuntu images. |
| Billing | Per second, with no monthly cap. Outbound traffic is billed per GB. |
| Resize | Within the same machine series (E2 and N2D can switch between each other). The server gets a new IP. See Resize a server. |
| Snapshots | Restored into a new server. See Server snapshots. |
| Delete | The VM and its disk are deleted at Google Cloud right away. Snapshots stay until you delete them. |
Troubleshooting
| You see | What to do |
|---|---|
| That file is not valid JSON | You picked a different file or a P12 key. Choose the .json key file, or create a new key with JSON selected. |
| The Compute Engine API is not enabled for project … | Enable the Compute Engine API (step 1), wait a few minutes and connect again. |
| Billing is not enabled for Google Cloud project … | Link a billing account to the project in the Google Cloud console. |
| The service account is missing a permission in project … | Grant the service account both roles from step 2. |
| … has no "default" VPC network | Create a VPC network named default with automatic subnets, then try again. |
| Google Cloud quota exceeded | Request a higher quota for the project, or choose a smaller machine type or another region. |
| Google refused to issue an access token | The key was deleted or disabled. Create a new JSON key and replace it with Manage. |
To replace the key, choose Manage next to the account, choose a new key file and choose Save account. Nuvlo checks the new key before it replaces the old one.
Related guides
 Connect a server providerConnect your own cloud account so Nuvlo can create and manage servers in it. You add an API key on the Server providers page, and Nuvlo checks it with the provider before saving it.
 Create a serverOrder a new server at your cloud provider from Nuvlo and have it set up with everything your sites need: web server, firewall, security hardening and the software for the projects you plan to host.
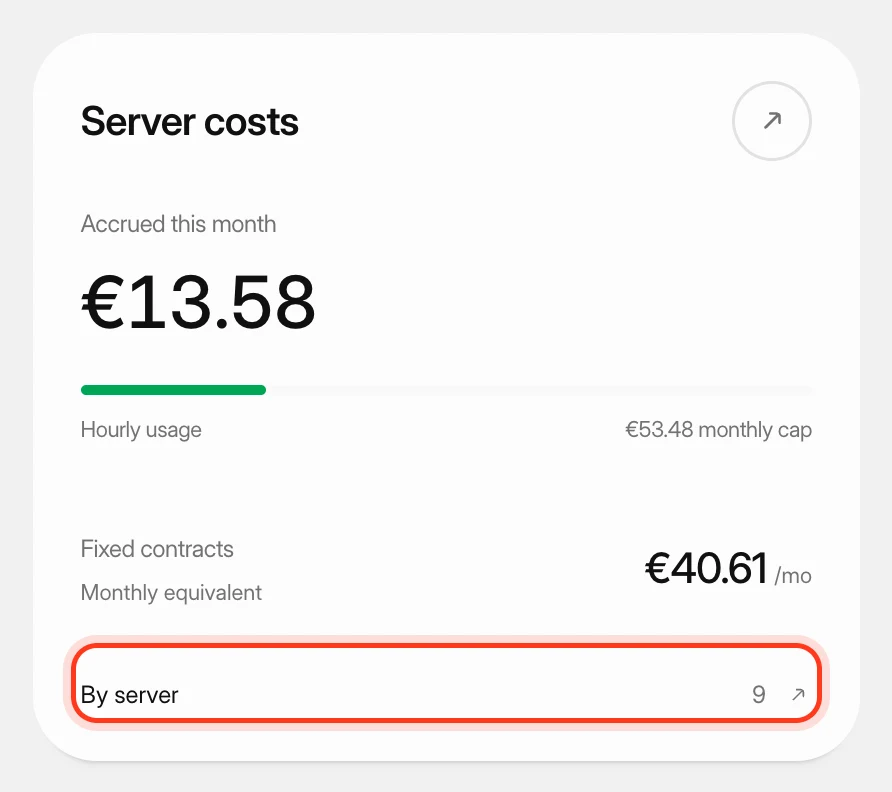 Track what your servers costSee what your servers cost at your cloud providers this month and in past months, apart from what you pay Nuvlo.
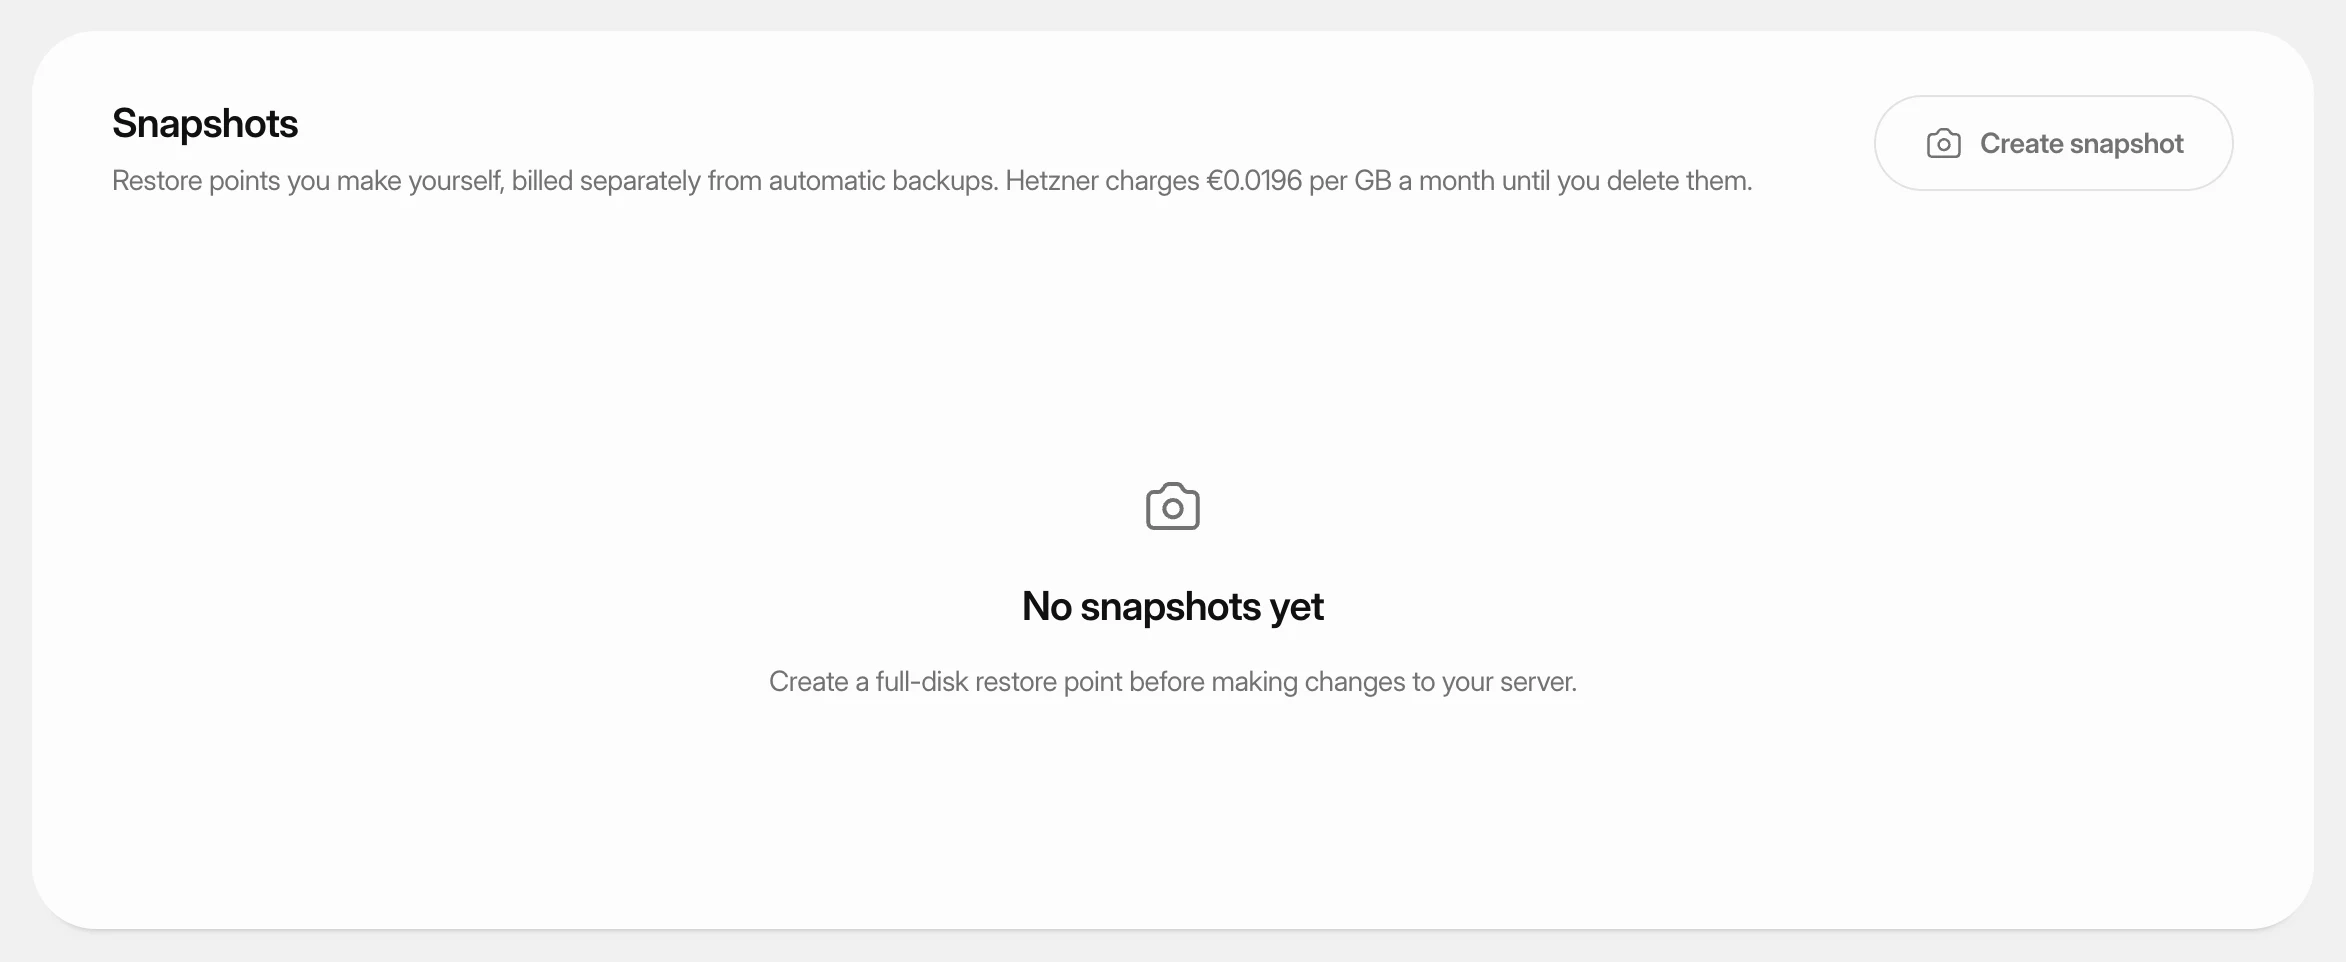 Create and restore server snapshotsSave a full-disk restore point of a server at its cloud provider, choose when it deletes itself, and restore it over the server or into a new one.