Create a server
Order a new server at your cloud provider from Nuvlo and have it set up with everything your sites need: web server, firewall, security hardening and the software for the projects you plan to host.
On this page
- Step 1: Open the create page
- Step 2: Choose a provider
- Step 3: Connect the provider account
- Step 4: Pick the account and the server source
- Step 5: Choose what to host
- Step 6: Choose a region
- Step 7: Choose a plan
- Step 8: Name the server and choose access
- Step 9: Add a database engine (optional)
- Step 10: Review and create
- Step 11: Watch the setup
- Step 12: Start using the server
- Stop a setup that's running
- If setup fails
Before you start
- A Nuvlo account with room for another server on your plan. See Plans and pricing.
- An account at one of the supported providers: Hetzner, Vultr, DigitalOcean, Linode (Akamai), UpCloud, Scaleway, Exoscale, AWS, Google Cloud or Contabo. You can connect it during this guide.
- Optional: an SSH key added under SSH keys, if you want to log in to the server yourself.
Step 1 Open the create page
Go to Servers, click Create and choose Server. The same Create menu is at the top of most dashboard pages.
If your account already has as many servers as your Nuvlo plan allows, the Server item shows how many you use and links to Billing instead. Upgrade your plan or remove a server first.
Step 2 Choose a provider
Keep My cloud account selected at the top. To use a server you already have at any host, choose Any server (SSH) instead and follow Connect any server with one command.
Under Choose a provider, click the cloud provider you want the server at. Each provider shows how many accounts you have connected, or Connect account if none is connected yet. Use Search providers to filter the list.
Step 3 Connect the provider account
Skip this step if the provider already shows a connected account.
If it isn't connected, a Connect panel opens below the providers. It lists the permissions the API token needs. Create the token in your provider's console with those permissions, then paste it into API key or token. Contabo, Scaleway, Exoscale and AWS ask for several values, each in its own field. Google Cloud uses a Service account key (JSON): paste its contents or choose the file.
Optionally give the connection a Label (optional), such as Production key, so you can tell accounts apart later. Click Validate & connect. Nuvlo checks the credentials with the provider, saves them and moves you to the next step.
Each provider has its own guide, starting at Connect a server provider.
Step 4 Pick the account and the server source
If you connected more than one account at this provider, choose the one to create the server in from the Account list. Plans, prices and regions can differ per account.
Under Server source, keep New server to order a new machine. Hetzner and Contabo also offer Erase an existing server, which wipes a server you already have and sets it up with Nuvlo. That path is described in Erase an existing server.
Click Choose what to host.
Step 5 Choose what to host
Under What will you host?, pick the kind of project. This decides which software Nuvlo installs. Every server gets the Nginx web server, a firewall and SSH hardening.
| Option | Use it for | Also installed |
|---|---|---|
| WordPress & apps | WordPress sites and 1-Click apps | Docker |
| Node.js apps | Next.js, Nuxt, SvelteKit and other Node.js projects | Node.js, PM2 and Redis |
| PHP websites | Laravel, Symfony and plain PHP | PHP-FPM, Composer and Redis |
| Static websites | Ready-built HTML, single-page apps, landing pages | Nothing extra |
| Mixed projects | Any mix of site types on one server | Docker, Node.js, PM2, Redis and PHP |
| Headless | WordPress for content plus an Astro, Next.js or Nuxt frontend | Same as Mixed projects; needs a plan with at least 4 GB of memory |
Below the cards, Operating system is set to a Nuvlo-ready Ubuntu LTS release (Ubuntu 24.04 by default; 22.04 and 26.04 are also supported). When a provider lists its own images, the ones Nuvlo can't set up are shown greyed out and can't be chosen.
Click Choose region and plan.
Step 6 Choose a region
Under Region, click the datacenter location closest to your visitors. The plans shown next depend on the region, so pick it first.
Step 7 Choose a plan
Under Plan, choose a plan family first, for example Shared resources or Dedicated resources. Some providers split these further, such as Hetzner's Cost-optimized, Regular performance and General purpose. Families that offer both processor types show an Architecture choice: x86 (Intel/AMD) or Arm64 (Ampere).
Then select a row in the plan table. It shows vCPUs, memory, storage, monthly transfer and the monthly price. Prices are net, excluding VAT. On AWS and Google Cloud, outbound traffic is Billed per GB by the provider.
Plans marked Sold out aren't available in the chosen region. For Headless, plans under 4 GB show Headless needs 4 GB and can't be selected.
On Contabo, also choose a Contract term. Contabo bills a fixed monthly price, and longer terms lower the monthly rate. The upfront total for the term is shown below the choices.
Click Configure server.
Step 8 Name the server and choose access
Enter a Server name, such as web-prod-04. Use up to 63 letters, digits and hyphens, starting and ending with a letter or digit.
Under SSH keys, tick the keys that may log in to the server. This is optional: Nuvlo manages the server with its own key either way. Only account owners and admins can add SSH keys to a new server. To add a key first, go to SSH keys.
On Contabo, choose how the Root password is set: Auto-generate or Set my own. The password only works in Contabo's VNC console as a fallback if SSH stops working; password login over SSH stays off. See Manage a Contabo server.
Step 9 Add a database engine (optional)
For Node.js, PHP and Mixed servers, Database engine lets you install one during setup: MySQL, MariaDB, PostgreSQL, MongoDB or Redis. Leave it on None to skip; you can add one later. See Create a database.
The option isn't shown for WordPress & apps and Static websites. WordPress sites bring their own database.
MySQL needs an x86 server. With an Arm plan selected, choose MariaDB or go back and pick an x86 plan.
Step 10 Review and create
Click Review server. Check the provider, server type, operating system, region, plan, Monthly cost, name, SSH keys and database. To change something, click an earlier step in the step bar, or click a row with a pencil icon in the Your server panel.
Click Create server. Nuvlo orders the server from your provider.
ImportantYour provider bills you for the server from the moment it is created. Nuvlo doesn't charge for the server itself.
Step 11 Watch the setup
The page switches to Creating server. It lists every setup step, marks each one as it finishes, and shows the elapsed time. Setup usually takes a few minutes.
- Creating server instance and Configuring network at the provider
- Installing system packages and Setting up firewall & security
- The software for your server type, such as Installing Docker, Installing Node.js & PM2, Installing Redis runtime or Installing PHP
- Configuring Nginx, Setting permissions and Finalizing setup
You can leave the page. The setup keeps running, and the Servers page shows its progress at the top.
Step 12 Start using the server
When every step is done, the title changes to Server is ready. Click Create a site on this server to add your first site, View server to open the server page, or Create another server.
On Contabo with an auto-generated password, the root password opens once here. Copy it and keep it safe.
Stop a setup that's running
While the server is being created, Cancel & delete server stops the setup. Nuvlo asks you to confirm, then deletes the new server at the provider. On Contabo the button is Cancel subscription: the contract is cancelled and the server runs until the paid period ends.
You can also cancel from the Servers page: expand the setup card and click Cancel and delete server, then click again to confirm.
If setup fails
If a step fails, the title changes to Setup failed, the step is marked Failed and the reason is shown below the list. On the Servers page, the server shows Needs attention and the failed setup stays listed at the top until you click its Dismiss button.
A failed server may still exist at your provider and cost money. Open it and delete it as described in Delete a server, then click Start over or create a new one.
| Message | What to do |
|---|---|
| The selected plan is unavailable in this region | Go back to Region & plan and pick another plan or region. |
| MySQL 9.7 requires an x86 server | Choose MariaDB, or an x86 plan. |
| No API token found for the provider | Reconnect the provider account, see Connect a server provider. |
| Provisioning progress was lost or expired | Open the server from the Servers page and check its status before creating another. |
Related guides
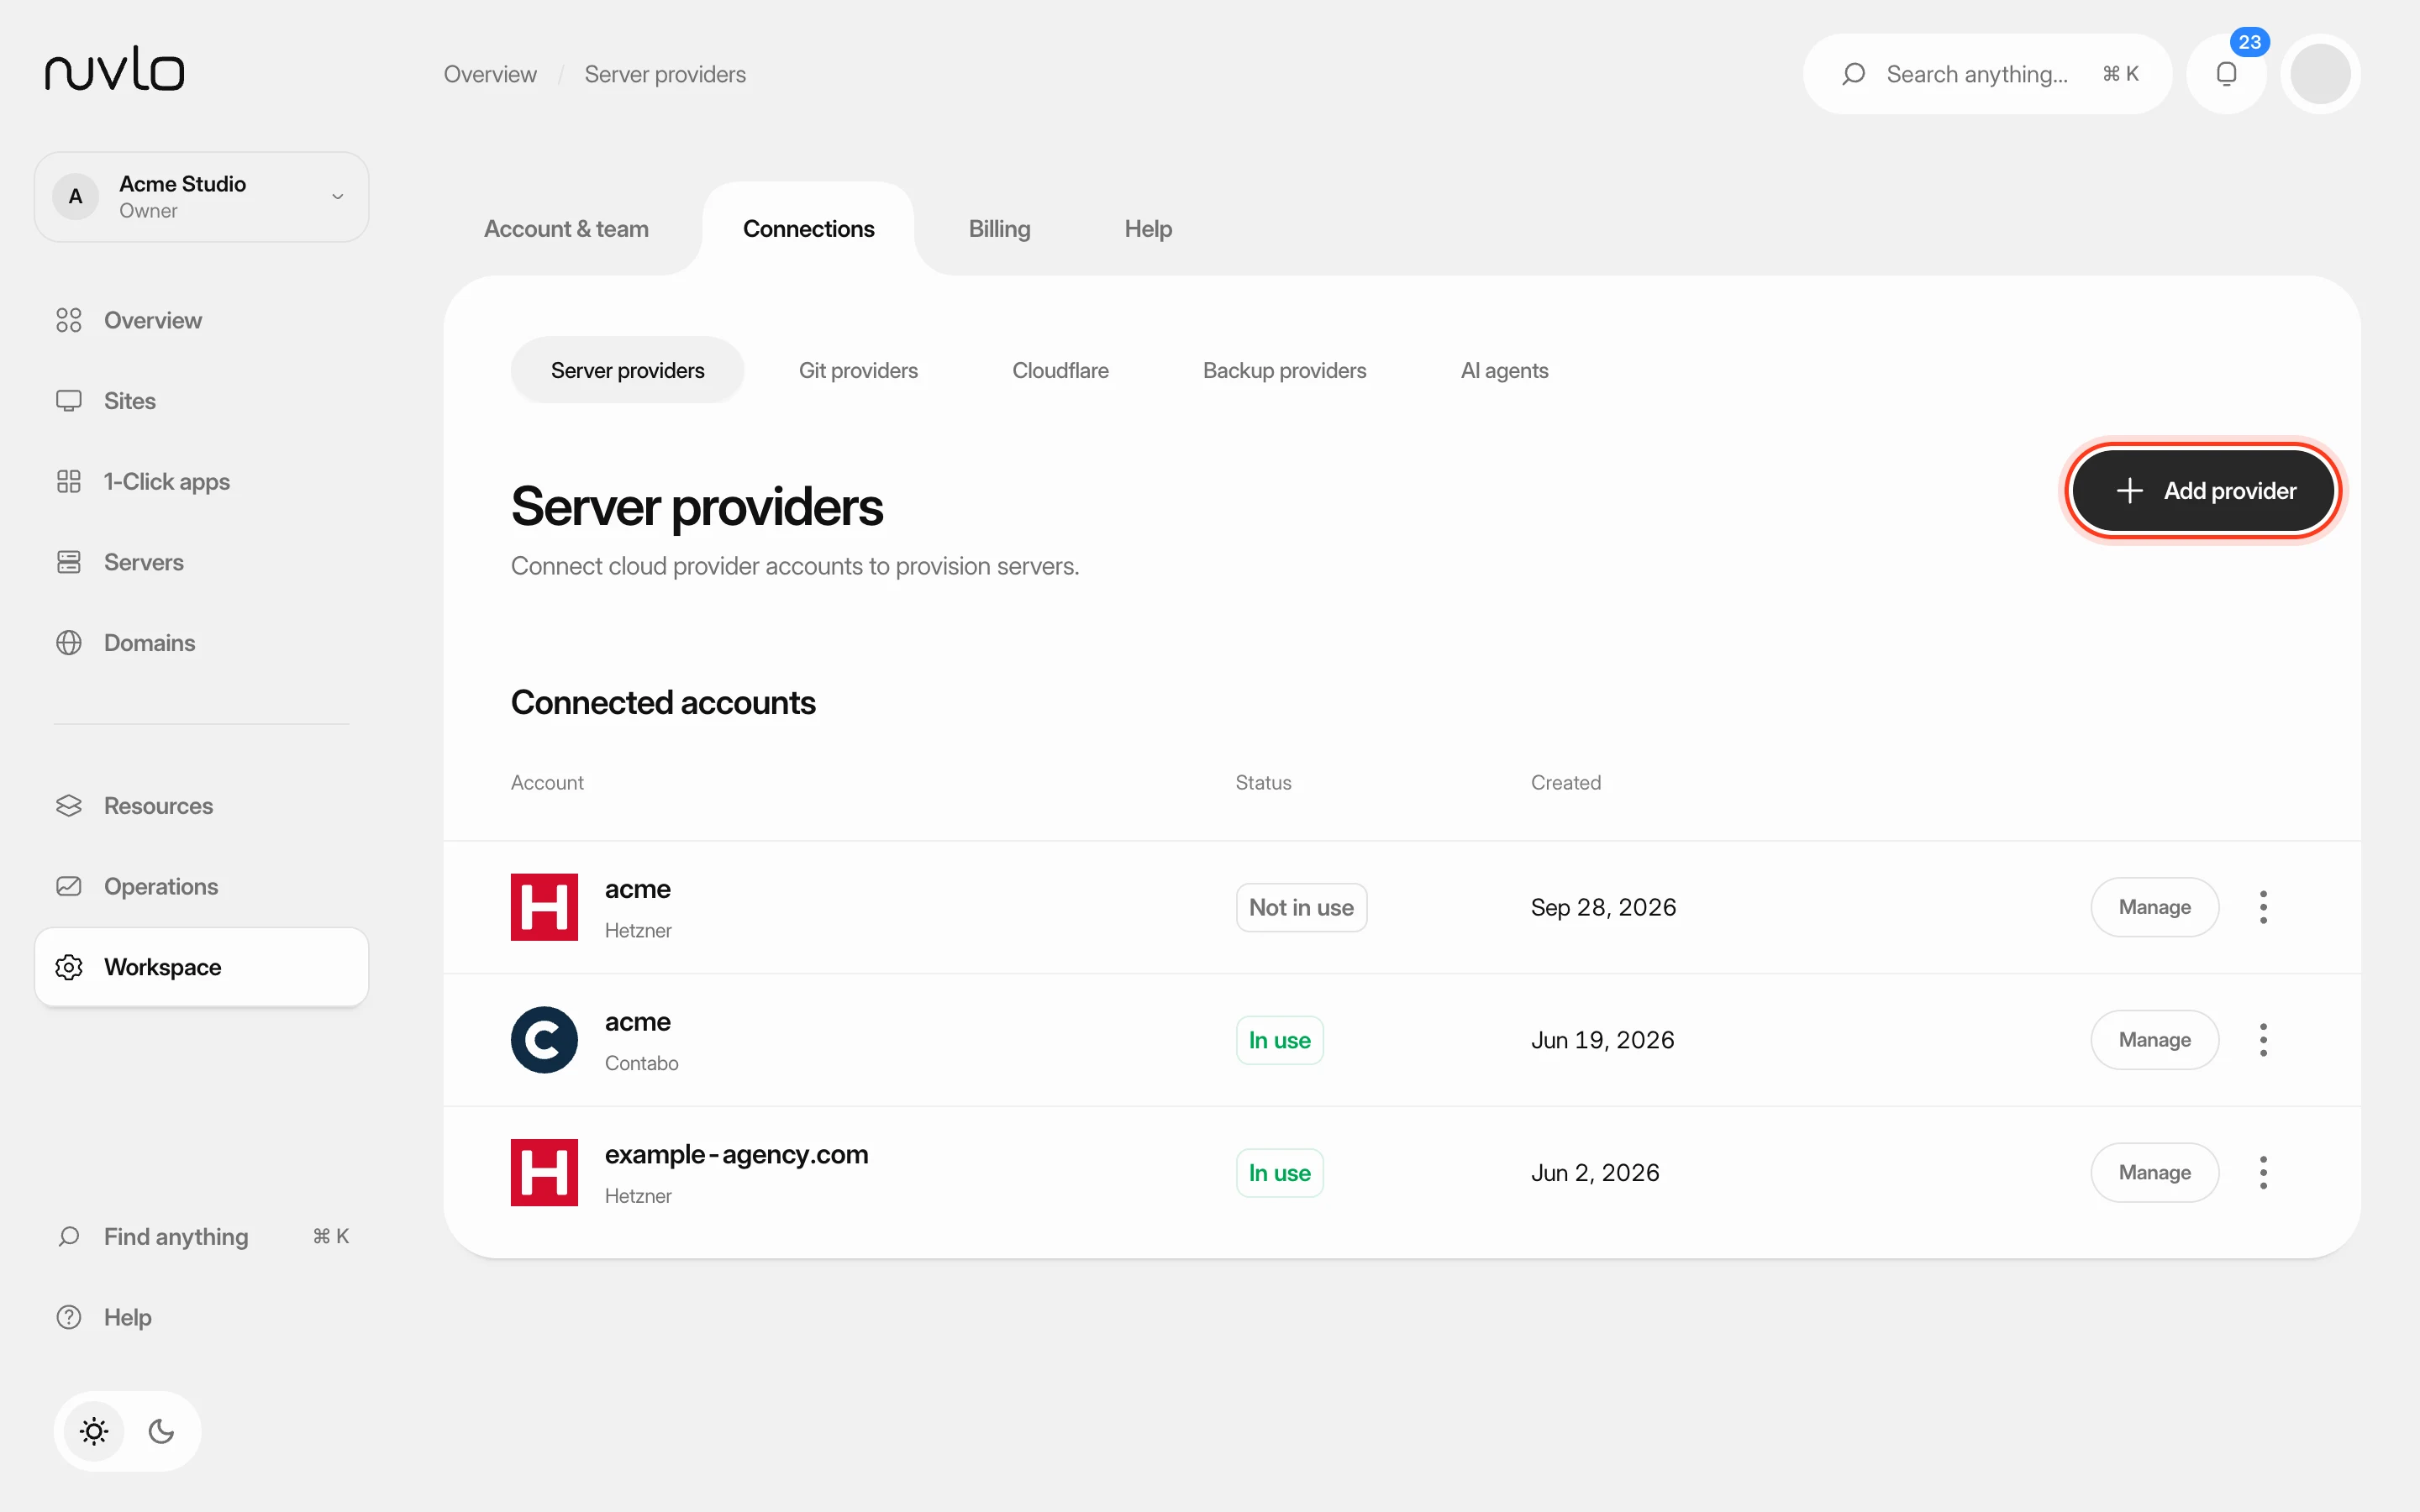 Connect a server providerConnect your own cloud account so Nuvlo can create and manage servers in it. You add an API key on the Server providers page, and Nuvlo checks it with the provider before saving it.
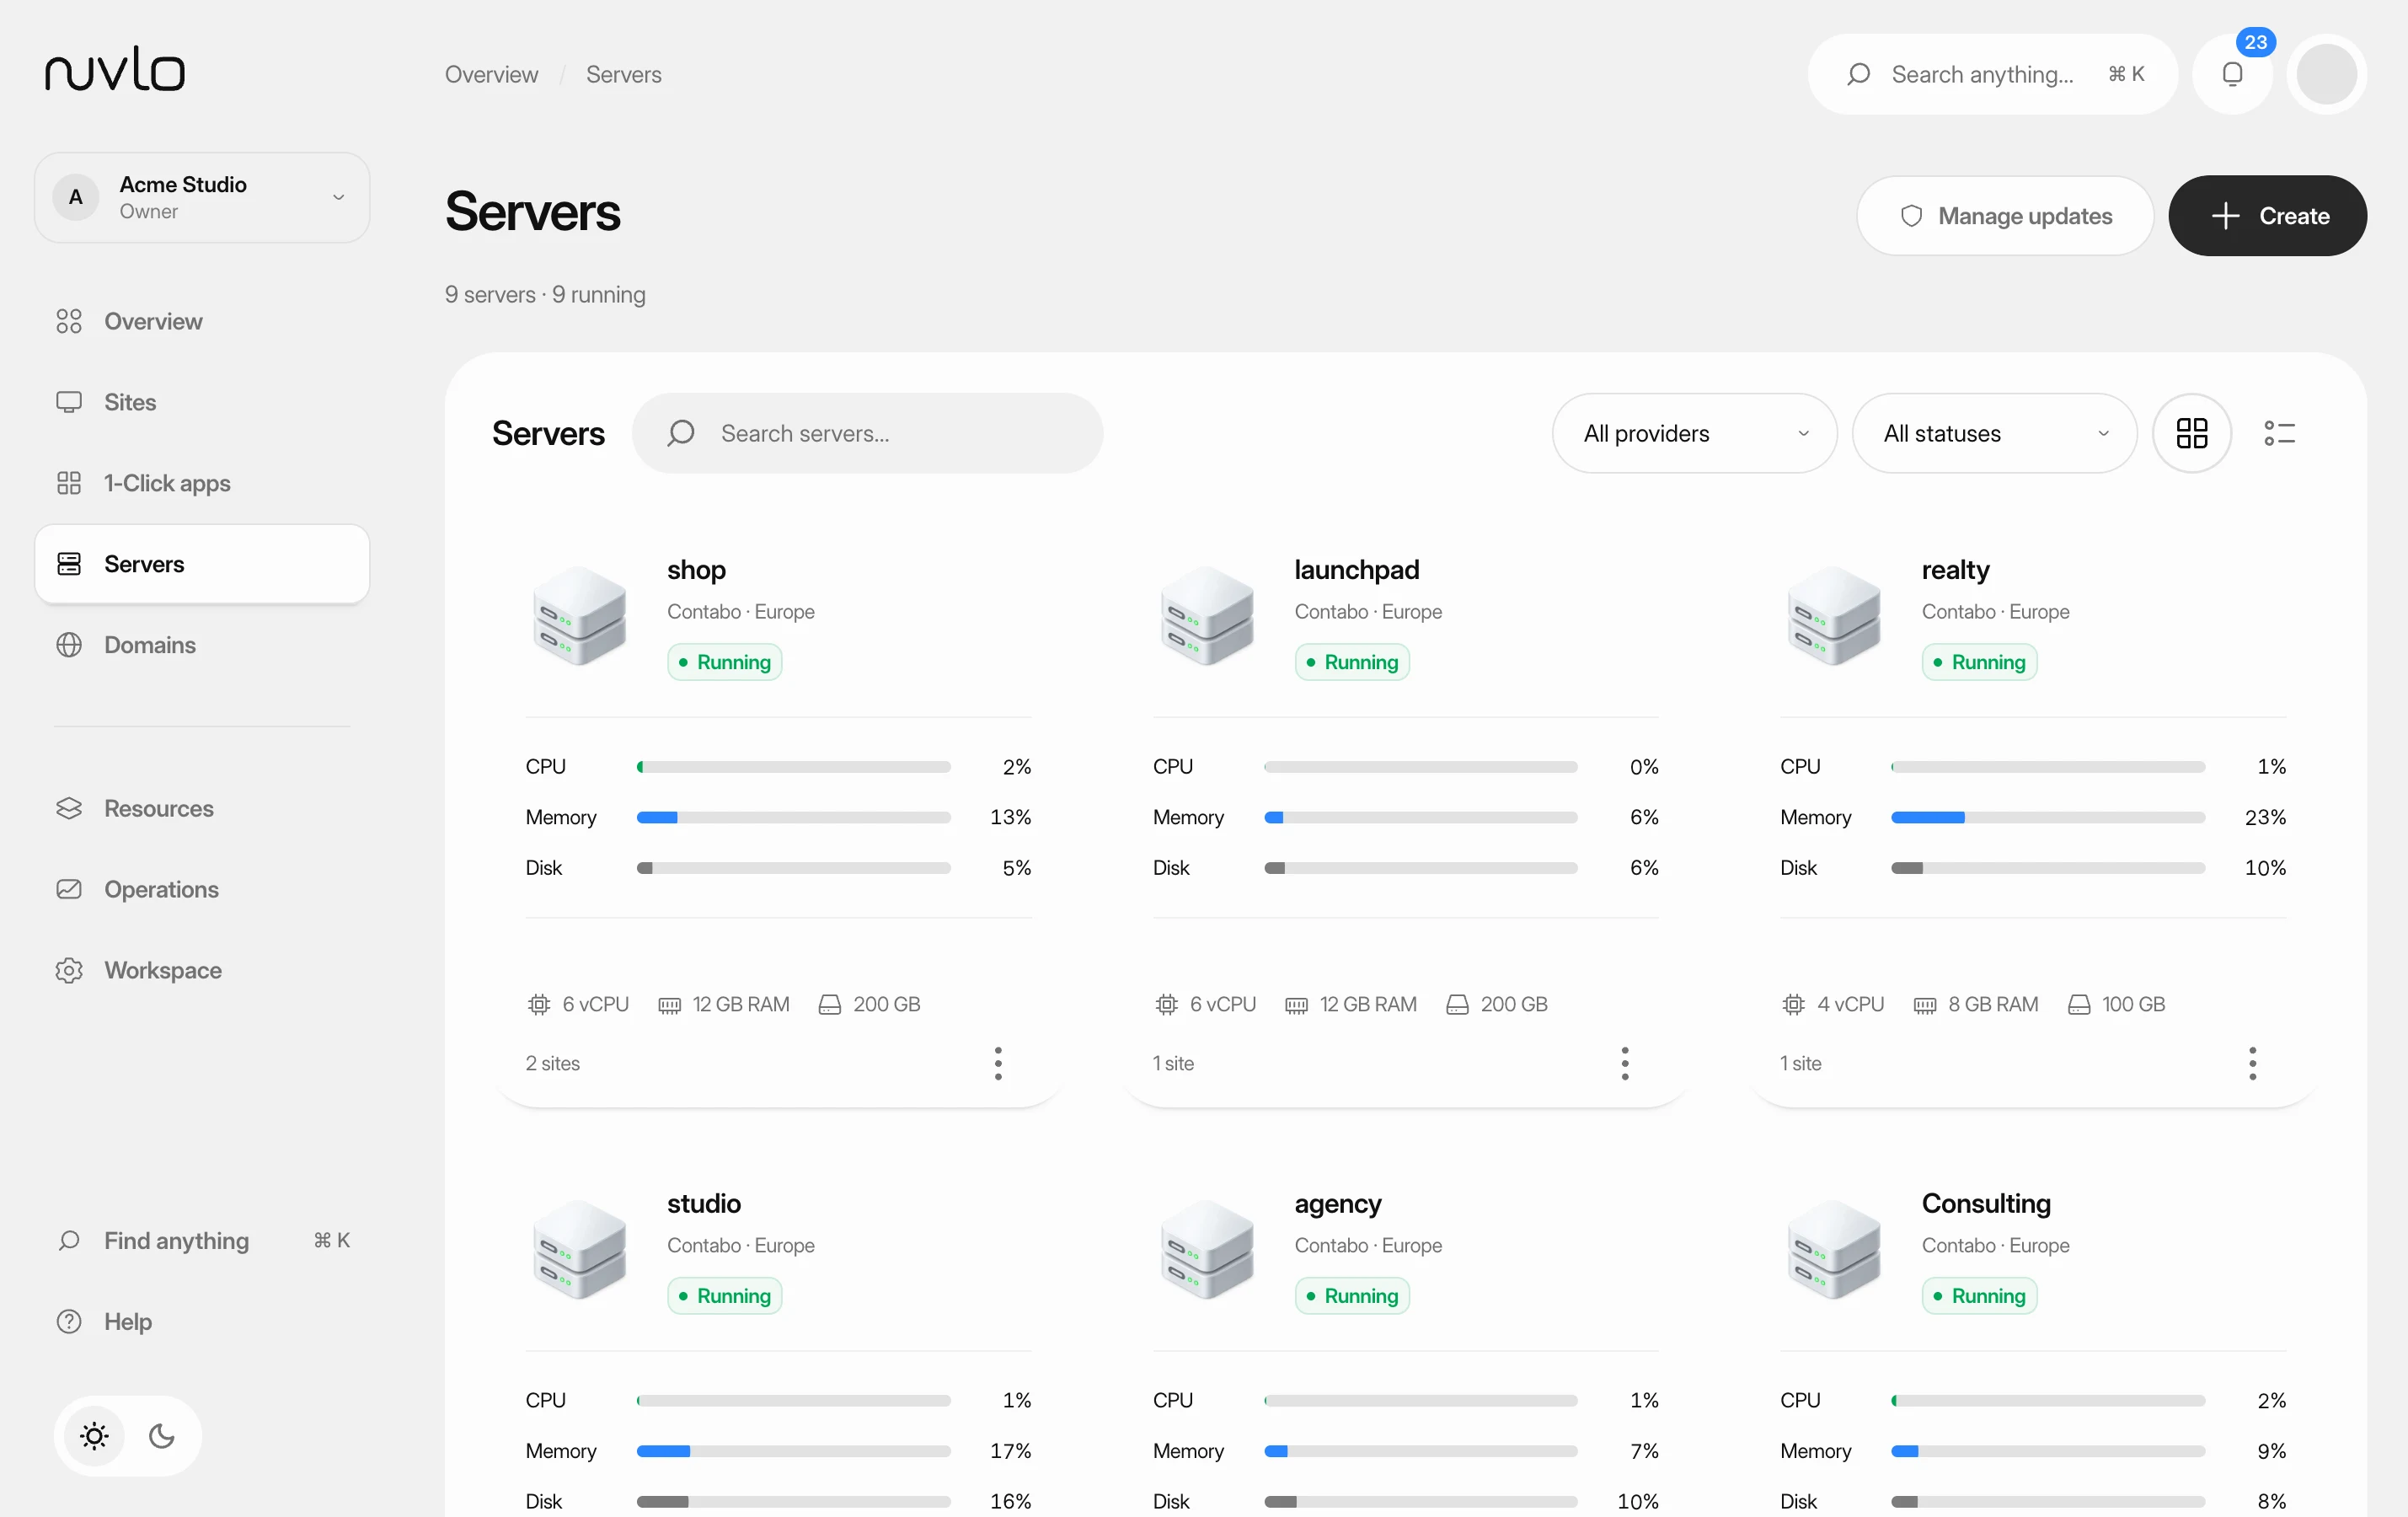 Read your server pageFind a server, check whether it's healthy, and know where each setting lives on its page.
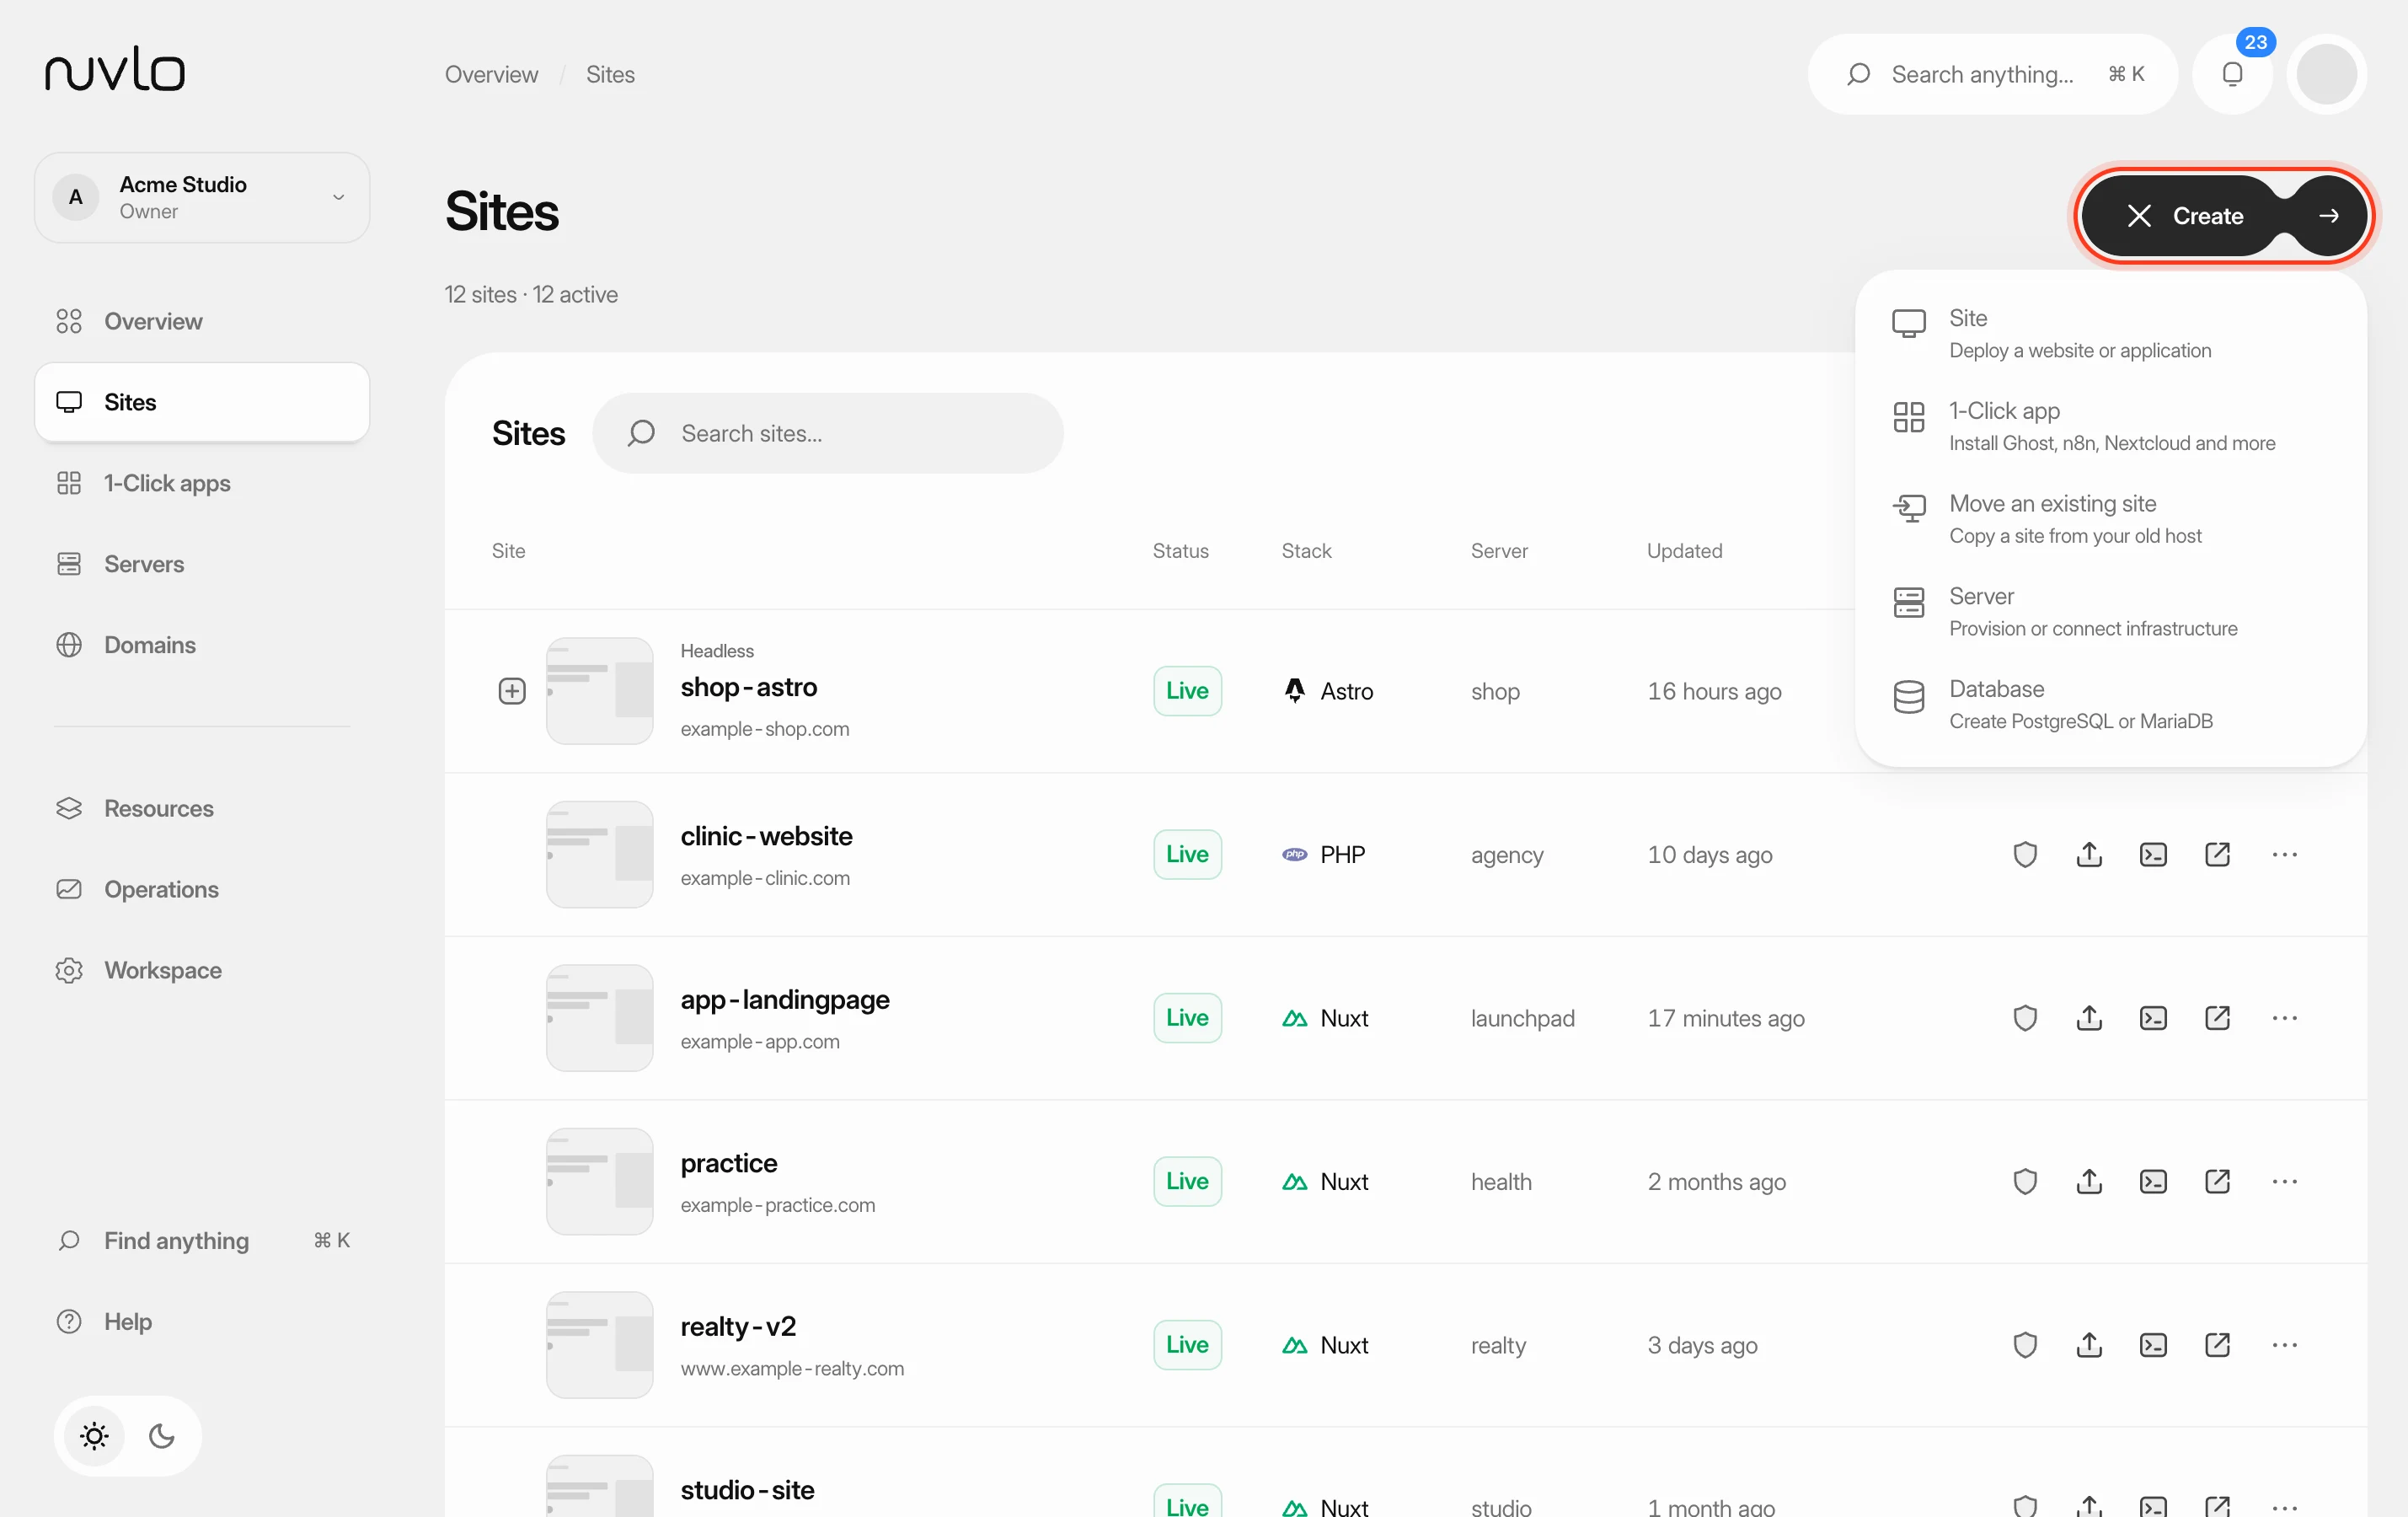 Create a siteChoose the right site type for your project and put a static website or a PHP or Laravel site online from a GitHub repository or a ZIP file, with its own domain and HTTPS.
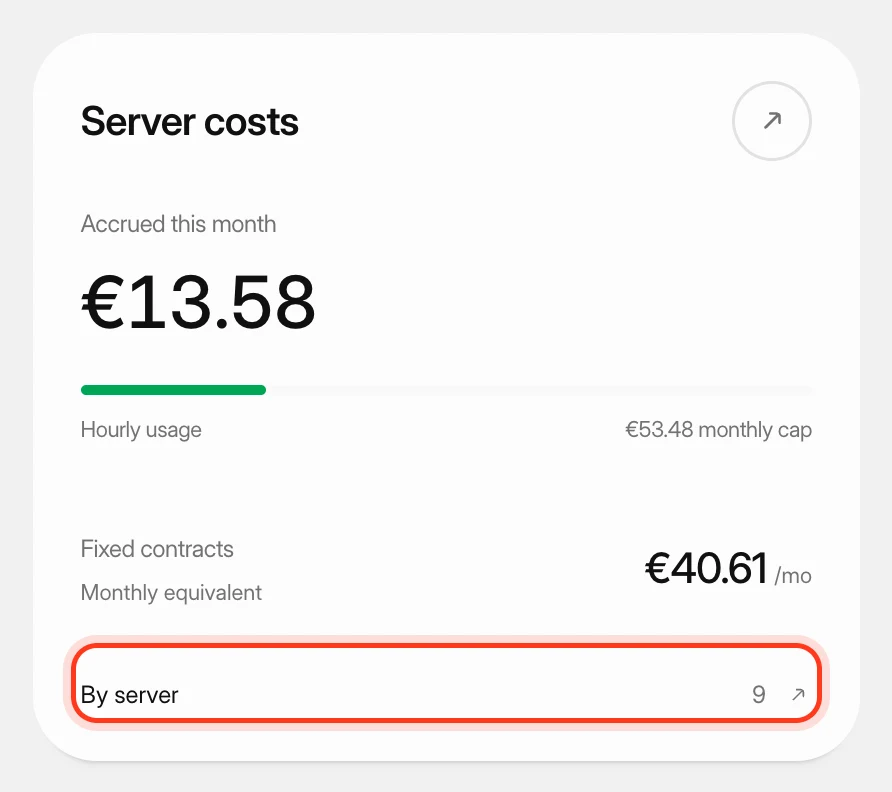 Track what your servers costSee what your servers cost at your cloud providers this month and in past months, apart from what you pay Nuvlo.