Scan your sites for security issues
Check WordPress sites and Node applications for malware and known vulnerabilities, deal with what the scan finds and let scans run on a schedule.
On this page
Before you start
- A WordPress site or a Node application that is running. Static and PHP sites can't be scanned yet.
- A role that can manage sites. See Roles and permissions.
What a scan checks
| Site type | What is checked |
|---|---|
| WordPress | WordPress core files are compared with the official release, and wp-content is searched for malware, such as web shells, obfuscated code and PHP files in the uploads folder. |
| Node application | A dependency audit looks for packages with known security advisories, and the source files are searched for malware. |
Files that the scan is very sure are malicious are quarantined automatically: they are moved out of the live site until you restore or delete them. Everything else is only reported.
Step 1 Open Security scans
In the sidebar, select Resources and then Security scans. The table lists every site with its scan Status, the number of Findings and when it was Last scanned.
- Never scanned: no scan has run yet.
- No issues found: the last scan found nothing.
- Needs attention: the last scan has findings.
- Scan failed: the scan couldn't finish. Run it again.
- Not supported: the site type can't be scanned.
A shield icon next to a site means scheduled scans are on for it.
Step 2 Run a scan
Click Run scan on the site's row. The status shows the current step while the scan runs, and the page updates by itself when it's done.
You can also start a scan on the site itself: Scan now on a WordPress site's Security tab, or Run security scan on an application's Security tab. A stopped site can't be scanned; start it first.
Step 3 Review the results
Click the arrow at the end of the row to open the site's results.
On a WordPress site, the Malware scan card shows two lines. Core files says Match the official release or Changed from the official release. Malware says None found or how many suspicious files there are. Each file is listed below with the reason it was flagged.
On an application, the Security scan card shows the number of Findings, how many are Critical, how many files are Quarantined and when the last scan ran. The table lists each finding with its Severity and Status.
Step 4 Deal with each finding
- Restore file moves a quarantined file back to where it was. Use it when you're sure the file is safe.
- Delete file removes a quarantined file from the server for good. Nuvlo asks you to confirm with Delete file.
- Ignore (on WordPress) or Ignore finding (on applications) leaves a file where it is and stops flagging it.
- A vulnerable dependency can't be quarantined. Upgrade the package in your project and deploy again, then run a new scan.
ImportantDeleting a quarantined file can't be undone. If you aren't sure what a file does, back up the site first.
Step 5 Schedule automatic scans
On a WordPress site, open the Security tab. Under Automatic scans, turn on Scan automatically, choose How often (Every day or Every week) and a Time, then click Save scan schedule.
On an application, open Security and the Scan view. In Scheduled scanning, choose the Frequency, enter the Hour (UTC) from 0 to 23, set Schedule status to Enabled and click Save schedule.
Times are in UTC. Scheduled scans skip sites that are stopped or paused.
What happens next
When a scan finds something, you get a notification such as Security scan found 2 issues on example.com. A failed scan also creates a notification. See Notifications.
Scan history is kept for 90 days.
Related guides
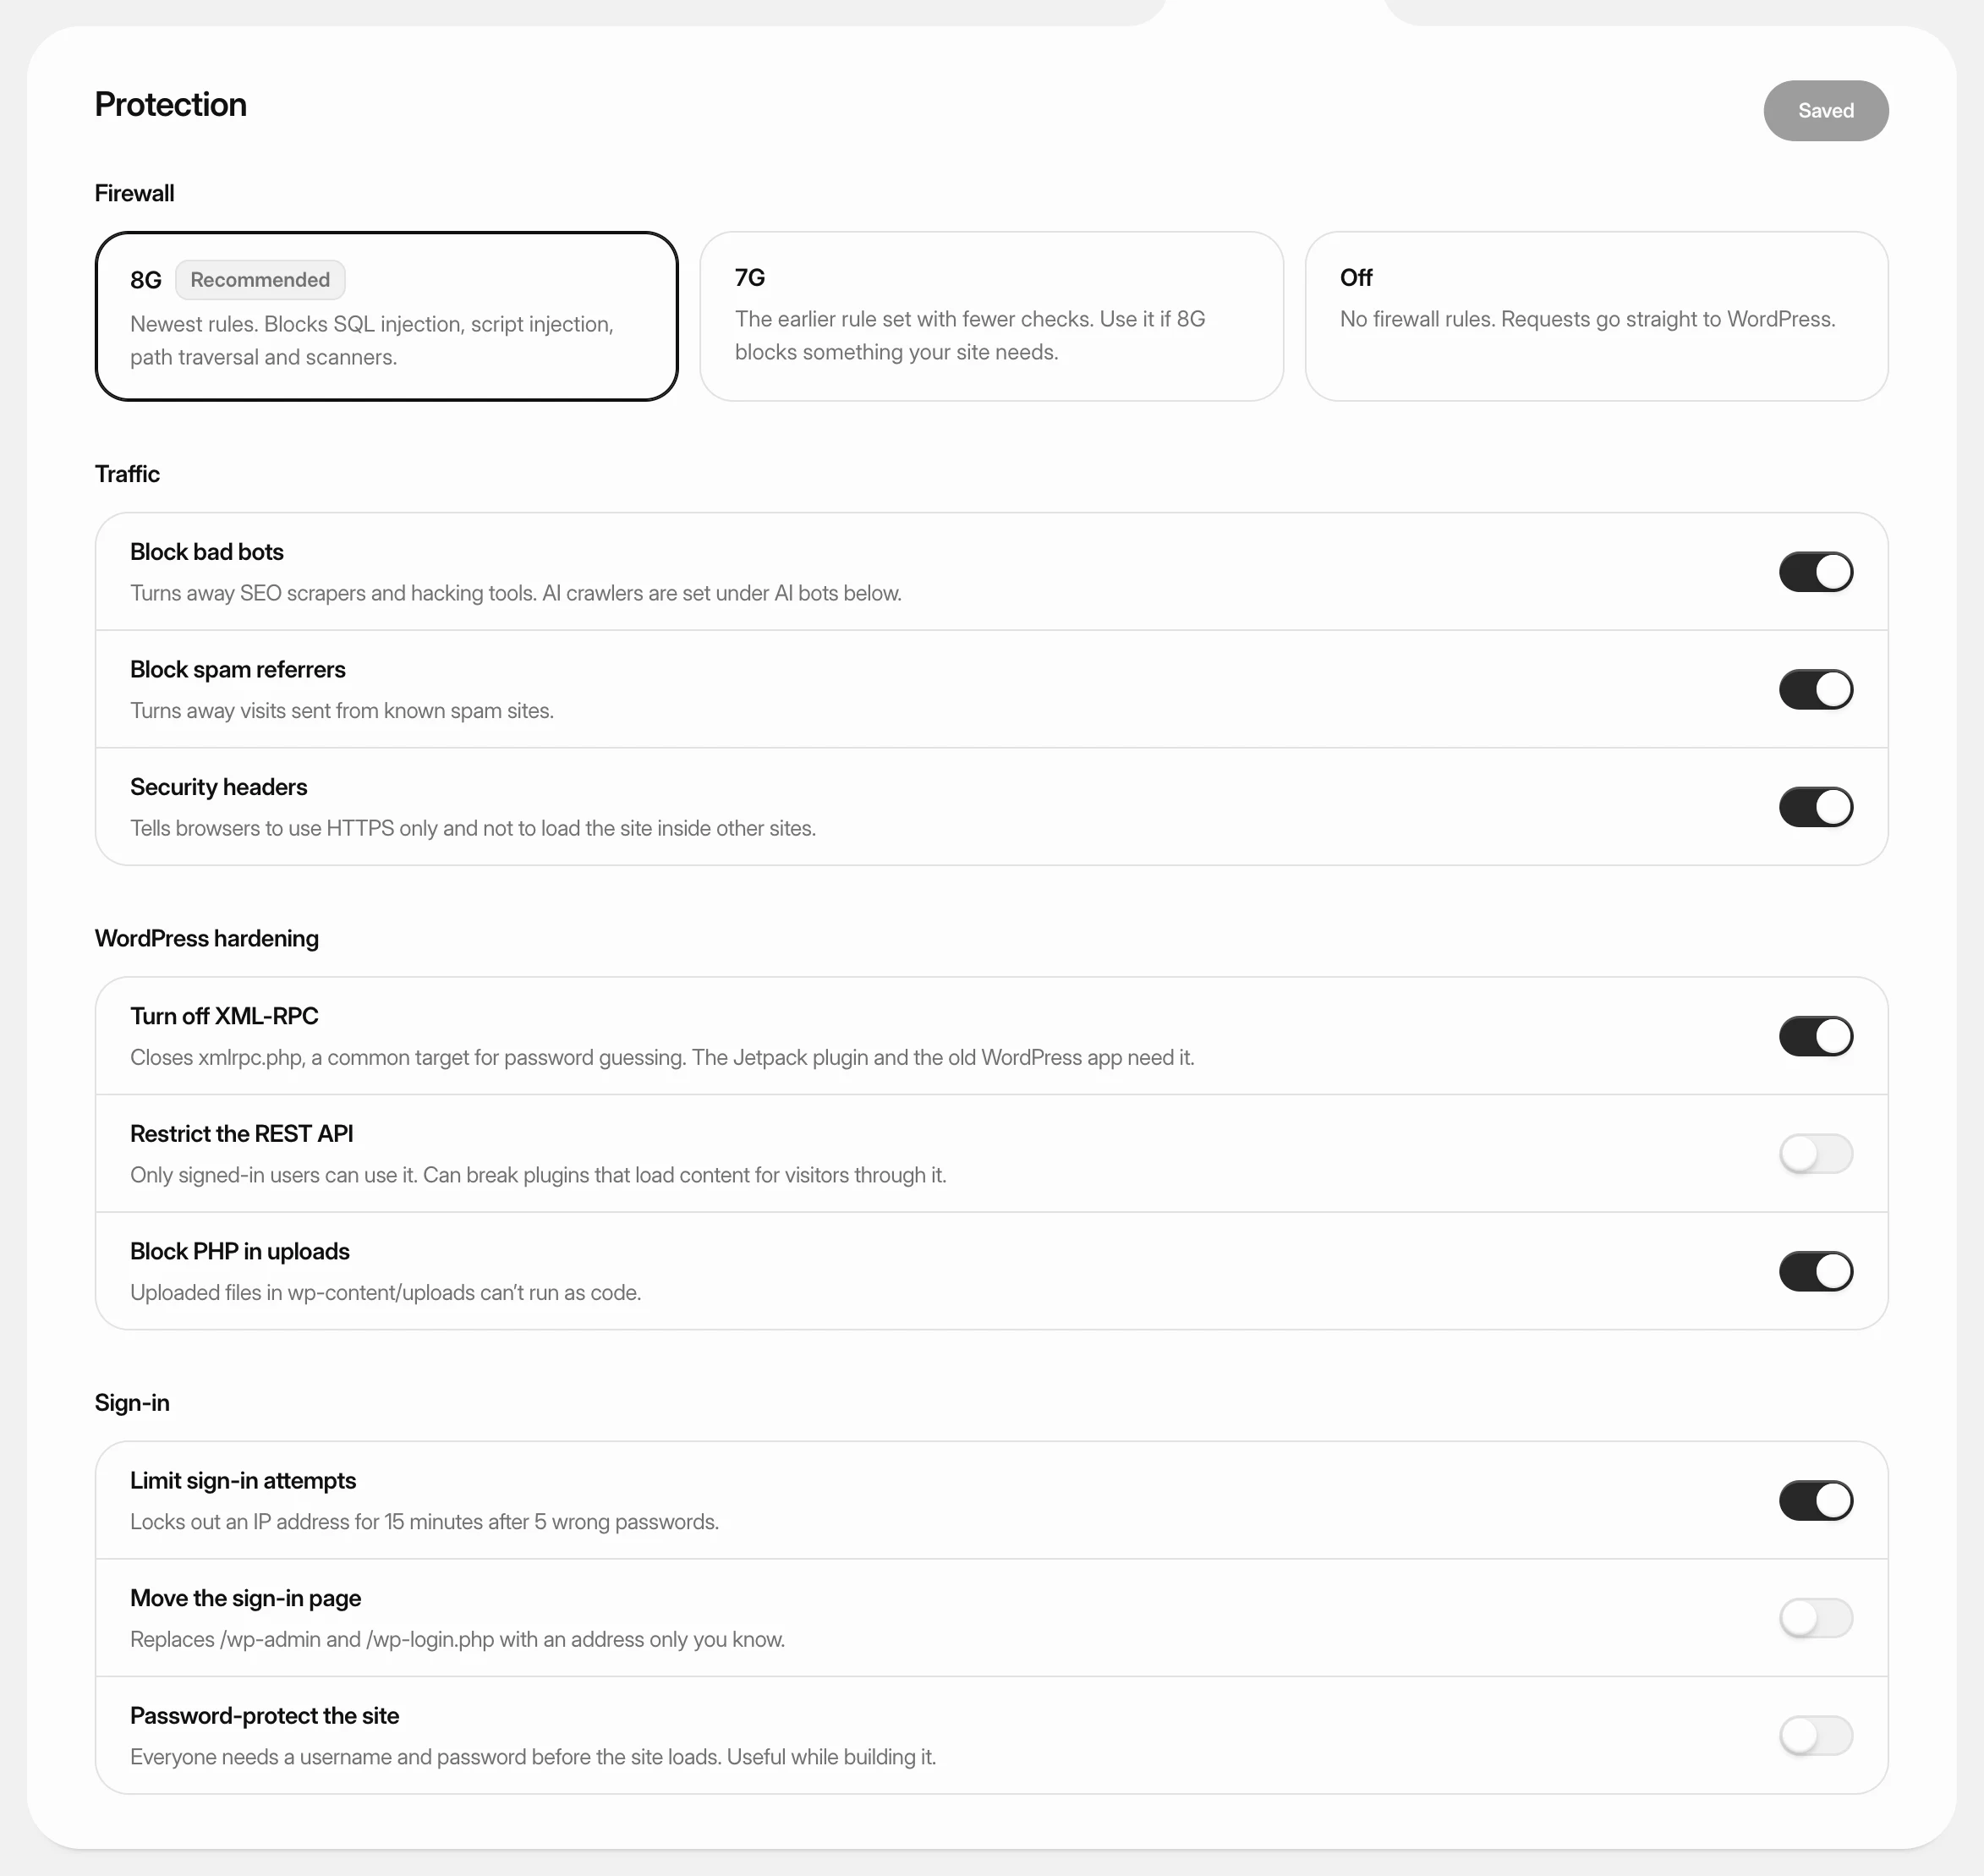 Protect a WordPress siteTurn on a firewall, block bad bots, harden WordPress and protect the sign-in page from a WordPress site’s Security tab.
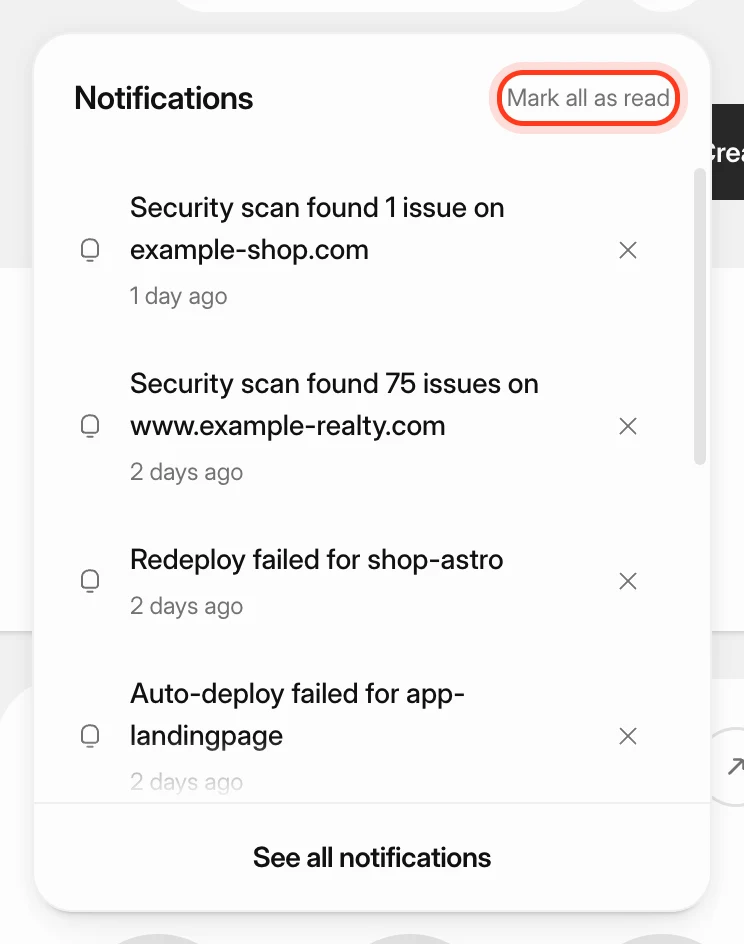 Manage notificationsKeep track of finished deploys, new servers, scan results and failures with the notification bell and the Notifications page, and send alerts to Slack, Discord, Microsoft Teams, Telegram, a webhook or email.
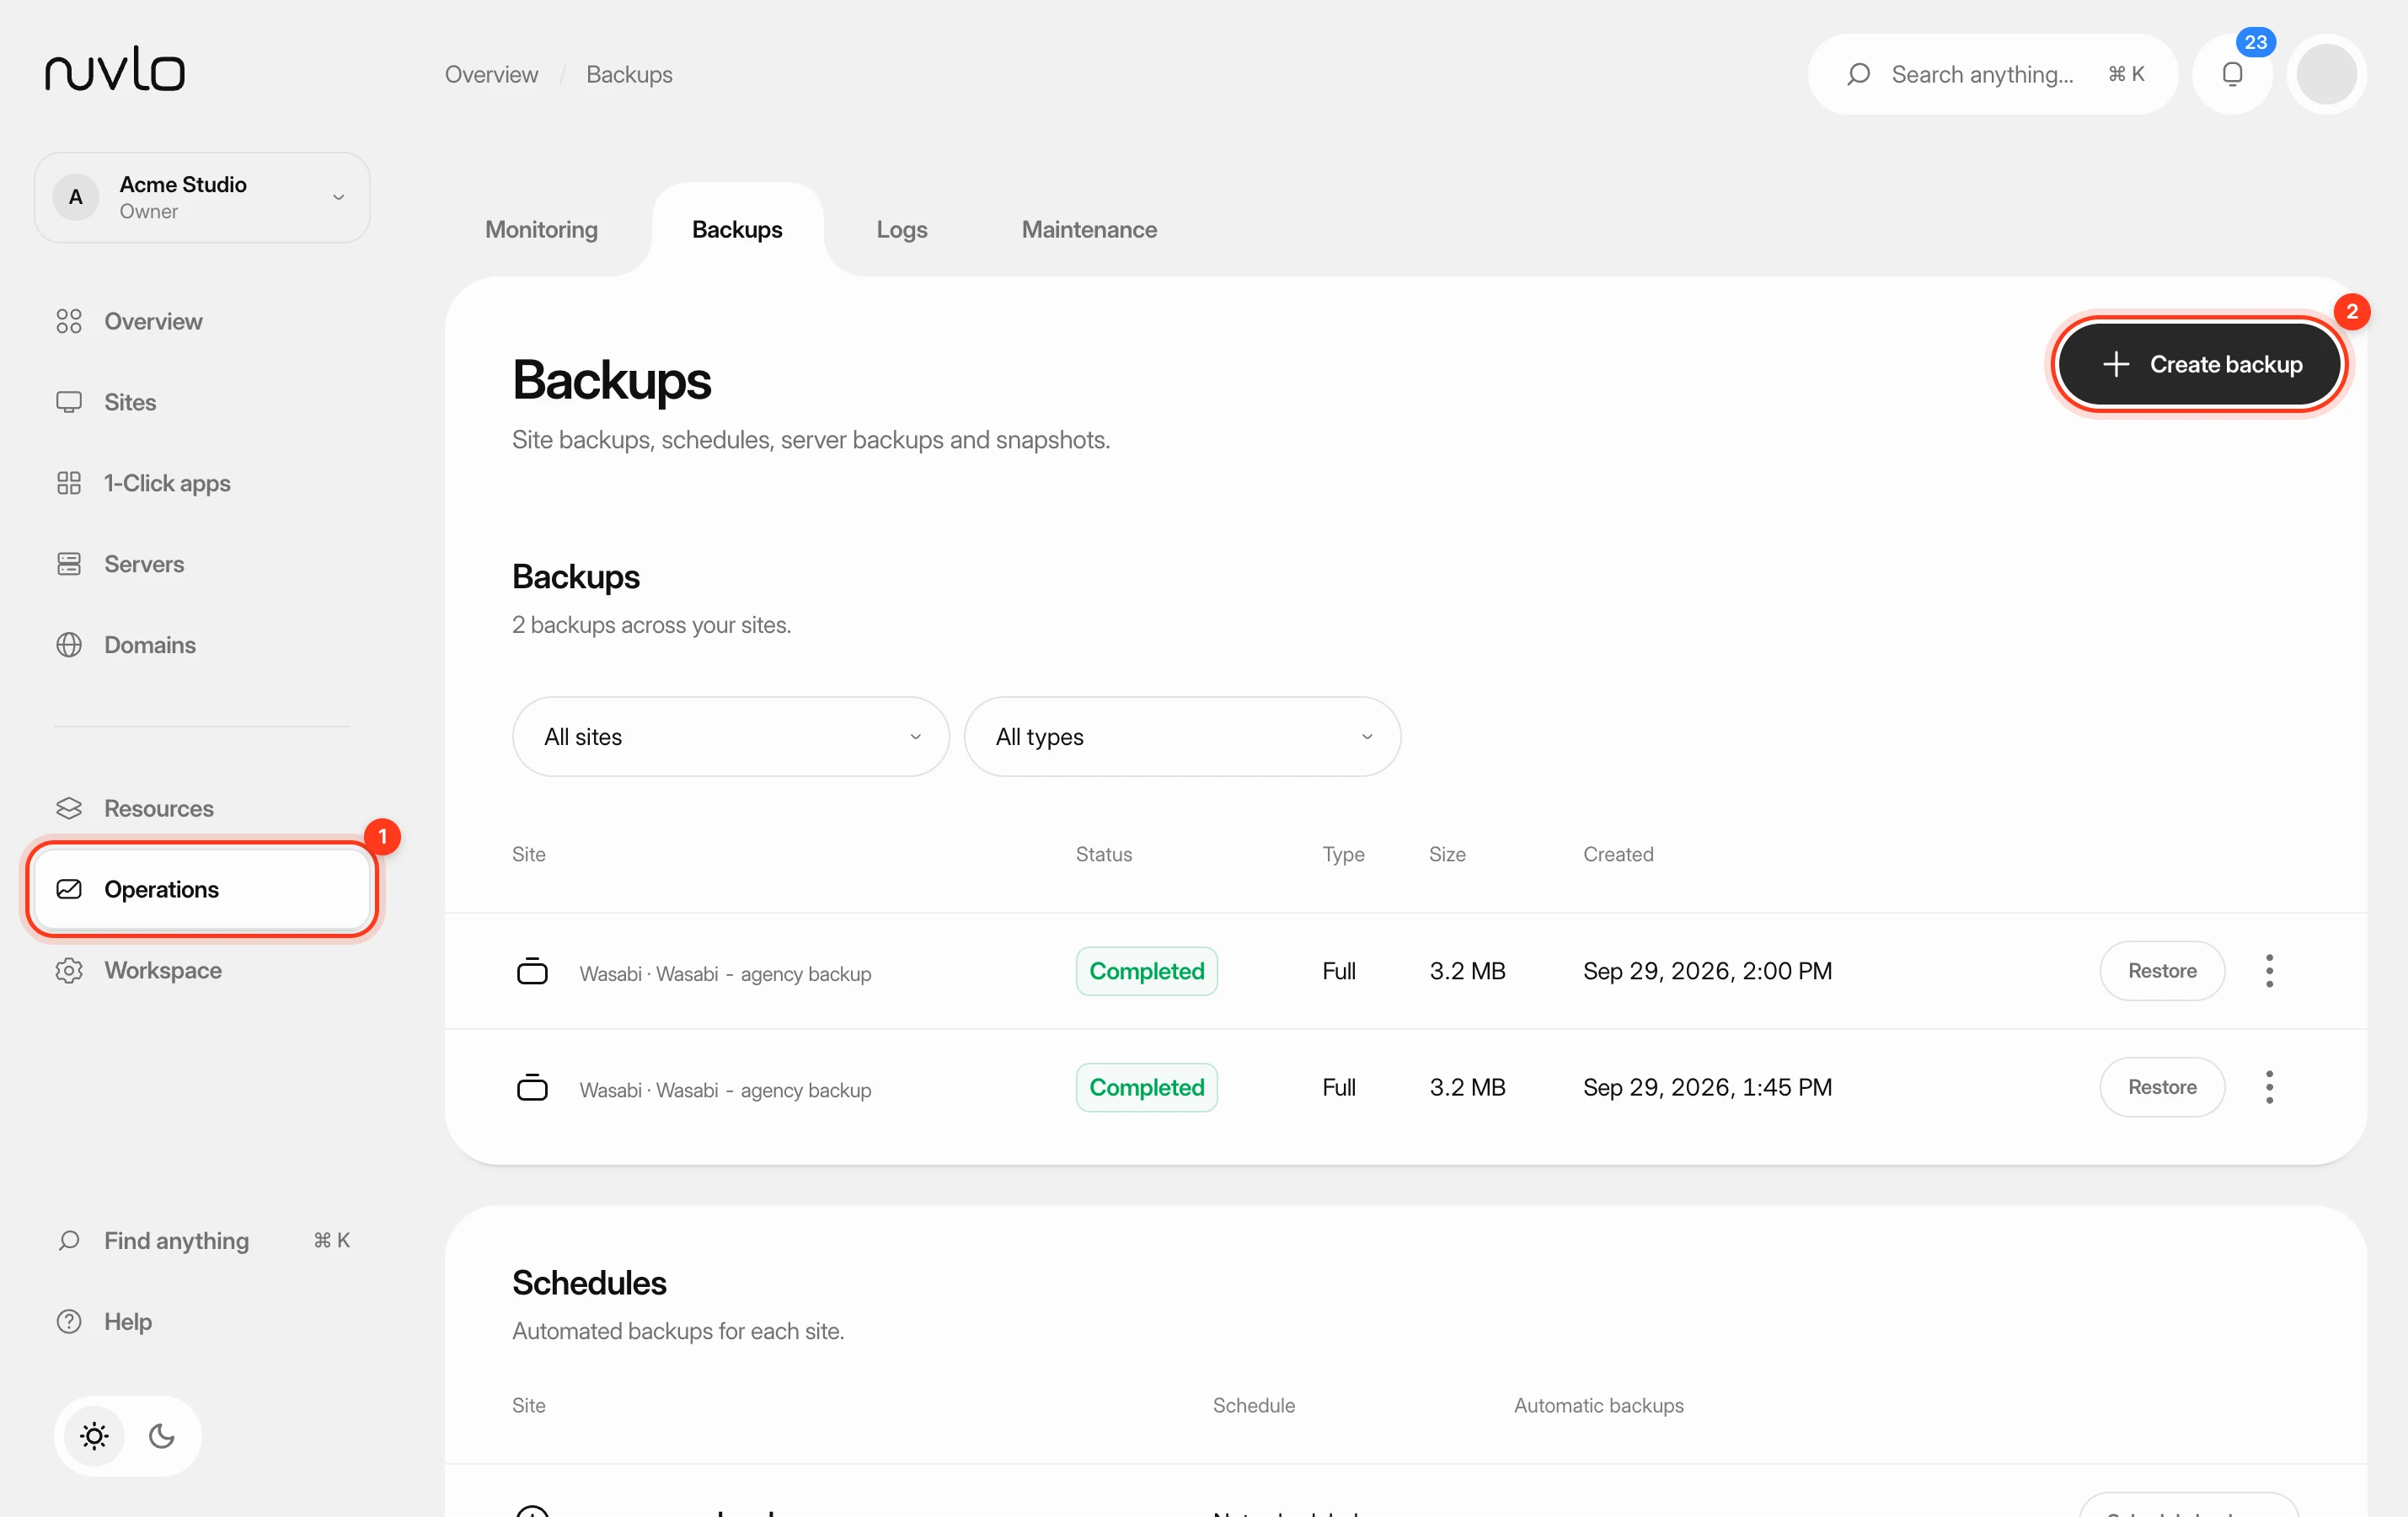 Back up a siteMake a backup of a site’s database, files or both whenever you need one, stored in your own backup storage.
 Run a launch checkFind leaked keys, databases anyone can read and files that shouldn't be public on a static site, PHP site or Node.js app, and fix them from the dashboard.