Update WordPress, plugins and themes
See which updates a WordPress site has, install them one by one or all at once, and manage plugins and themes without opening WordPress admin.
On this page
Before you start
- A running WordPress site in Nuvlo.
- Permission to manage sites.
- A recent backup. Nuvlo doesn’t take one before updating. See Back up a site.
Step 1 Find sites with updates
In the Sites list, the WordPress updates quick action shows a count when updates are waiting. Its tooltip names them.
On a site’s page, the WordPress tab shows a dot, and the Updates tile on Overview shows how many are available.
Step 2 Open the WordPress tab
Click the WordPress tab. The Updates card lists every waiting update: WordPress core, plugins and themes, each with its current and new version.
Click Check again to read the site’s state fresh.
Step 3 Install the updates
Click Update to … on a row to install one update. To install everything, click Install all … updates. Nuvlo updates plugins first, then themes, then WordPress core, one at a time, and clears the object cache afterwards.
Before each update Nuvlo keeps a copy of the plugin, theme or WordPress files. After it, Nuvlo loads WordPress, the home page and the login page. If one of them worked before and fails now, Nuvlo puts the previous version back and tells you which update broke the site and why. The other updates still install.
TipOnly files are put back. If the new version changed the database before it failed, that change stays. Updates WordPress installs by itself (the Auto-updates switch) are not checked this way.
When a site has one update, the Overview tile offers Install update.
If Nuvlo couldn’t check part of the site, the card names that part and what WordPress said.
Step 4 Manage plugins
The Plugins card lists every plugin with its version, status and an Auto-updates switch. Turn the switch on to let WordPress update that plugin by itself.
The ⋯ menu on a row has Deactivate plugin, Activate plugin and Delete plugin. Delete a plugin only after deactivating it.
ImportantDelete plugin can remove the plugin’s settings and data along with its files. It can’t be undone.
Must-use plugins and drop-ins load outside WordPress’s plugin manager, so they have no switch or menu here.
Step 5 Manage themes
The Themes card has Update for themes with a new version, and Activate theme and Delete theme in each row’s menu. You can’t delete the active theme; activate another one first.
Automatic updates
New WordPress sites install minor WordPress releases, such as security fixes, by themselves. Major releases wait for you. This is the WP_AUTO_UPDATE_CORE setting, which you can change in wp-config.php.
Plugins update automatically only where their Auto-updates switch is on.
If a site breaks after an update
An update installed from Nuvlo that breaks the site is undone by itself. If the site broke another way, or shows “Bad gateway” or doesn’t answer, restart PHP. Overview shows Restart PHP while the site is down. See Restart a WordPress site’s services.
If that doesn’t help, restore the backup from before the update. See Restore a backup.
Related guides
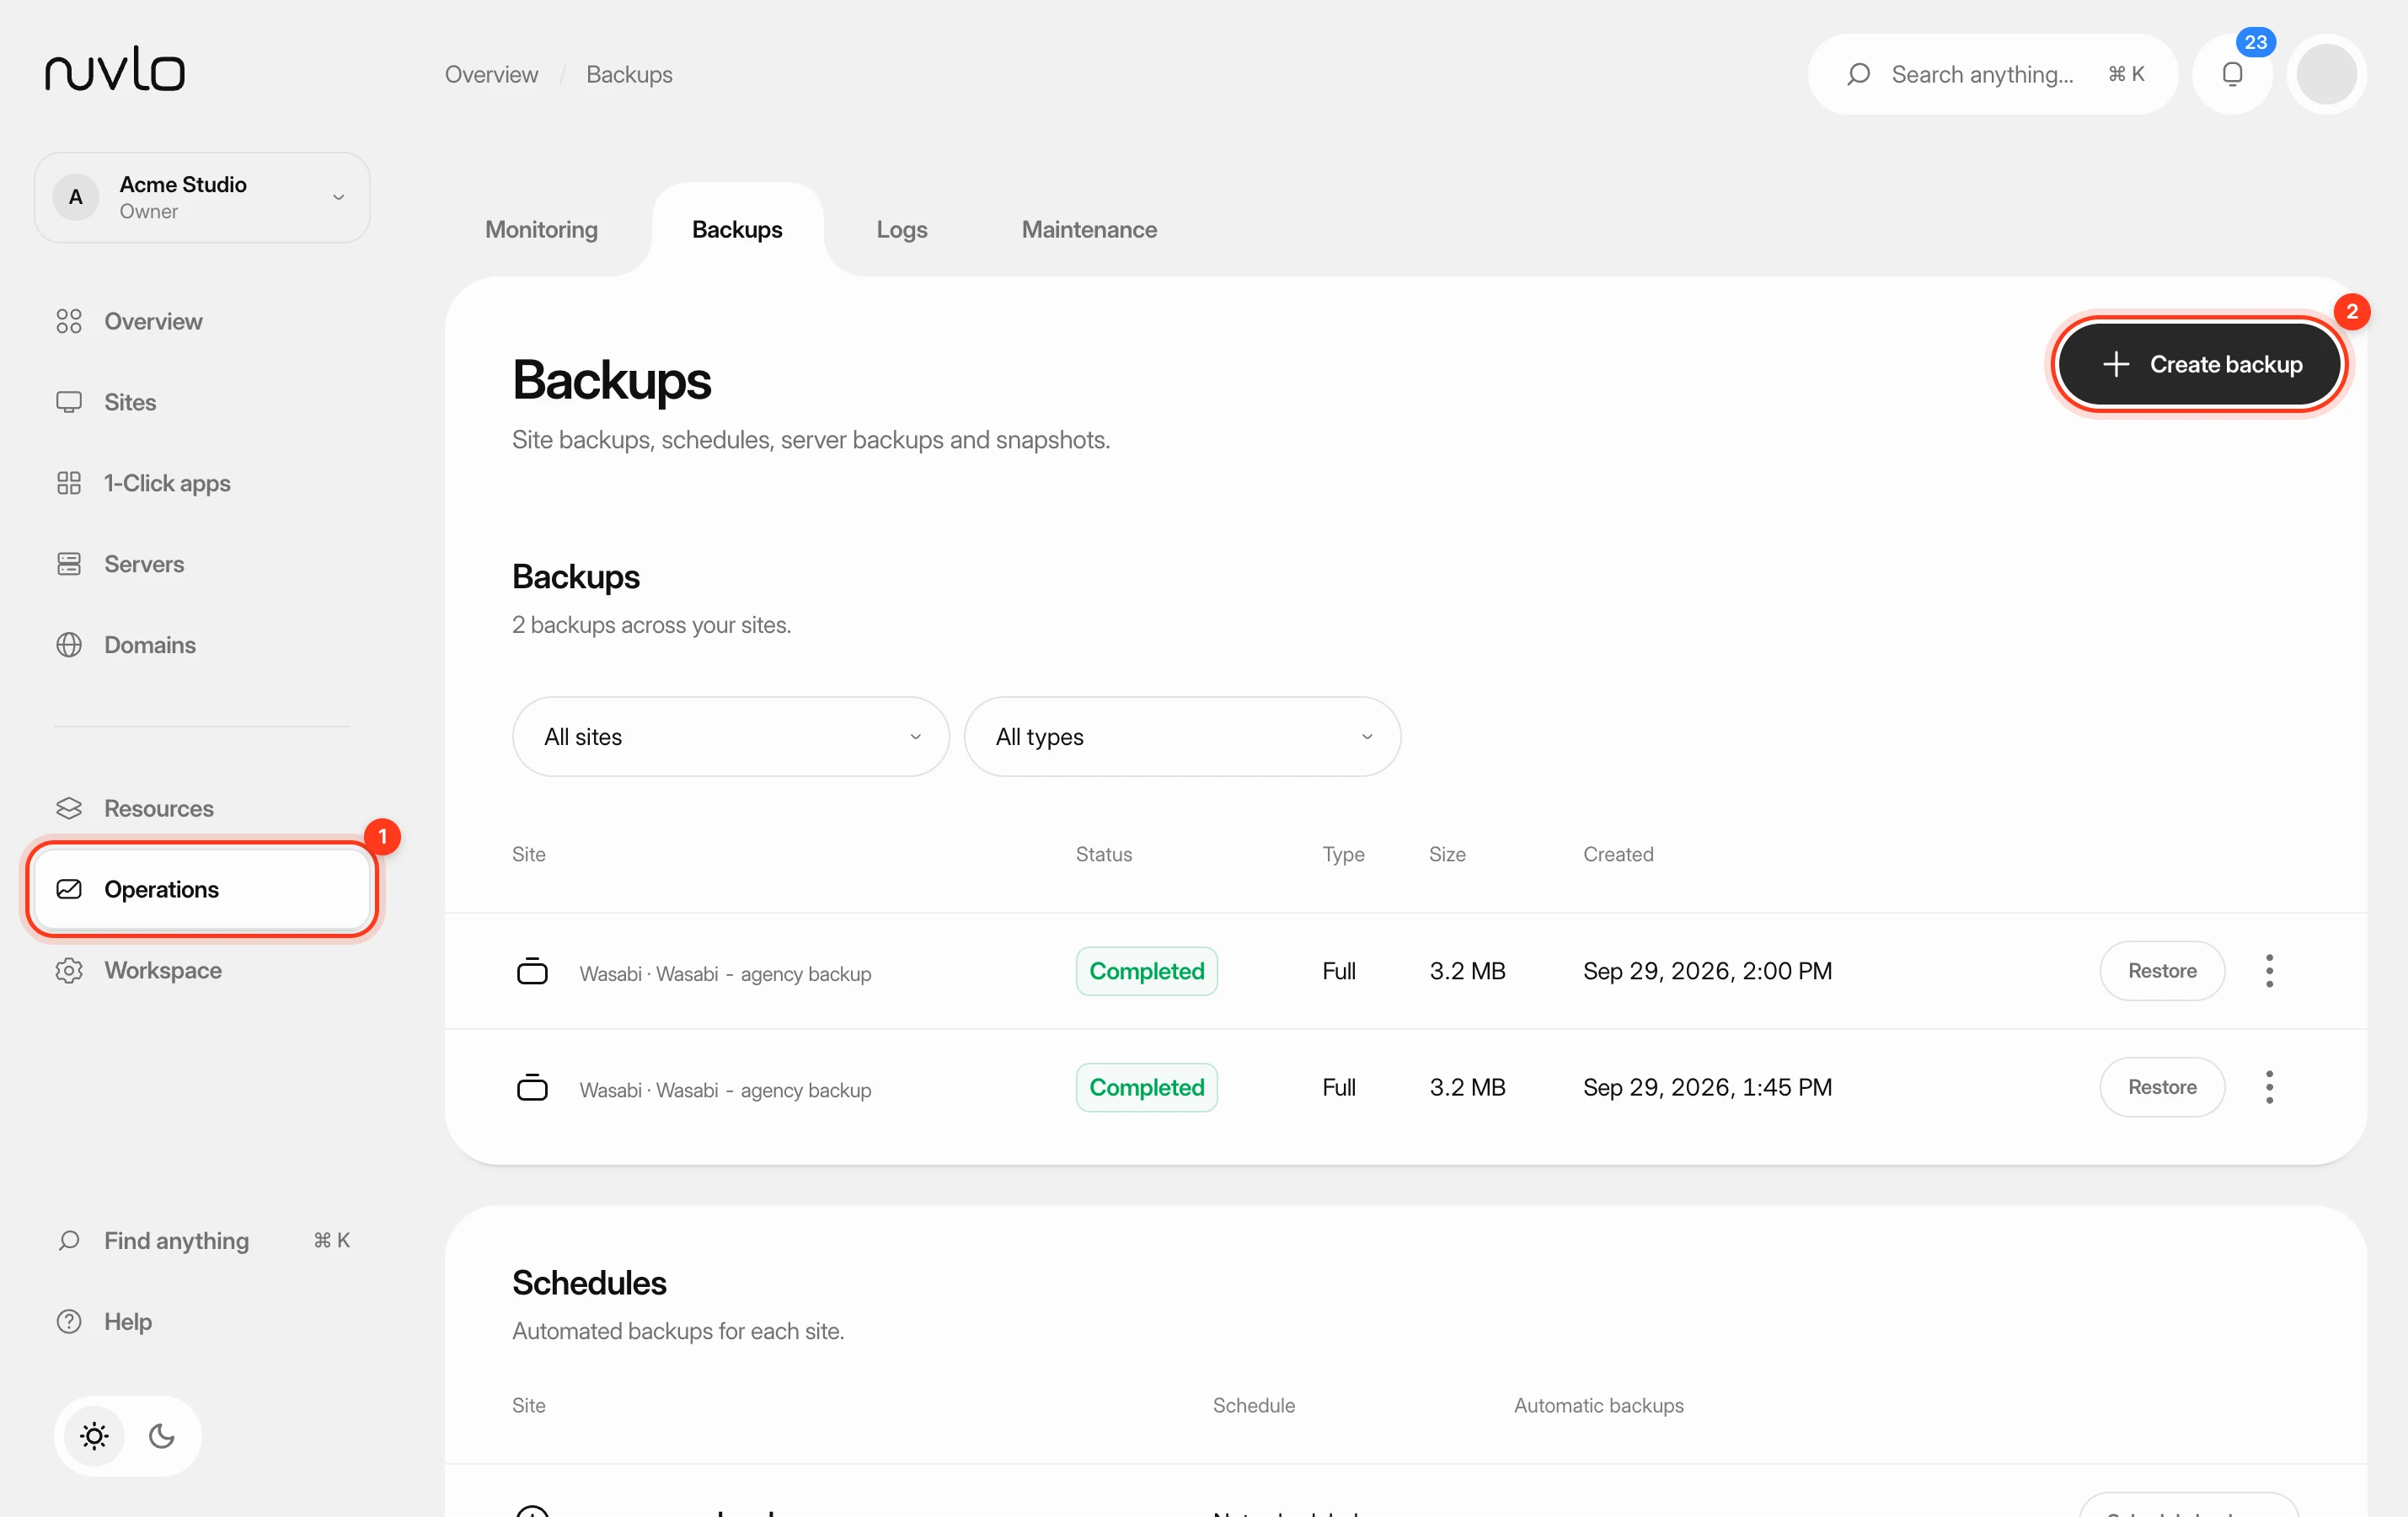 Back up a siteMake a backup of a site’s database, files or both whenever you need one, stored in your own backup storage.
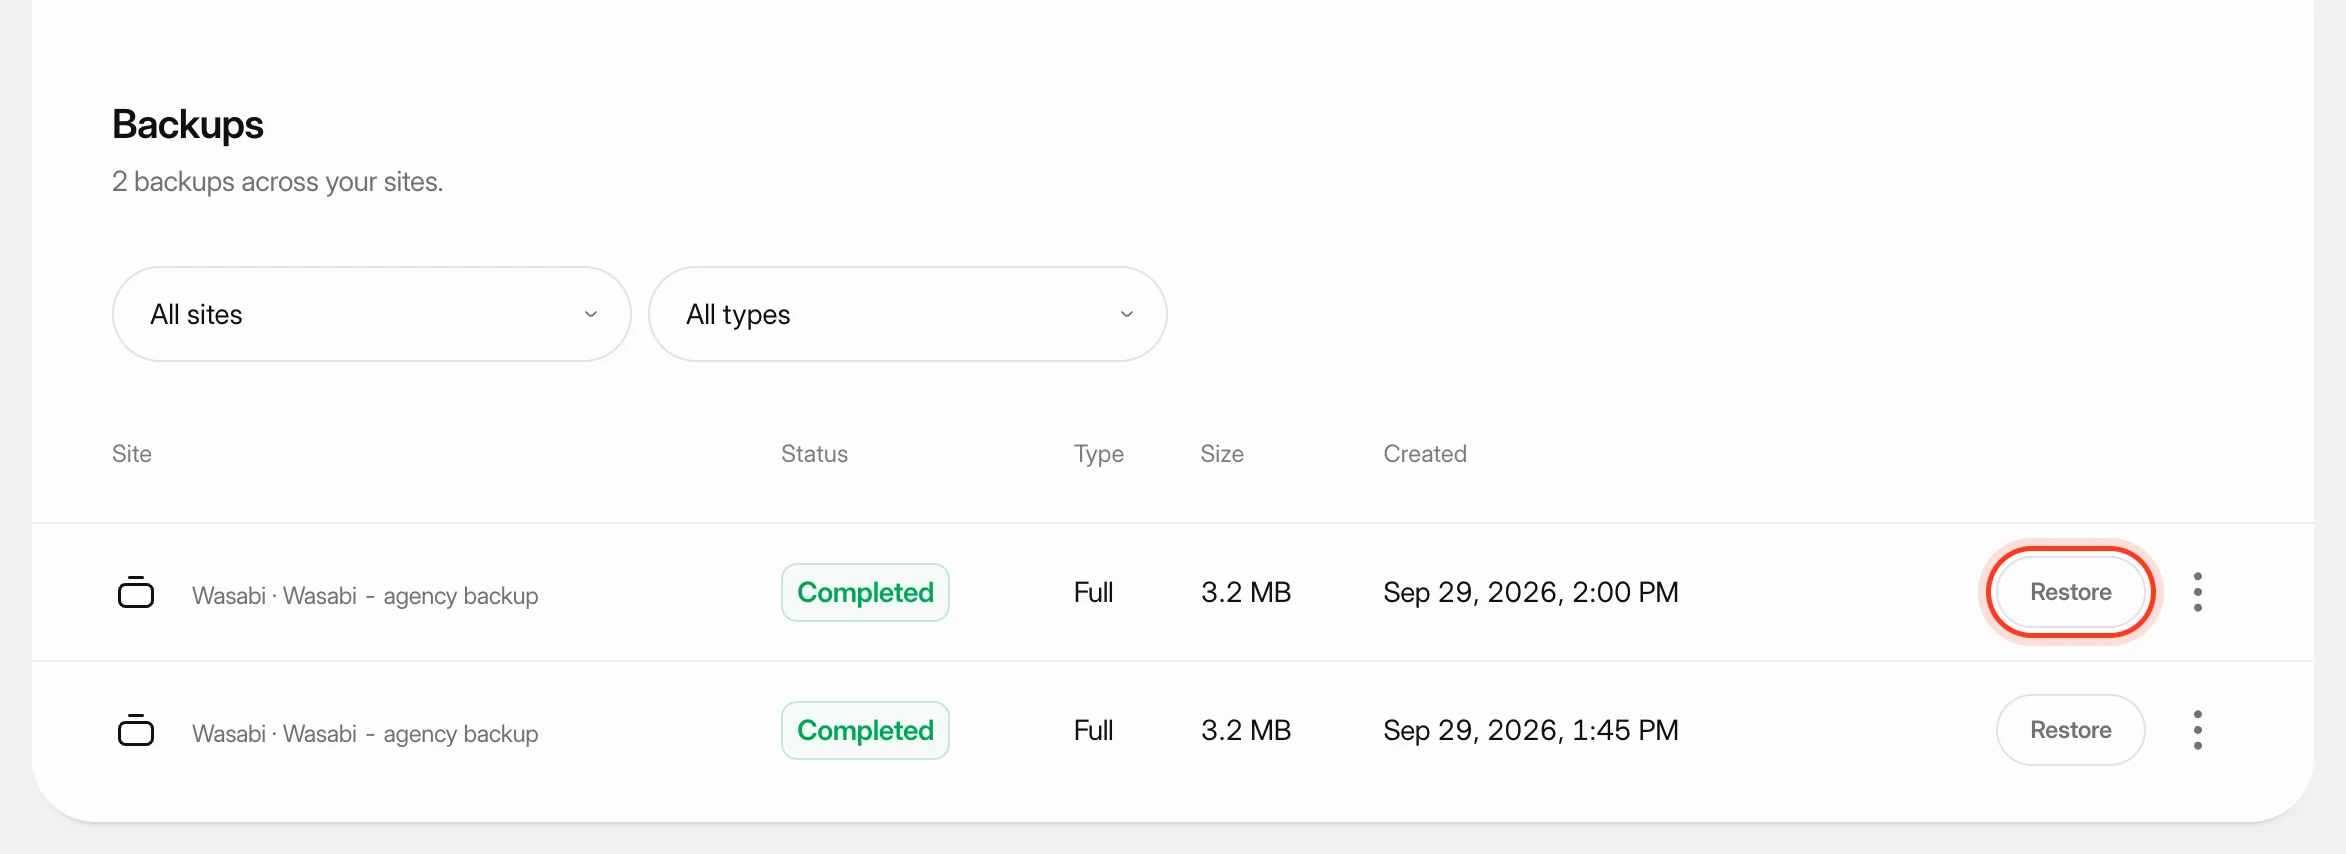 Restore a site backupRoll a site back to one of its backups: the database, the files, or both.
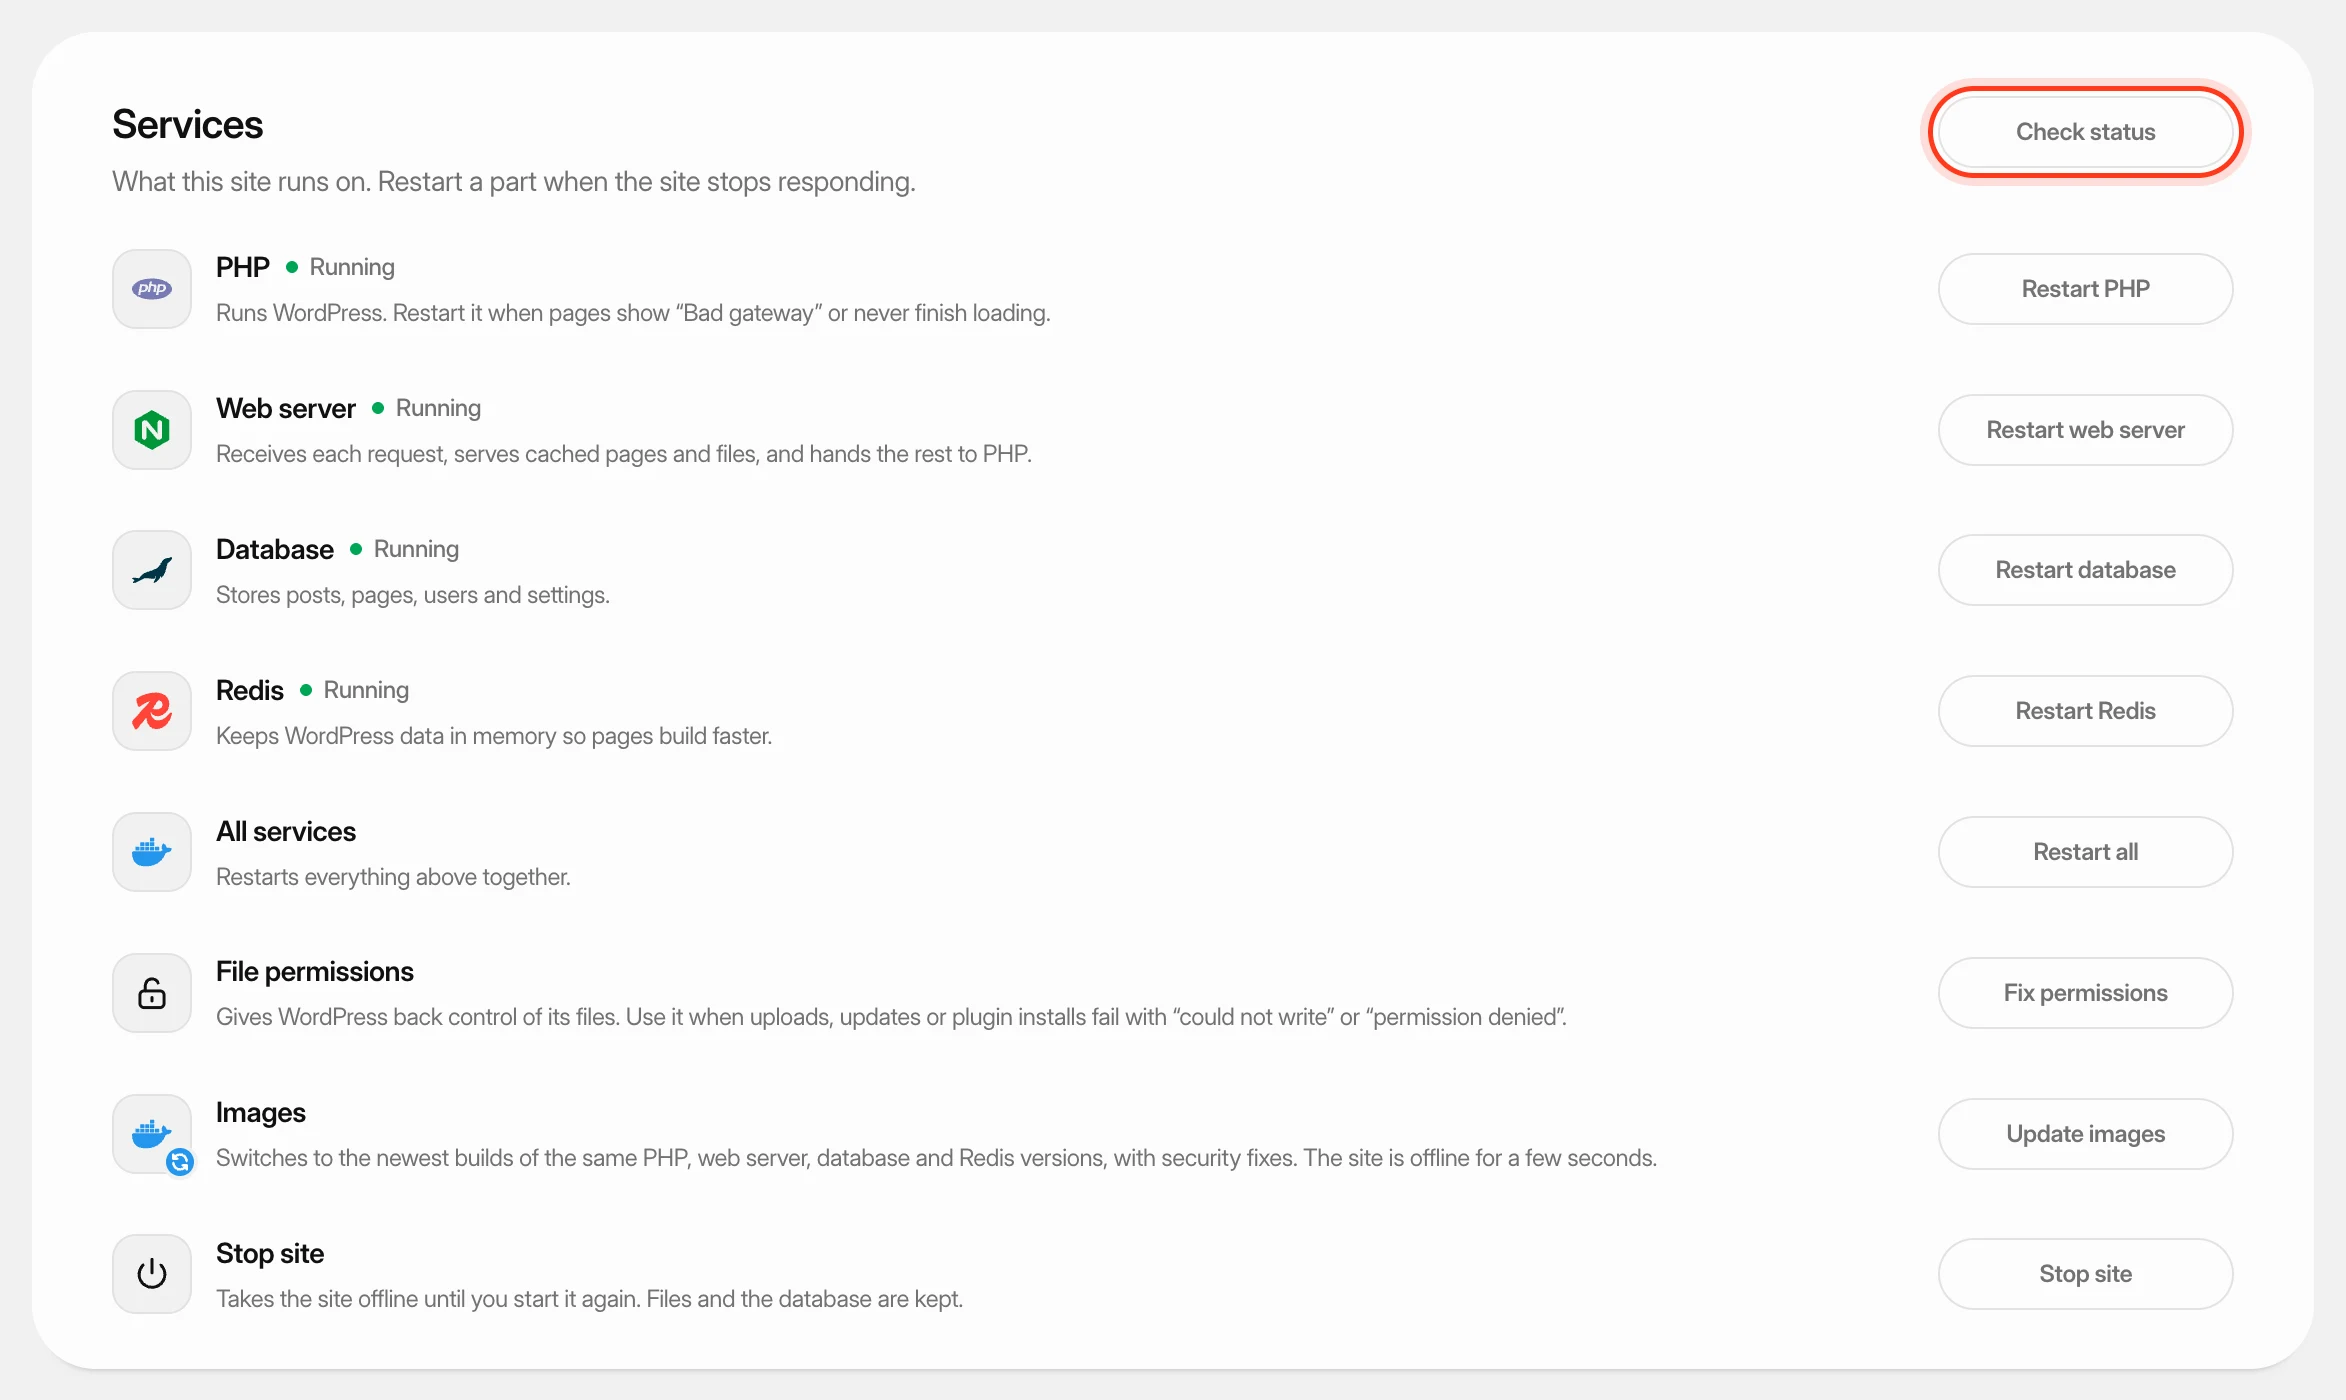 Restart a WordPress site’s servicesCheck the parts a WordPress site runs on, restart PHP, the web server, the database or Redis, fix file permissions, update their images, and stop or start the site.
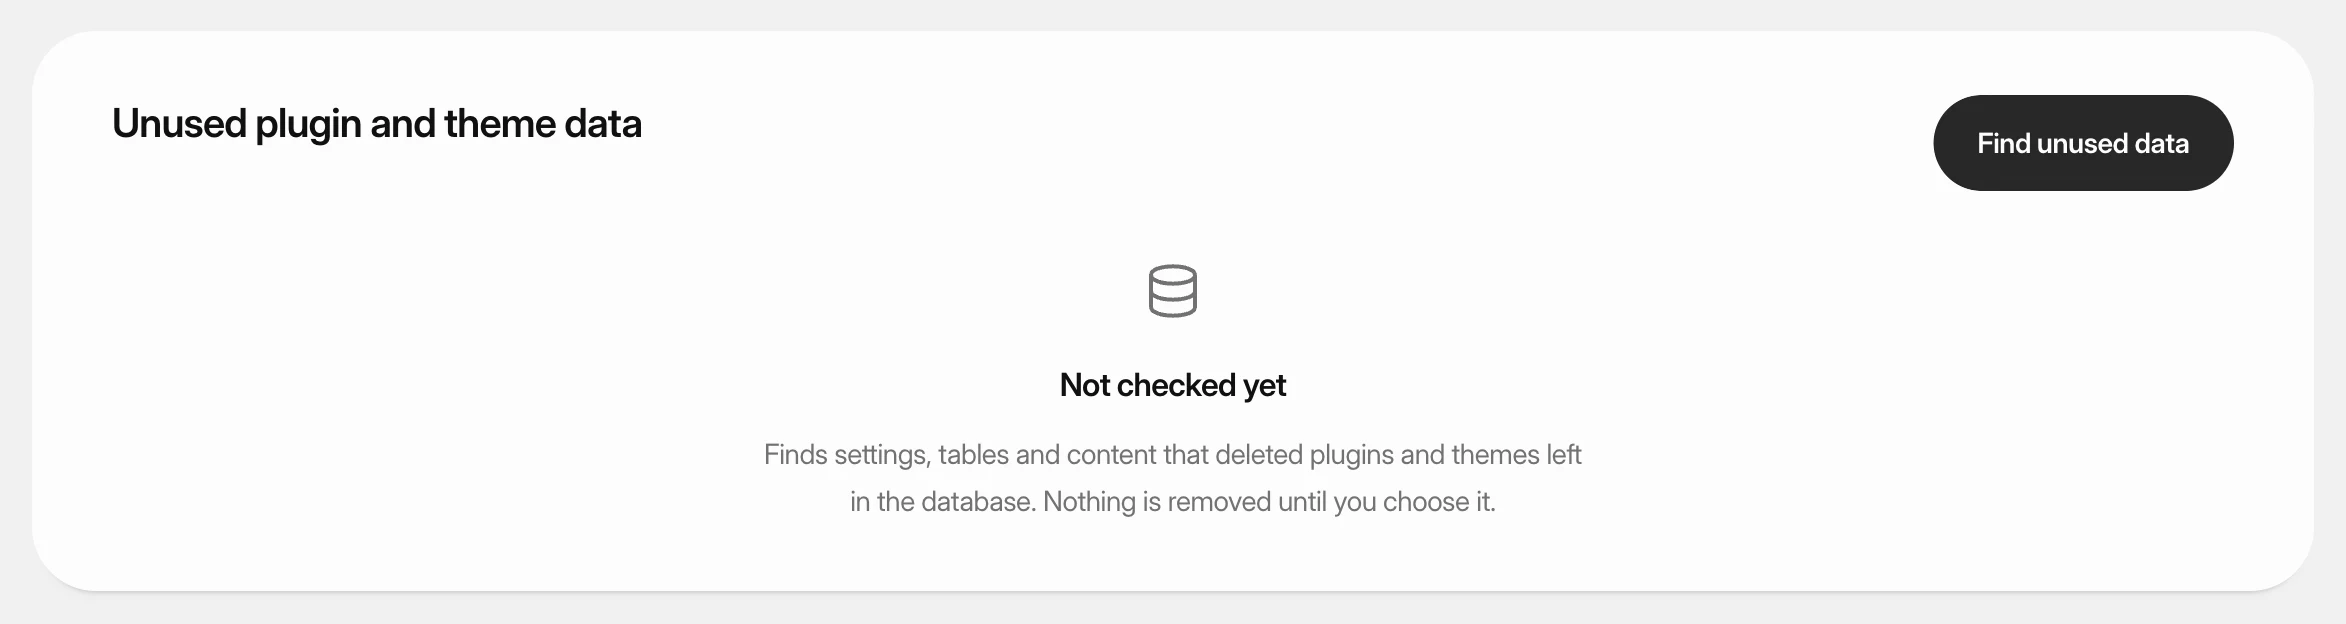 Remove data left by deleted pluginsFind settings, tables and content that deleted plugins and themes left in a WordPress database, remove what you choose, and put the database back if you need to.