
Set response headers
Choose the security and policy headers a static site, PHP site or Node.js app sends with every page and file, such as a Content Security Policy.
On this page
Before you start
- A static site, PHP site or Node.js app that has been deployed at least once.
- Permission to manage sites in your Nuvlo account.
Step 1 Open the headers
Open the site from Sites, click the Security tab and then Headers. Nuvlo reads the current headers from the server. A new site sends these by default:
| Header | Default value |
|---|---|
Strict-Transport-Security | max-age=15552000 |
X-Content-Type-Options | nosniff |
X-Frame-Options | SAMEORIGIN |
Referrer-Policy | strict-origin-when-cross-origin |
Step 2 Add, change or remove headers
Click Add header. Type the name; common ones such as Content-Security-Policy, Permissions-Policy or Cross-Origin-Opener-Policy are suggested as you type. Enter the value.
Edit a value in place, or click the bin to remove a header. Removals take effect when you save.
If a Content-Security-Policy sets frame-ancestors, browsers ignore X-Frame-Options, and Nuvlo suggests removing it.
Step 3 Save the headers
Click Save headers to the site. The site sends the new headers right away; no redeploy is needed.
To go back to the defaults, click Use Nuvlo's default headers and save.
Rules for headers
- Up to 25 headers per site, each value up to 4,096 characters.
- Names use letters, numbers and dashes. Each name can appear once.
- Values can't contain
$or\, and can use either single or double quotes, not both. - Headers set by the server or the app can't be changed here, for example
Cache-Control,Content-Type,Set-Cookie,LocationorServer.
WordPress sites manage their security headers with the Security headers switch on their Security tab instead.
Related guides
 Run a launch checkFind leaked keys, databases anyone can read and files that shouldn't be public on a static site, PHP site or Node.js app, and fix them from the dashboard.
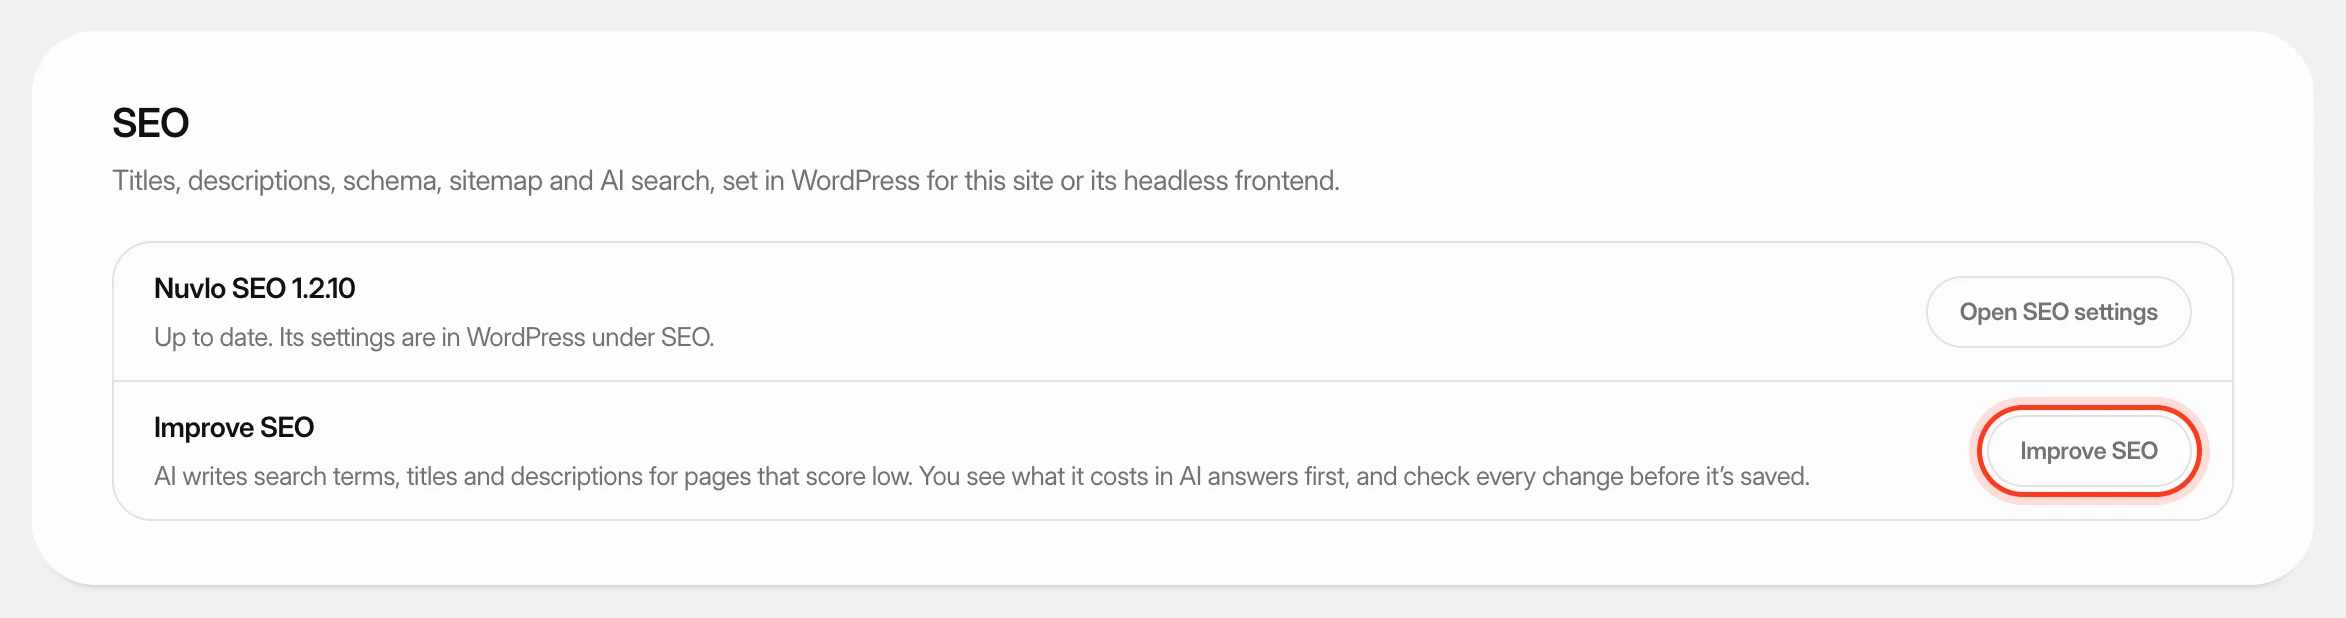 Improve SEO and control AI botsLet AI write better search titles and descriptions for a WordPress site's weakest pages, and decide which AI crawlers may read any of your sites.
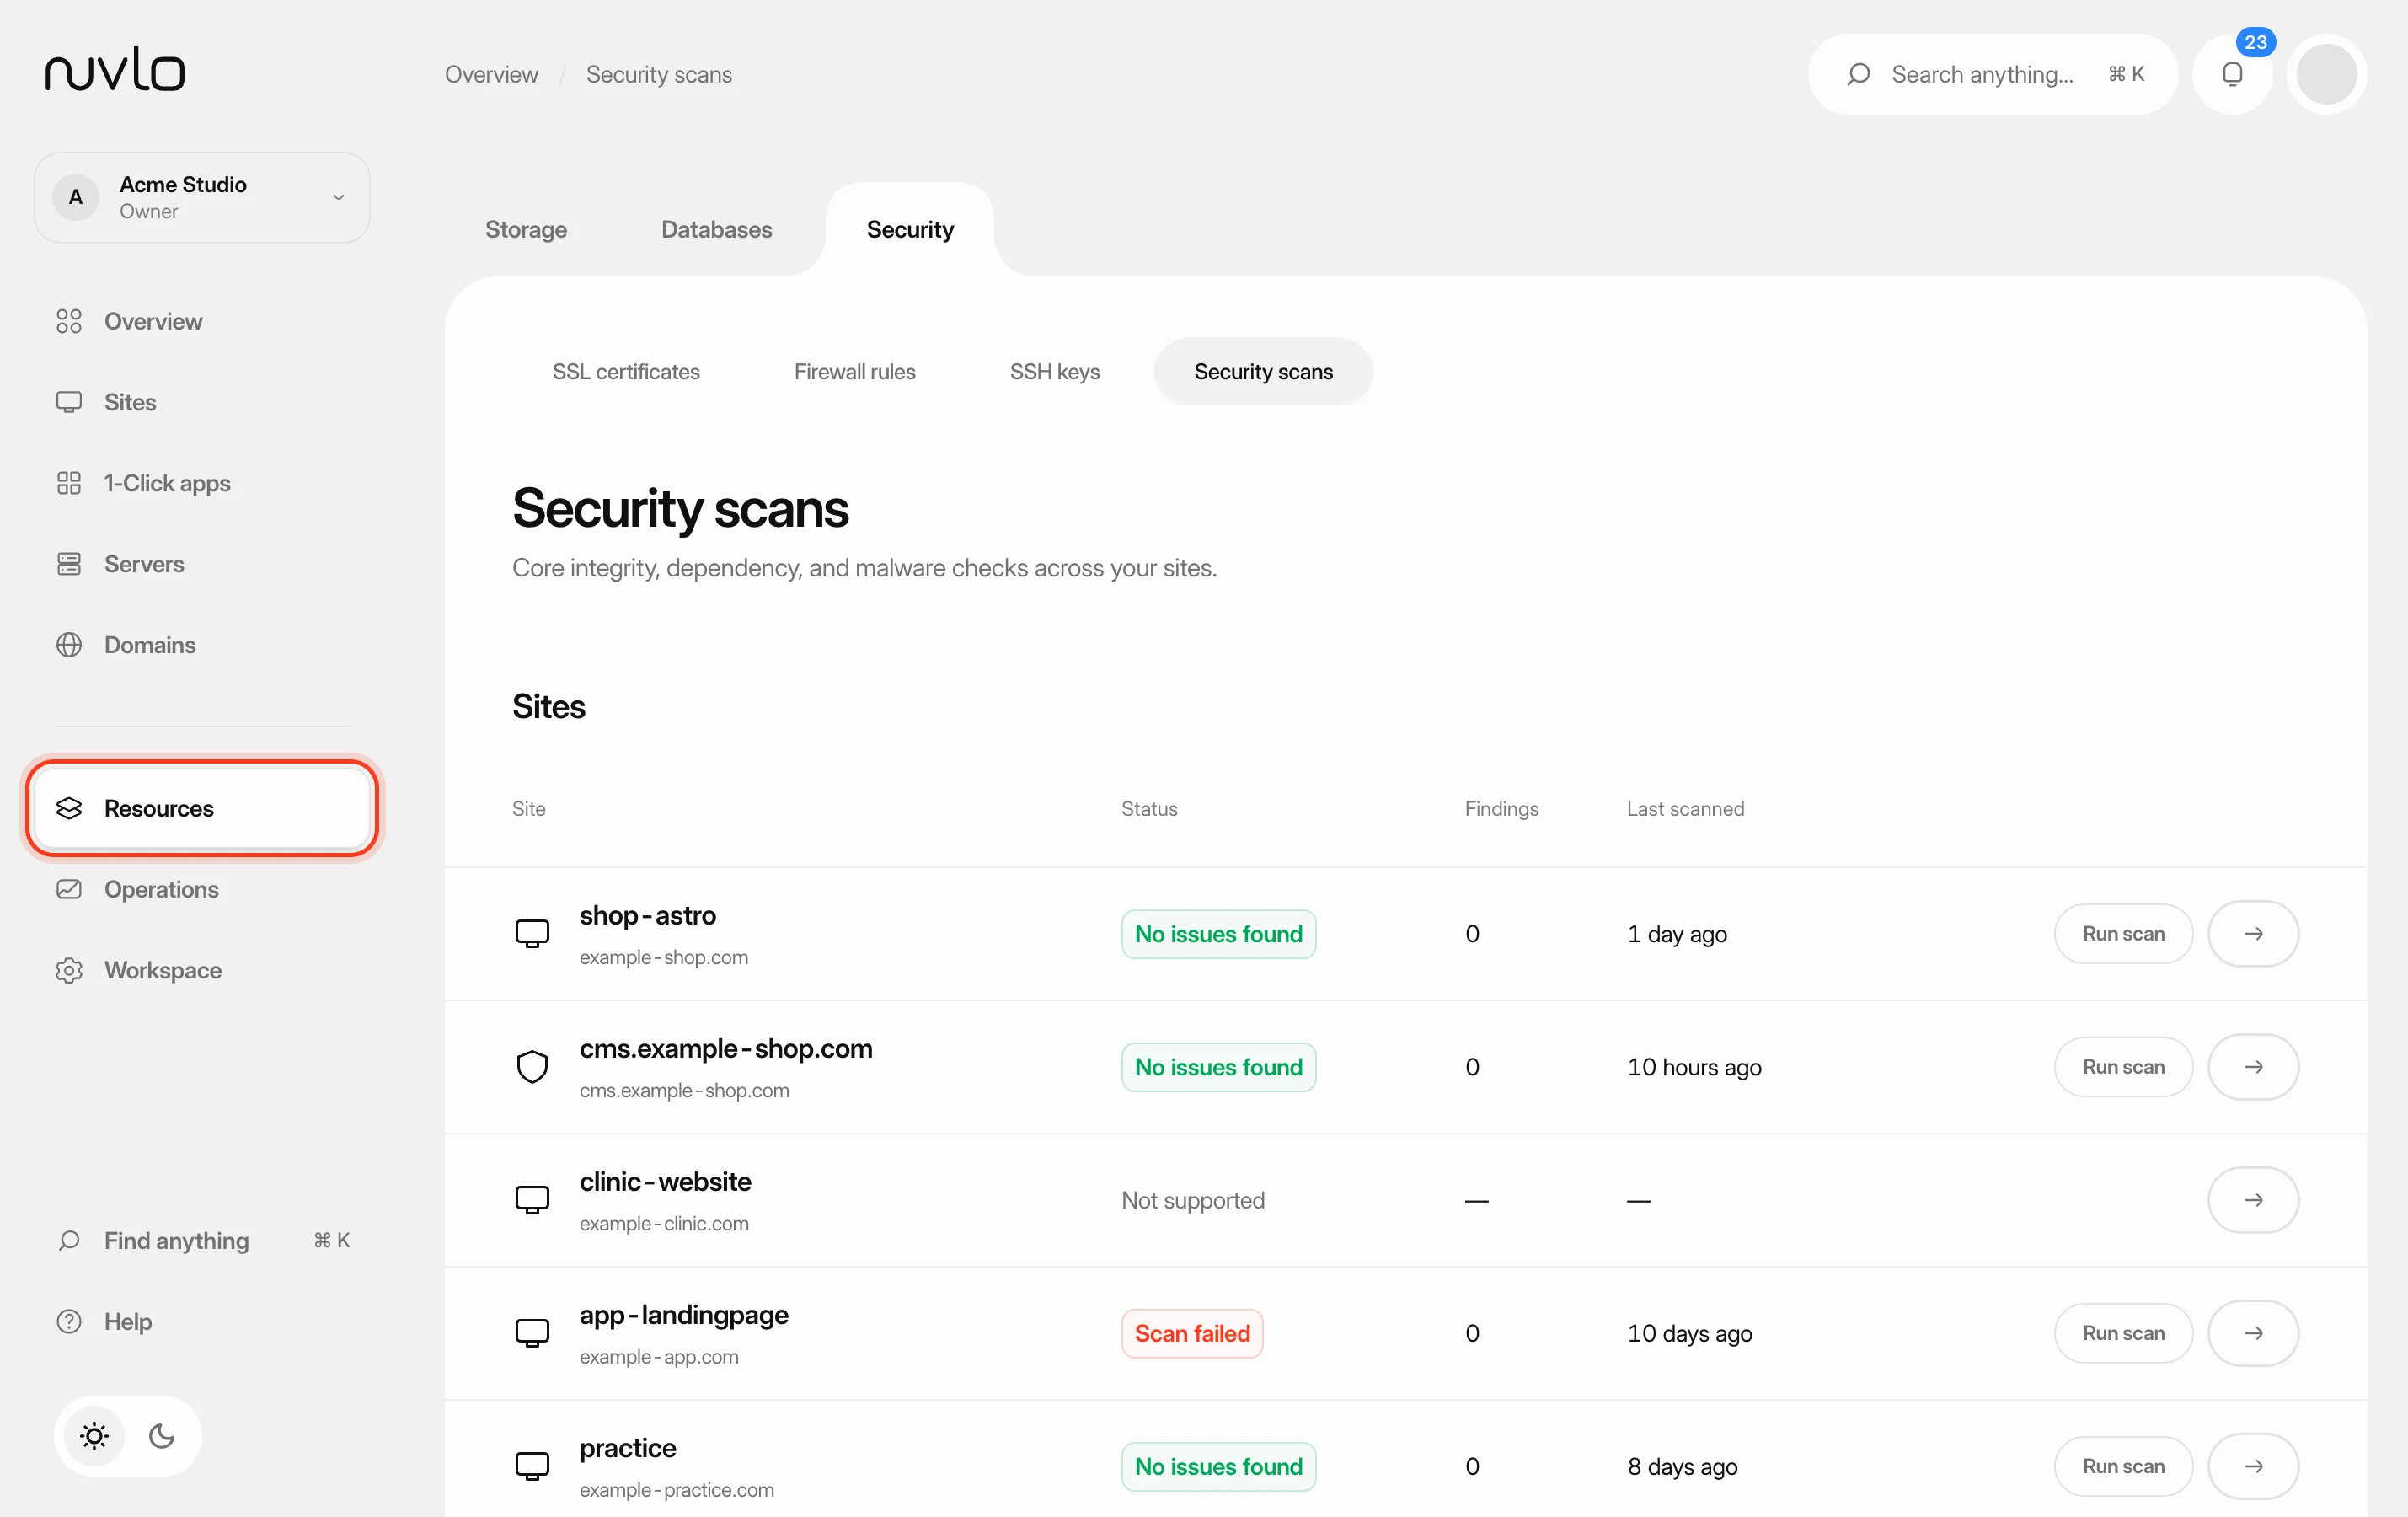 Scan your sites for security issuesCheck WordPress sites and Node applications for malware and known vulnerabilities, deal with what the scan finds and let scans run on a schedule.