
Deploy a Node.js app
Put a Nuxt, Next.js, SvelteKit, Astro, Express or other Node.js app from GitHub online. Nuvlo detects how to build it, keeps it running and deploys every push.
On this page
- Step 1: Start a new site
- Step 2: Connect GitHub
- Step 3: Import the repository
- Step 4: Check the detected build settings
- Step 5: Set the branch and domain
- Step 6: Add environment variables
- Step 7: Review and deploy
- Step 8: Follow the first deploy
- Point the domain at the server
- Find your way around the app's page
- Troubleshooting
Before you start
- An active server of type Application or General purpose. See Create a server.
- The app in a GitHub repository. Node.js apps deploy from GitHub only; GitLab and Bitbucket are marked as coming soon.
- A domain or subdomain for the app, such as
app.example.com. - Room for another site on your plan. See Usage and limits.
Step 1 Start a new site
Go to Sites, click Create and choose Site. Under Server, pick an application or general-purpose server, then click Node.js app under Site type.
The setup moves to Connect your project.
Step 2 Connect GitHub
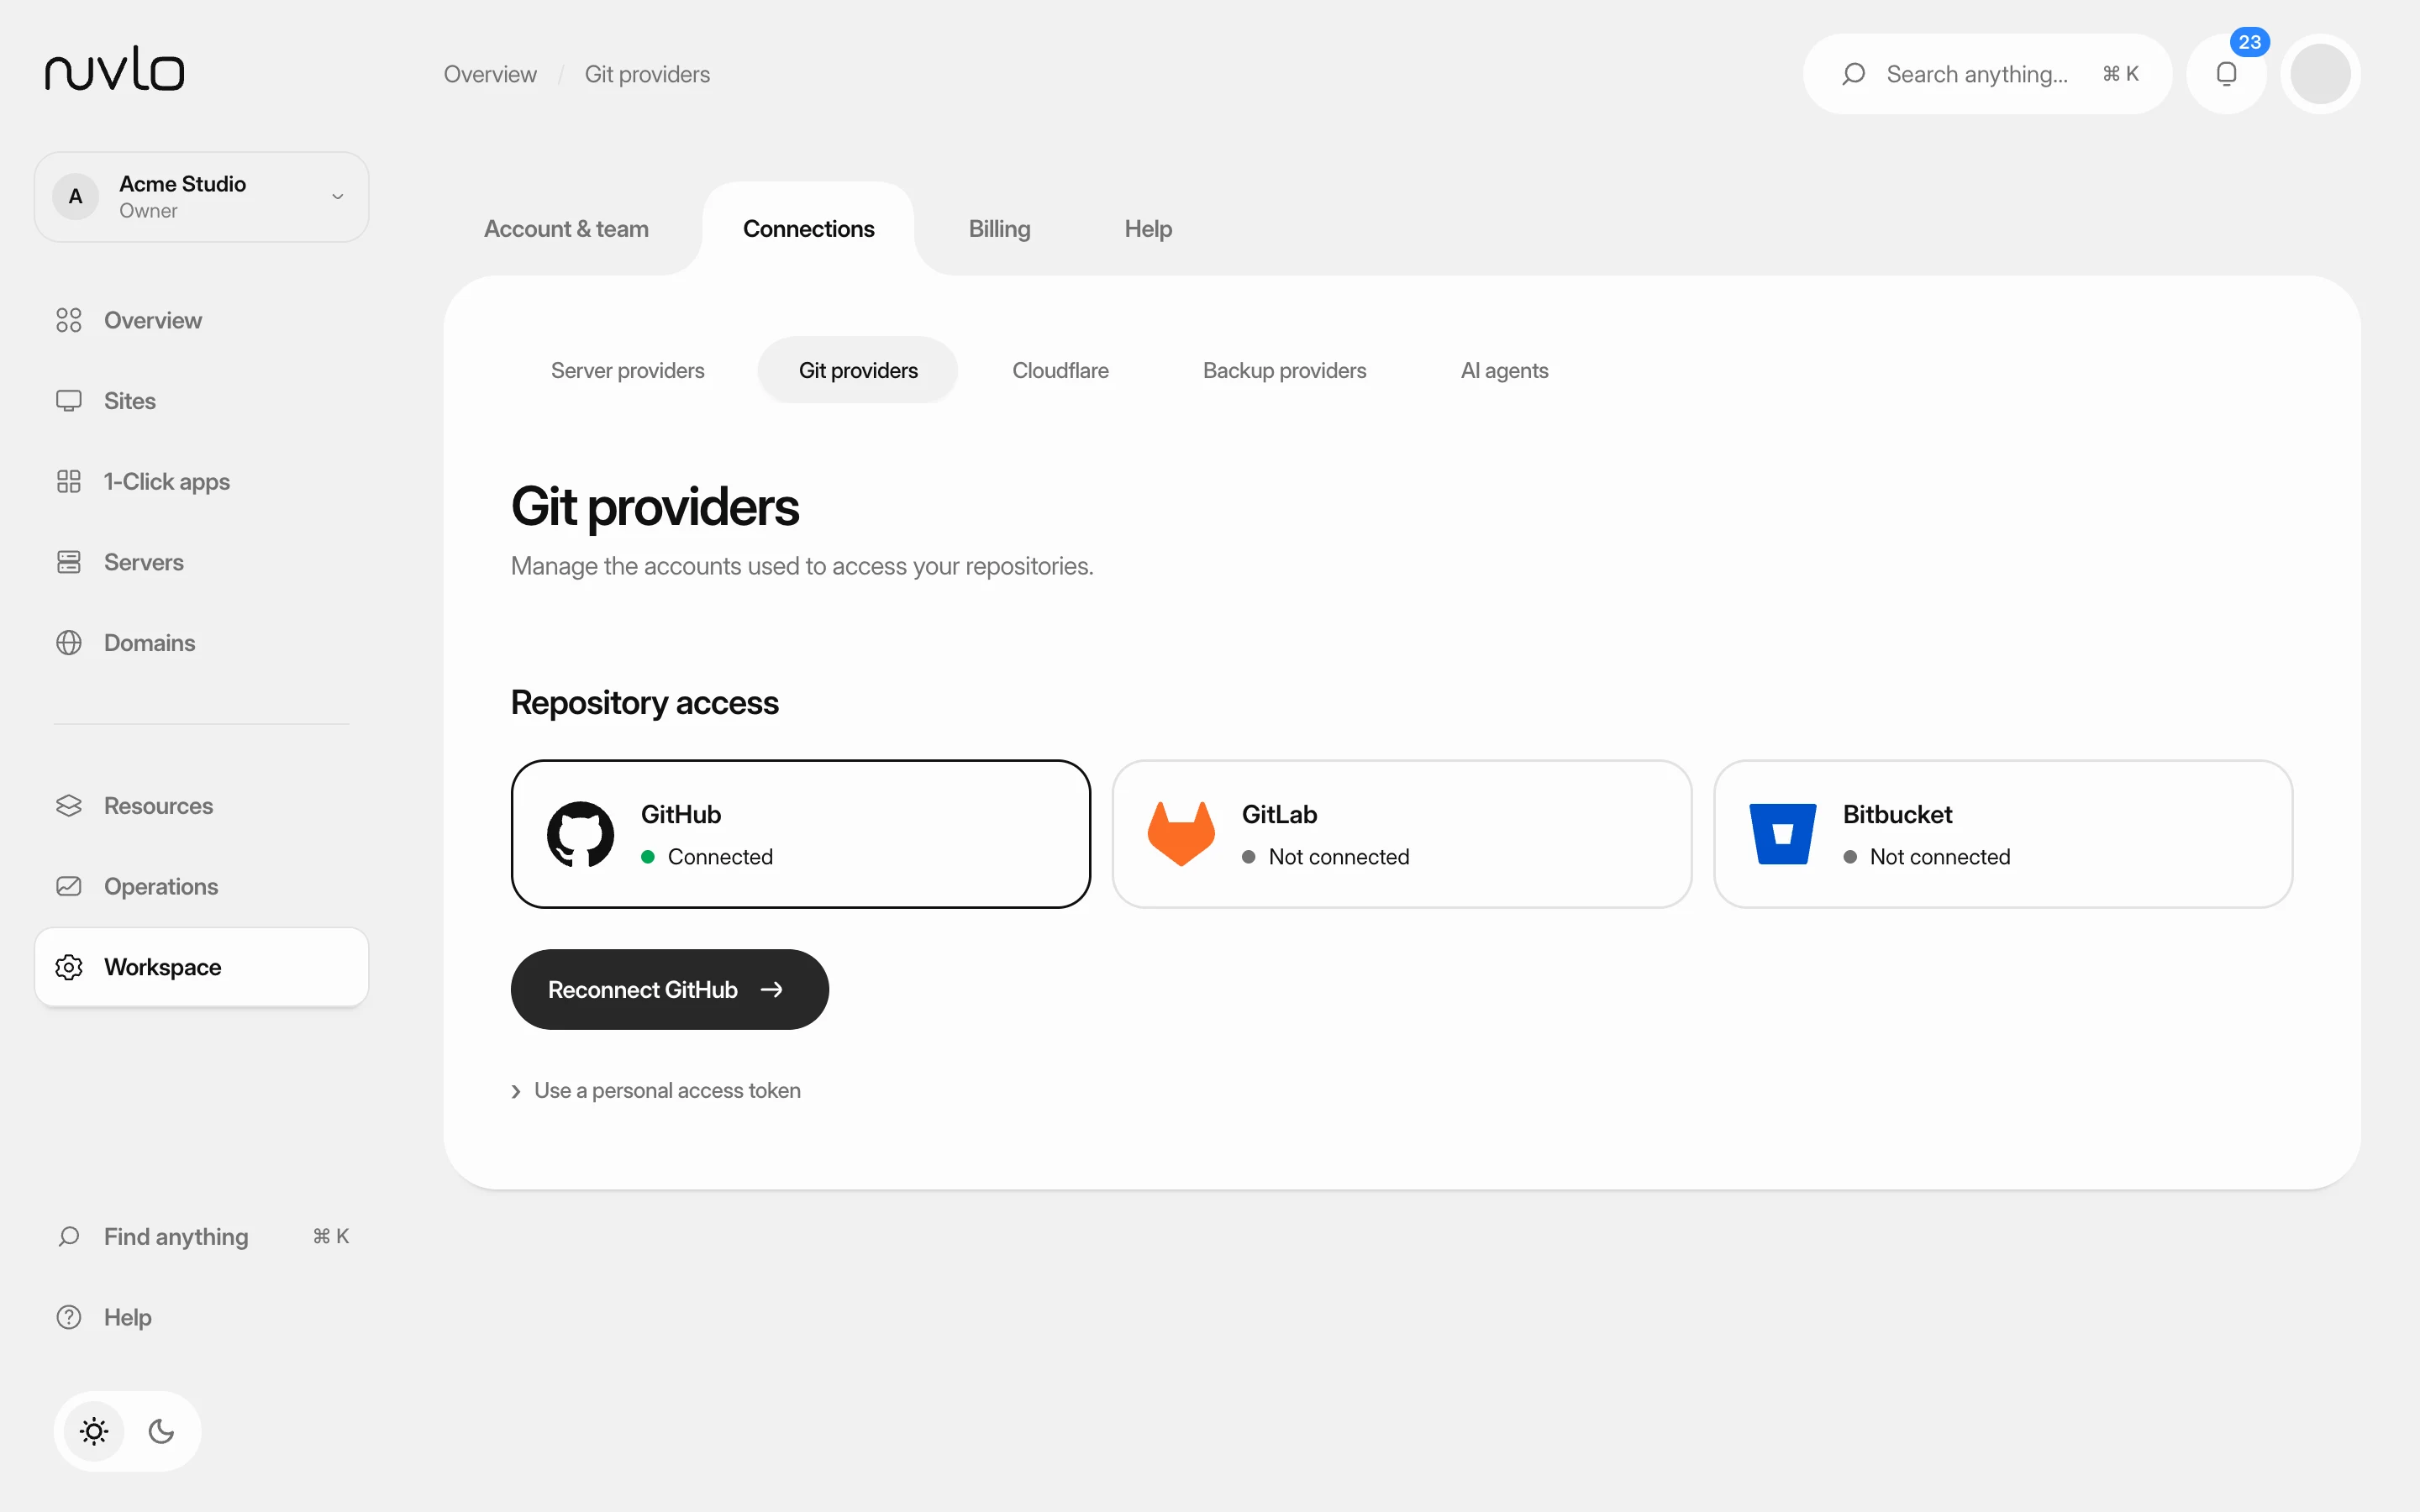
The card Import Git repository shows the Git providers with GitHub selected. If GitHub isn't connected yet, click Connect account and approve access in the window that opens. See Connect GitHub.
If you didn't pick a server on the first step, choose a compatible one in the Server list first.
Step 3 Import the repository
Under Select repository, find the app with Search repositories… and click it. Each entry shows the main language, when it was last updated and whether it's private.
Step 4 Check the detected build settings
Nuvlo analyzes the repository and shows what it found, for example Auto-detected: Nuxt · pnpm, plus the database, root folder and Redis use when it detects them. The detected settings are locked; opening Edit build settings unlocks them.
The settings in Edit build settings:
| Setting | What it does |
|---|---|
| Framework | Nuxt, Next.js, Remix, SvelteKit, Astro, Express, Hono or Other. Choosing one fills in the build and start commands. |
| Package manager | npm, pnpm, Bun or Yarn. |
| Database | The database your app uses. This only records your choice; it doesn't create a database. Set the connection in environment variables. See Create a database. |
| Private Redis cache | Nuvlo runs a private, password-protected Redis for this app and sets REDIS_URL for it. Automatic starts at 64 MB and adjusts between 32 and 512 MB; Manual keeps a fixed size. |
| Build command | The command that builds the app, for example nuxt build. |
| Start command | How the app is started and kept running, for example node .output/server/index.mjs or npm run start. |
| Output directory | The folder the build writes to. |
| Root directory | For monorepos, the folder of the app. Leave / otherwise. |
| Port | Leave it blank and Nuvlo assigns one. If you set it, use 1024–65535. |
| Node.js version | The Node.js version for building and running the app. |
Step 5 Set the branch and domain
Below the build settings, check the Server, enter the Deployment branch (the repository's default branch is filled in) and the Domain the app answers on.
Open Domain redirects to choose how the www address behaves: No redirect, www → root or root → www. Nuvlo selects the usual choice for the domain you typed.
Click Next: environment variables.
Step 6 Add environment variables
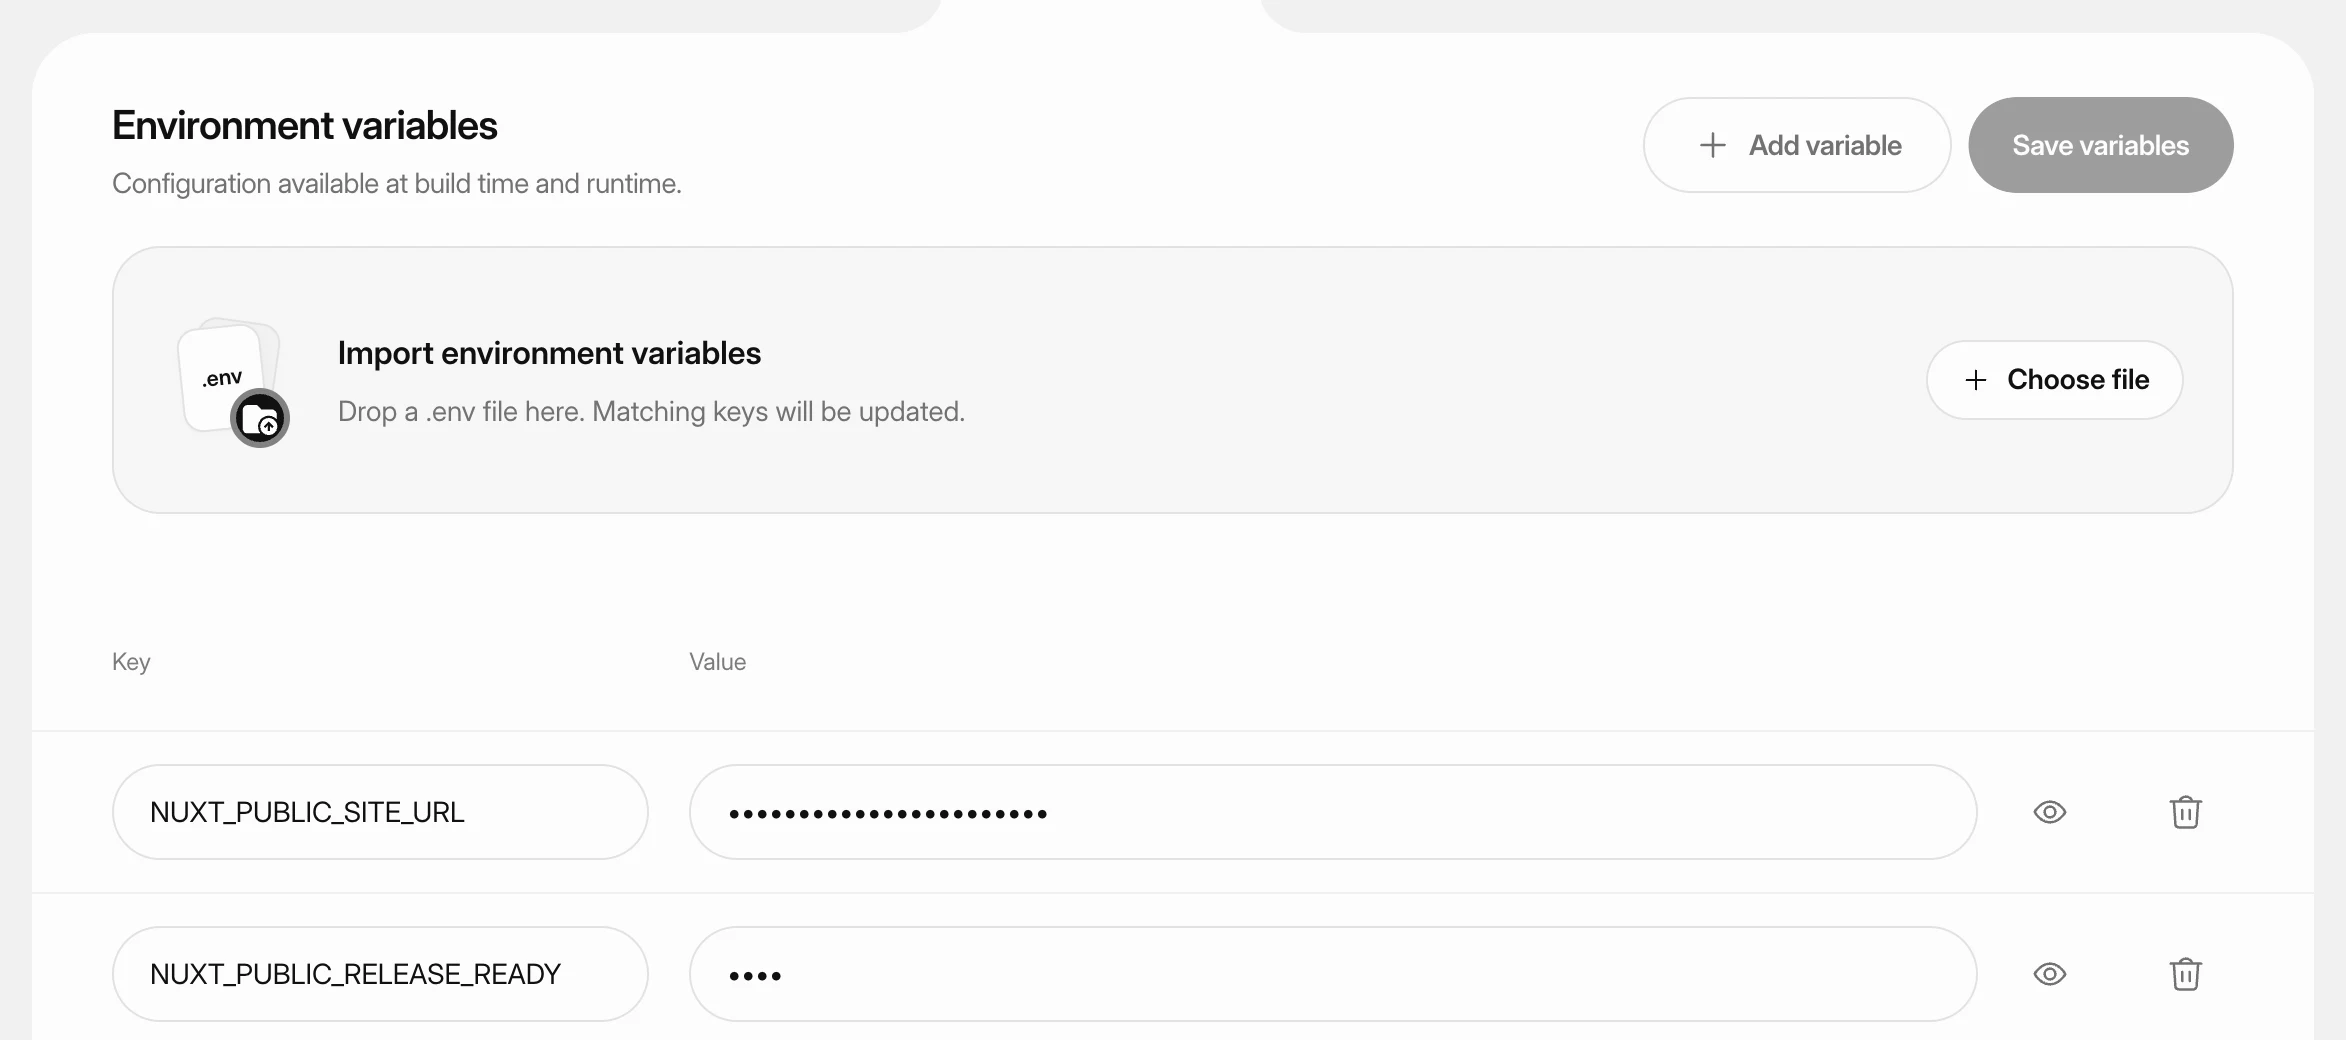
Drop your .env file on Drop your .env file here, or click Add variable for each one. Values are hidden; the eye button shows them. Variables are written to a .env file on the server and loaded when the app runs.
Leave out REDIS_URL when the private Redis cache is on; Nuvlo sets it. PORT and HOST are also managed by Nuvlo. See Set environment variables.
Click Next: review.
Step 7 Review and deploy
Check the summary: repository and branch, server, domain, framework and Node.js version, commands, port, database, cache and the names of your variables.
Leave Auto-deploy on to deploy every push to the branch. Then click Deploy site.
Step 8 Follow the first deploy
Nuvlo creates the site, adds a read-only deploy key to the repository (and, with Auto-deploy on, the webhook), clones it, prepares Redis if needed, installs dependencies, builds, starts the app and configures Nginx.
When it reads Your app is live, click Open site. If it stops, click Open the deploy log to see what went wrong.
To stop a deploy that is still running, click Cancel deploy. This stops the build and removes everything it created, as if the site had never been started.
Point the domain at the server
If the domain is in a Cloudflare account you connected, Nuvlo creates the DNS record during the deploy. Otherwise the progress screen shows which A record to add at your DNS provider. HTTPS is issued automatically once the domain points at the server. See Add a domain and Connect Cloudflare.
Find your way around the app's page
Open the app from Sites. The header shows its status, framework, repository, branch and server, with Visit site and Deploy latest from the branch.
| Tab | What you find there |
|---|---|
| Overview | The live deployment with a preview, resource use, traffic and a setup checklist. |
| Deployments | Every deployment with build logs and rollback. See Deploy from Git and Roll back to an earlier release. |
| Analytics | Traffic, performance and runtime figures. |
| Environment | The app's environment variables. |
| Security | Security scans, the launch check, response headers and AI crawler rules. |
| Monitoring | Uptime and logs. See Logs. |
| Headless | Connecting the app to a WordPress backend. See Headless WordPress. |
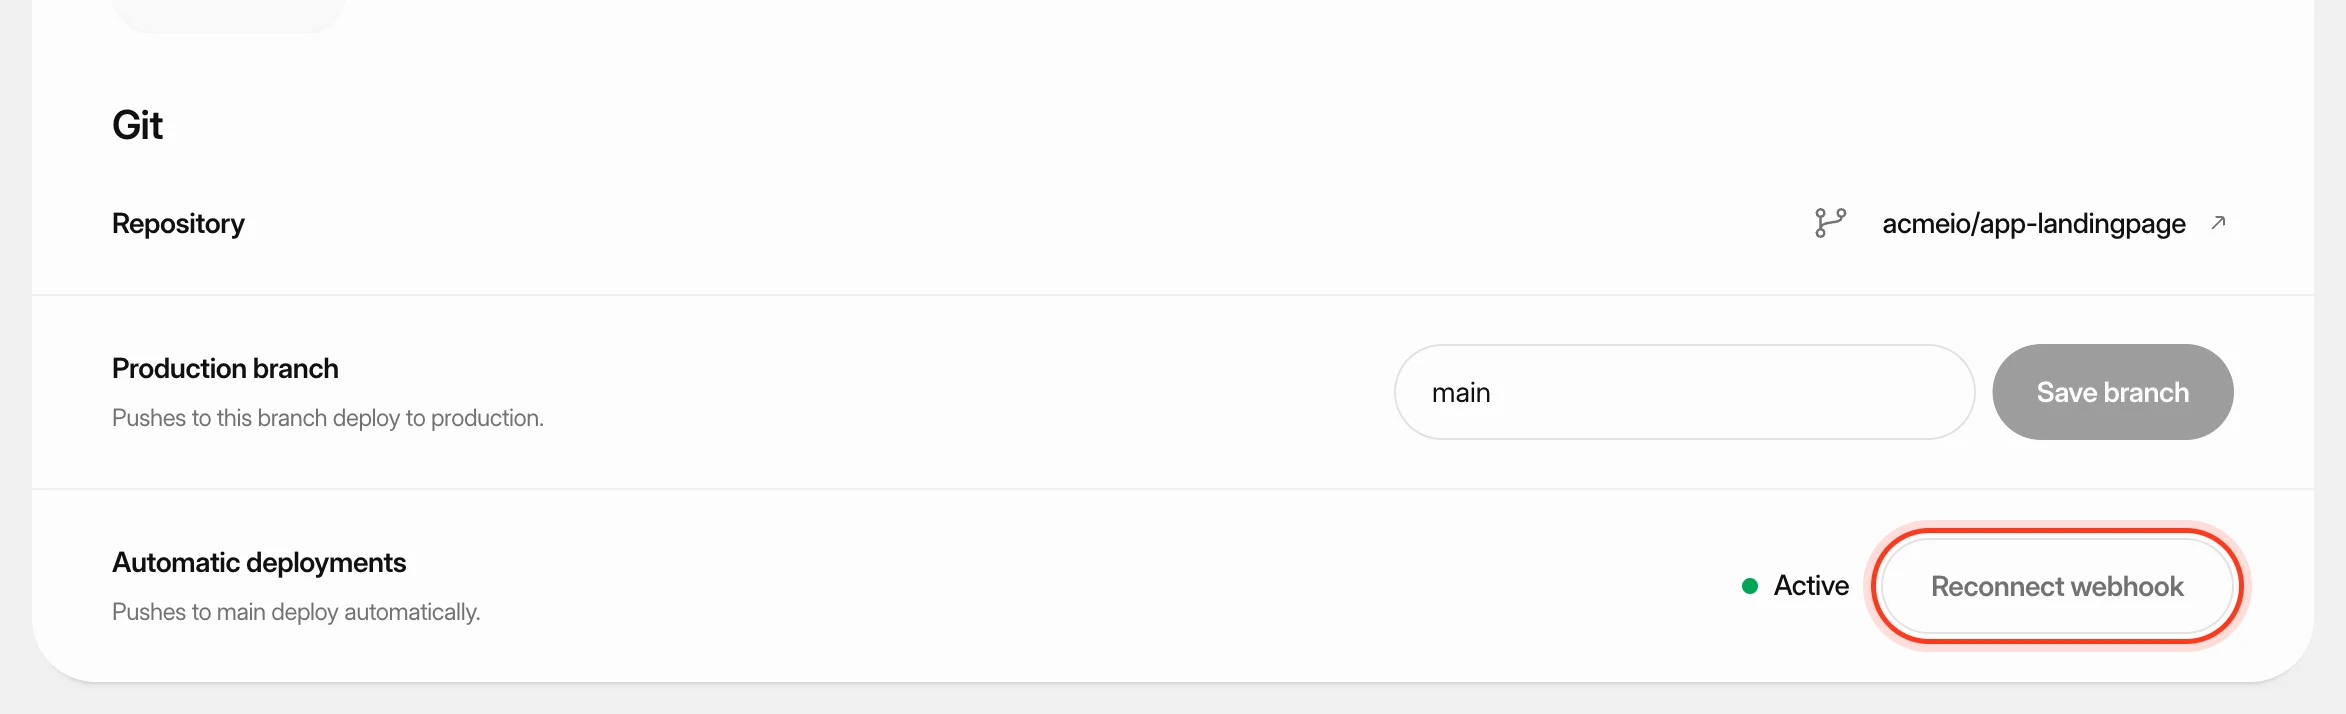
| Settings | Git, the deploy hook, build settings, persistent storage, domains and deleting the app. |
Troubleshooting
- We could not detect this project’s build settings.: enter the framework, commands and folders under Edit build settings yourself.
- Choose an active application or general-purpose server.: the selected server can't run Node.js apps. Pick another one.
- Port … is already in use on this server: leave Port blank, or choose another port.
- REDIS_URL is managed by the private cache.: remove your own
REDIS_URL, or turn off the private Redis cache.
Related guides
 Connect GitHubGive Nuvlo access to your GitHub repositories, so you can deploy sites and apps from them and update them automatically on every push.
 Deploy from GitKeep a site up to date with its GitHub repository: deploy automatically on every push, start a deploy yourself or from another tool, and read the build log when something goes wrong.
 Set environment variablesStore API keys, database settings and other configuration for a static site, PHP site or Node.js app, and apply them with the next deploy.
 Keep data between releasesMake sure uploads, SQLite databases and other files your Node.js app writes survive every deploy and rollback, by keeping their folders in shared storage.