Browse and manage storage buckets
See the buckets in your connected storage accounts, look through the backups inside them, and create or delete buckets.
Before you start
- At least one storage account connected. See Connect backup storage.
- To create or delete buckets: a role that can manage integrations. By default that is Owner, Admin and Developer.
Step 1 Open Storage
In the sidebar, select Resources and then Storage, or go to Storage. Each connected storage account has its own card listing its buckets and when they were created.
Click the refresh button on a card to load its buckets again after you changed something at your provider.
Step 2 Look inside a bucket
Click a bucket’s name. You see its folders and files with Name, Size and Modified. Backups are in one folder per site, named after the site’s domain.
Click a folder to open it. The path above the list takes you back up; Root is the top of the bucket.
This view is for looking only. To bring a backup back, use Restore a site backup.
Step 3 Create a bucket
Click Create bucket at the top of the Storage page. Pick the Provider (the storage account), enter a Bucket name and click Create bucket.
Bucket names are global at most providers, so a name someone else already uses won’t work.
Delete a bucket
Open the bucket’s … menu, choose Delete bucket and confirm. The bucket is removed at your storage provider.
Storage providers only delete empty buckets, so the delete fails while the bucket still holds backups. Delete the backups from Backups first, so they also leave your backup list.
Related guides
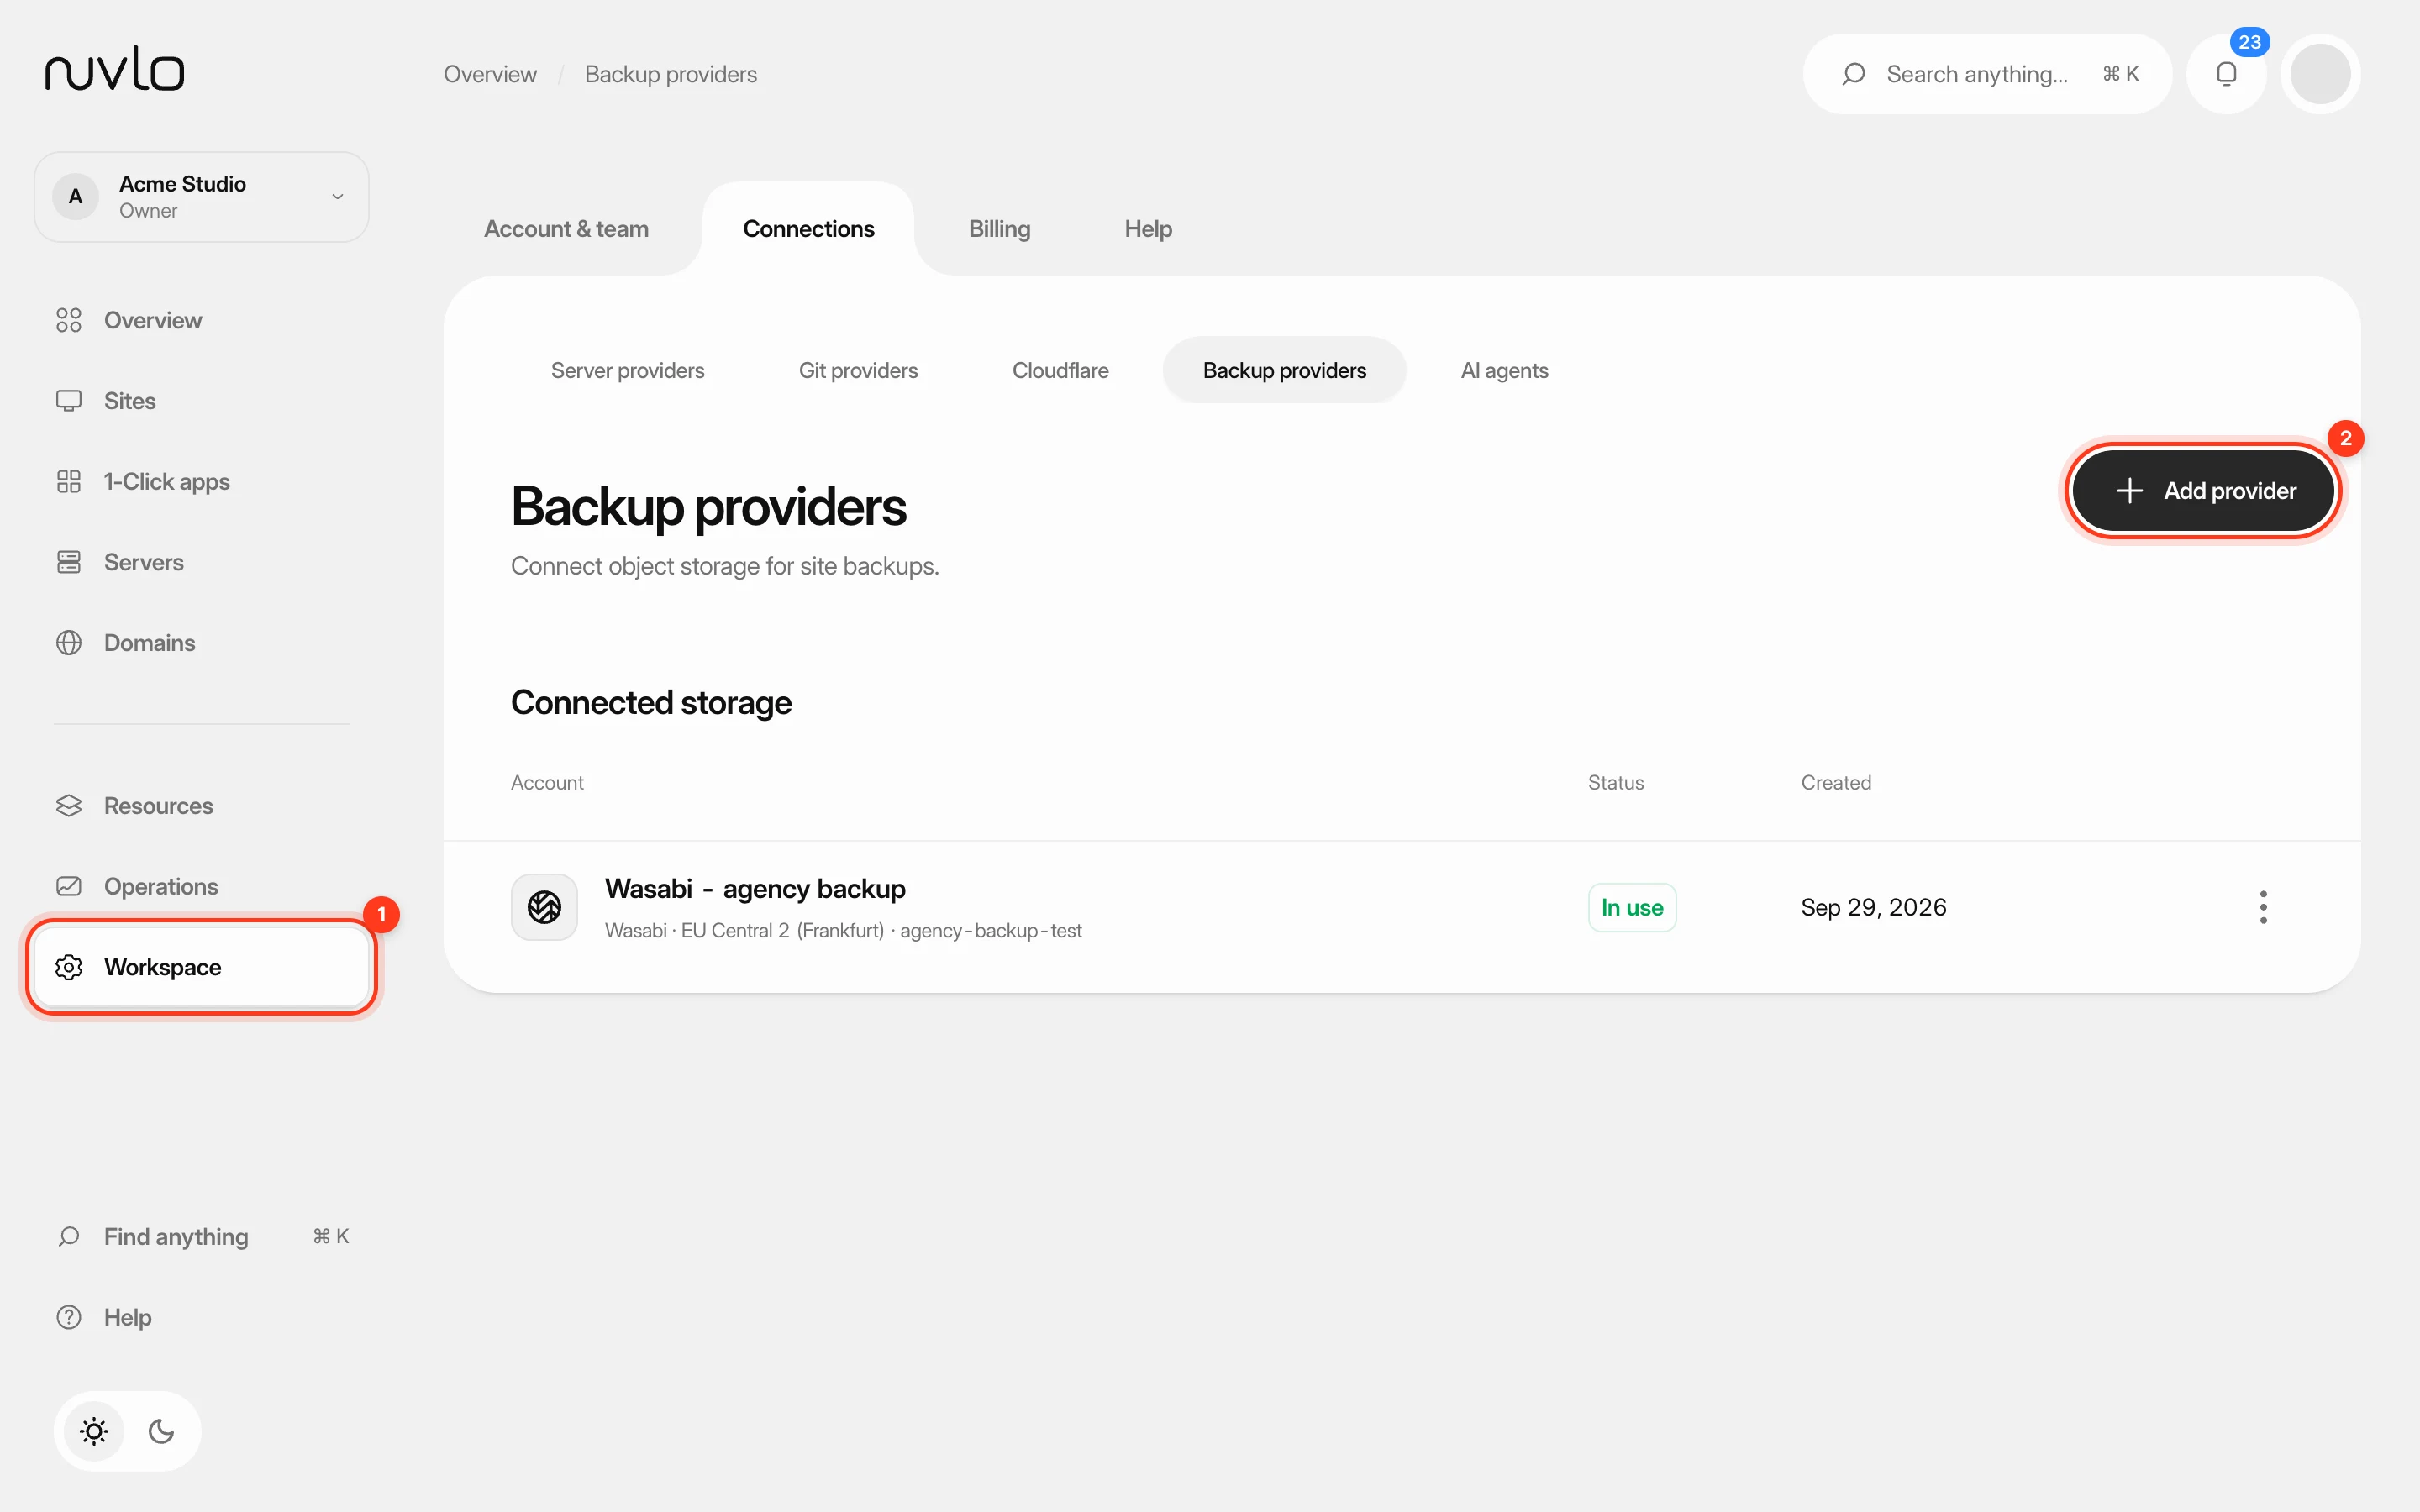 Connect backup storageConnect an S3-compatible storage account such as Wasabi, Cloudflare R2 or Amazon S3, and choose the bucket your site backups go to.
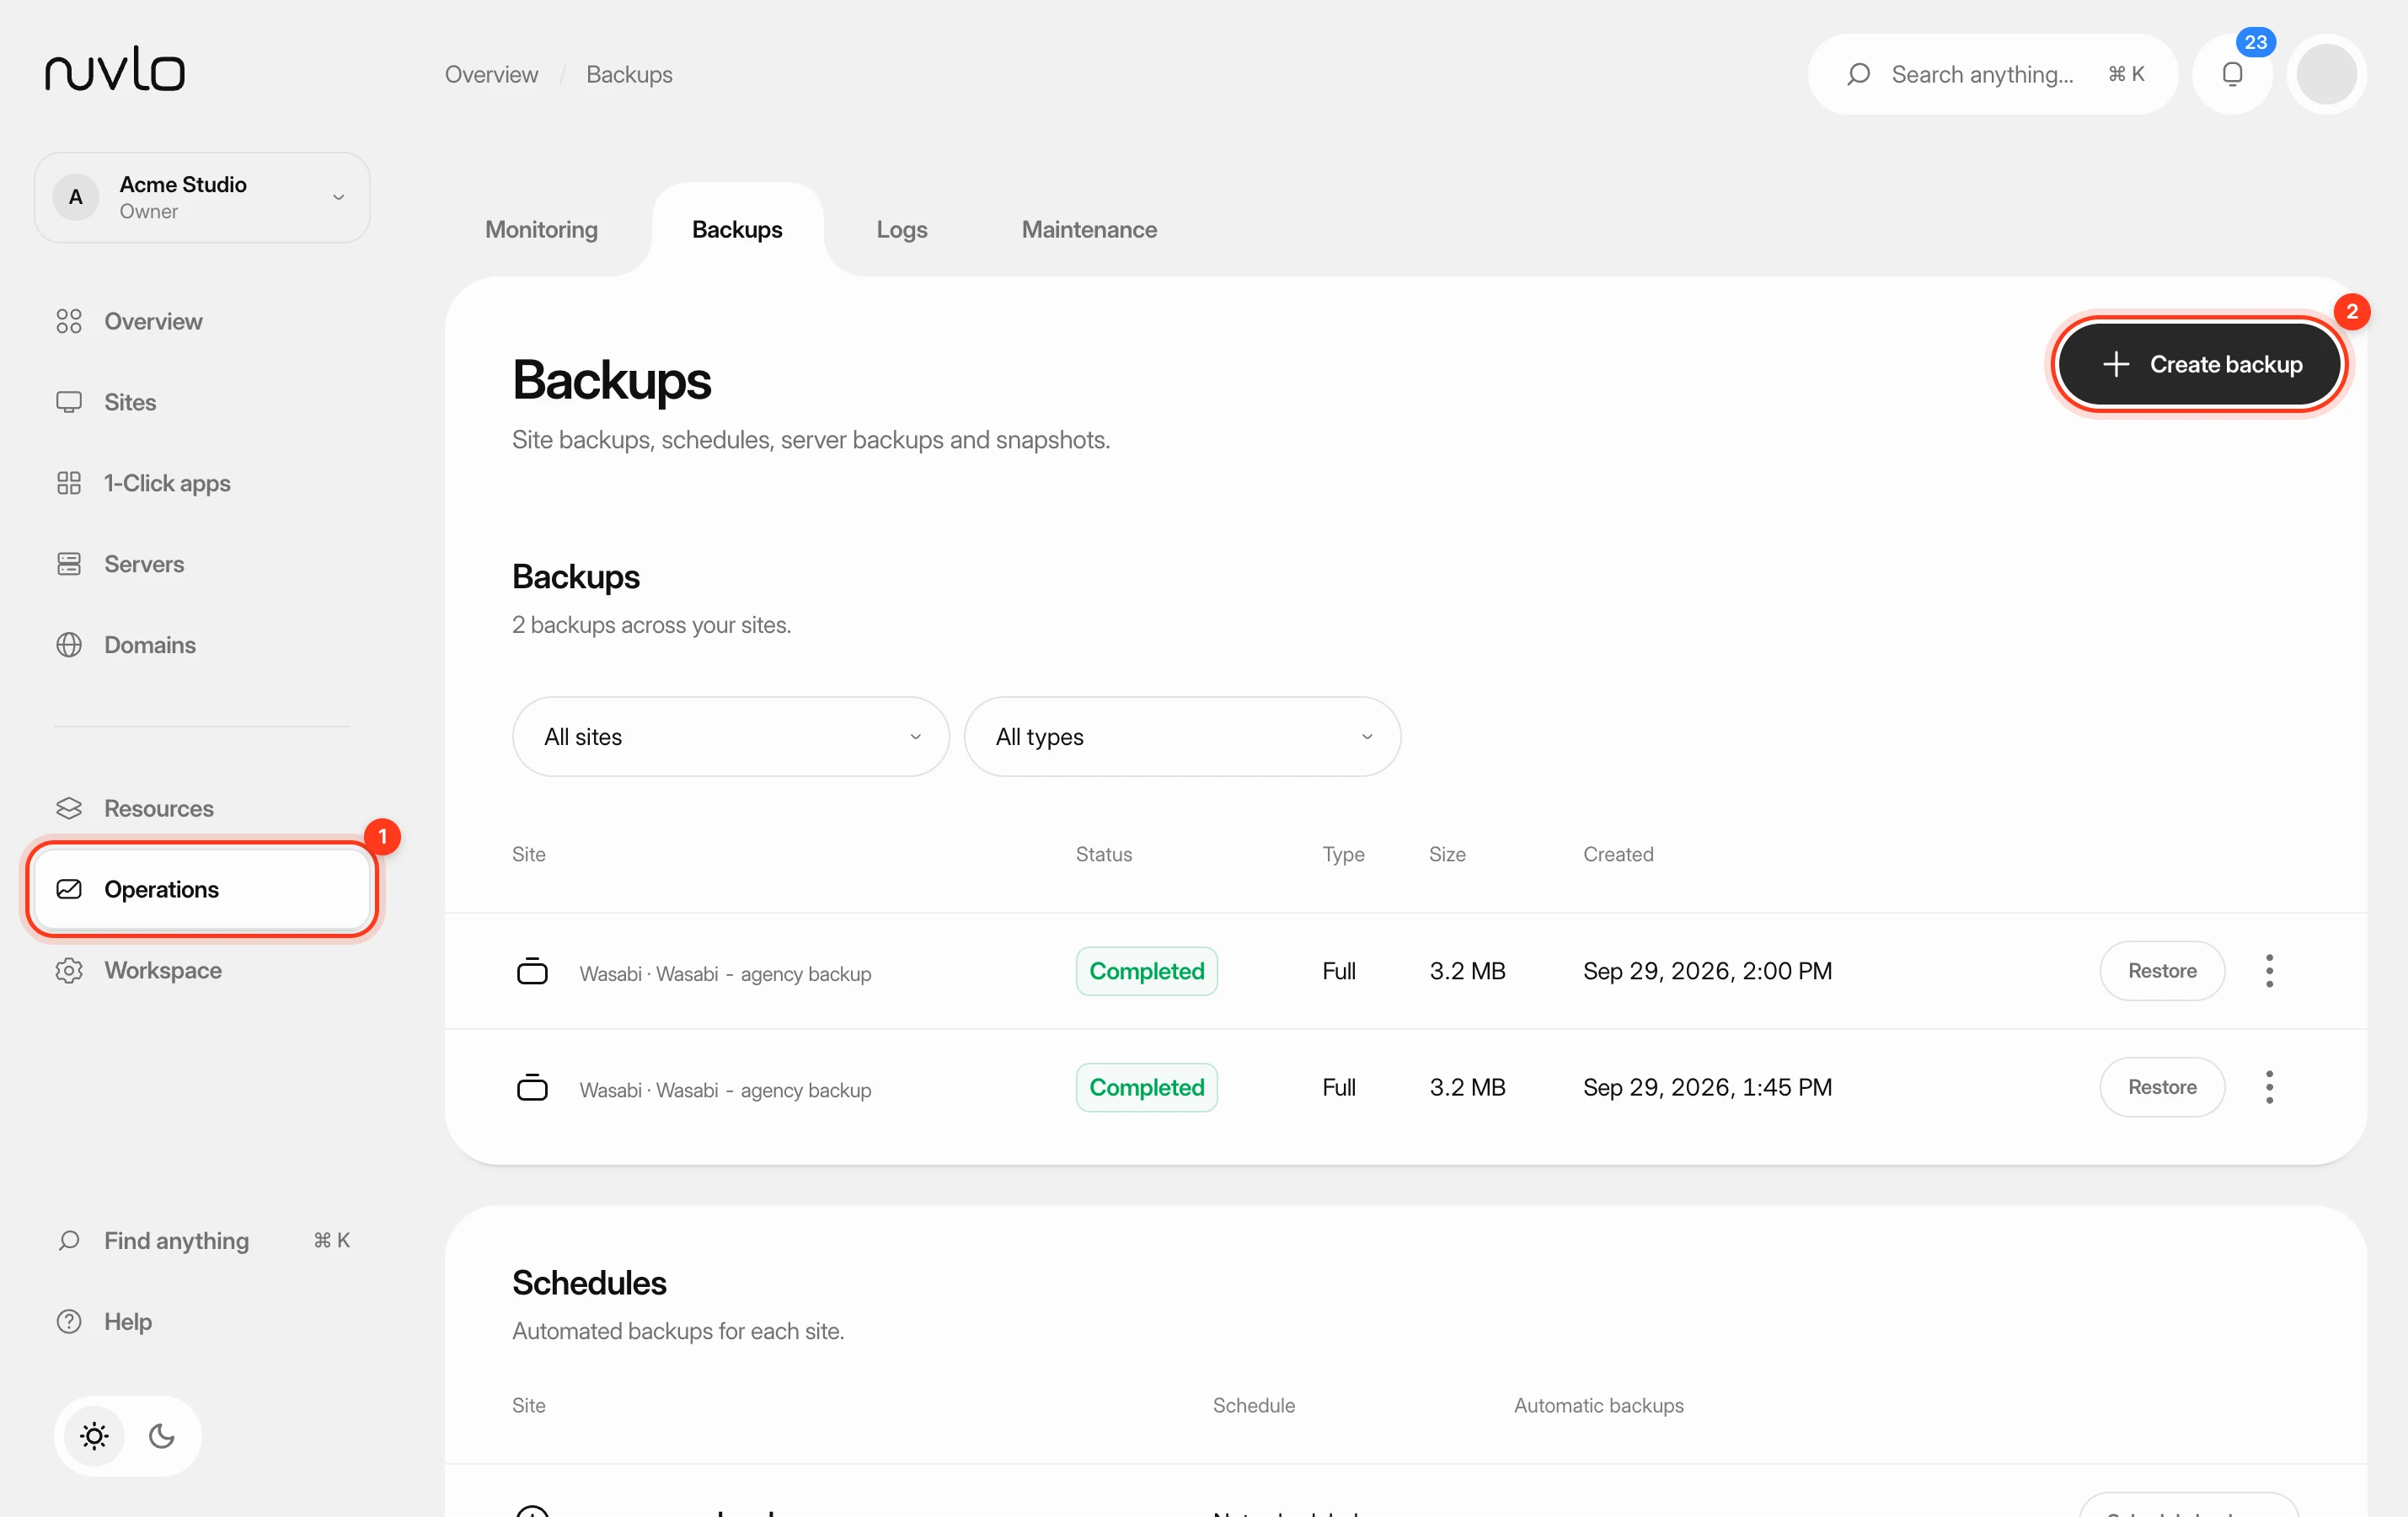 Back up a siteMake a backup of a site’s database, files or both whenever you need one, stored in your own backup storage.
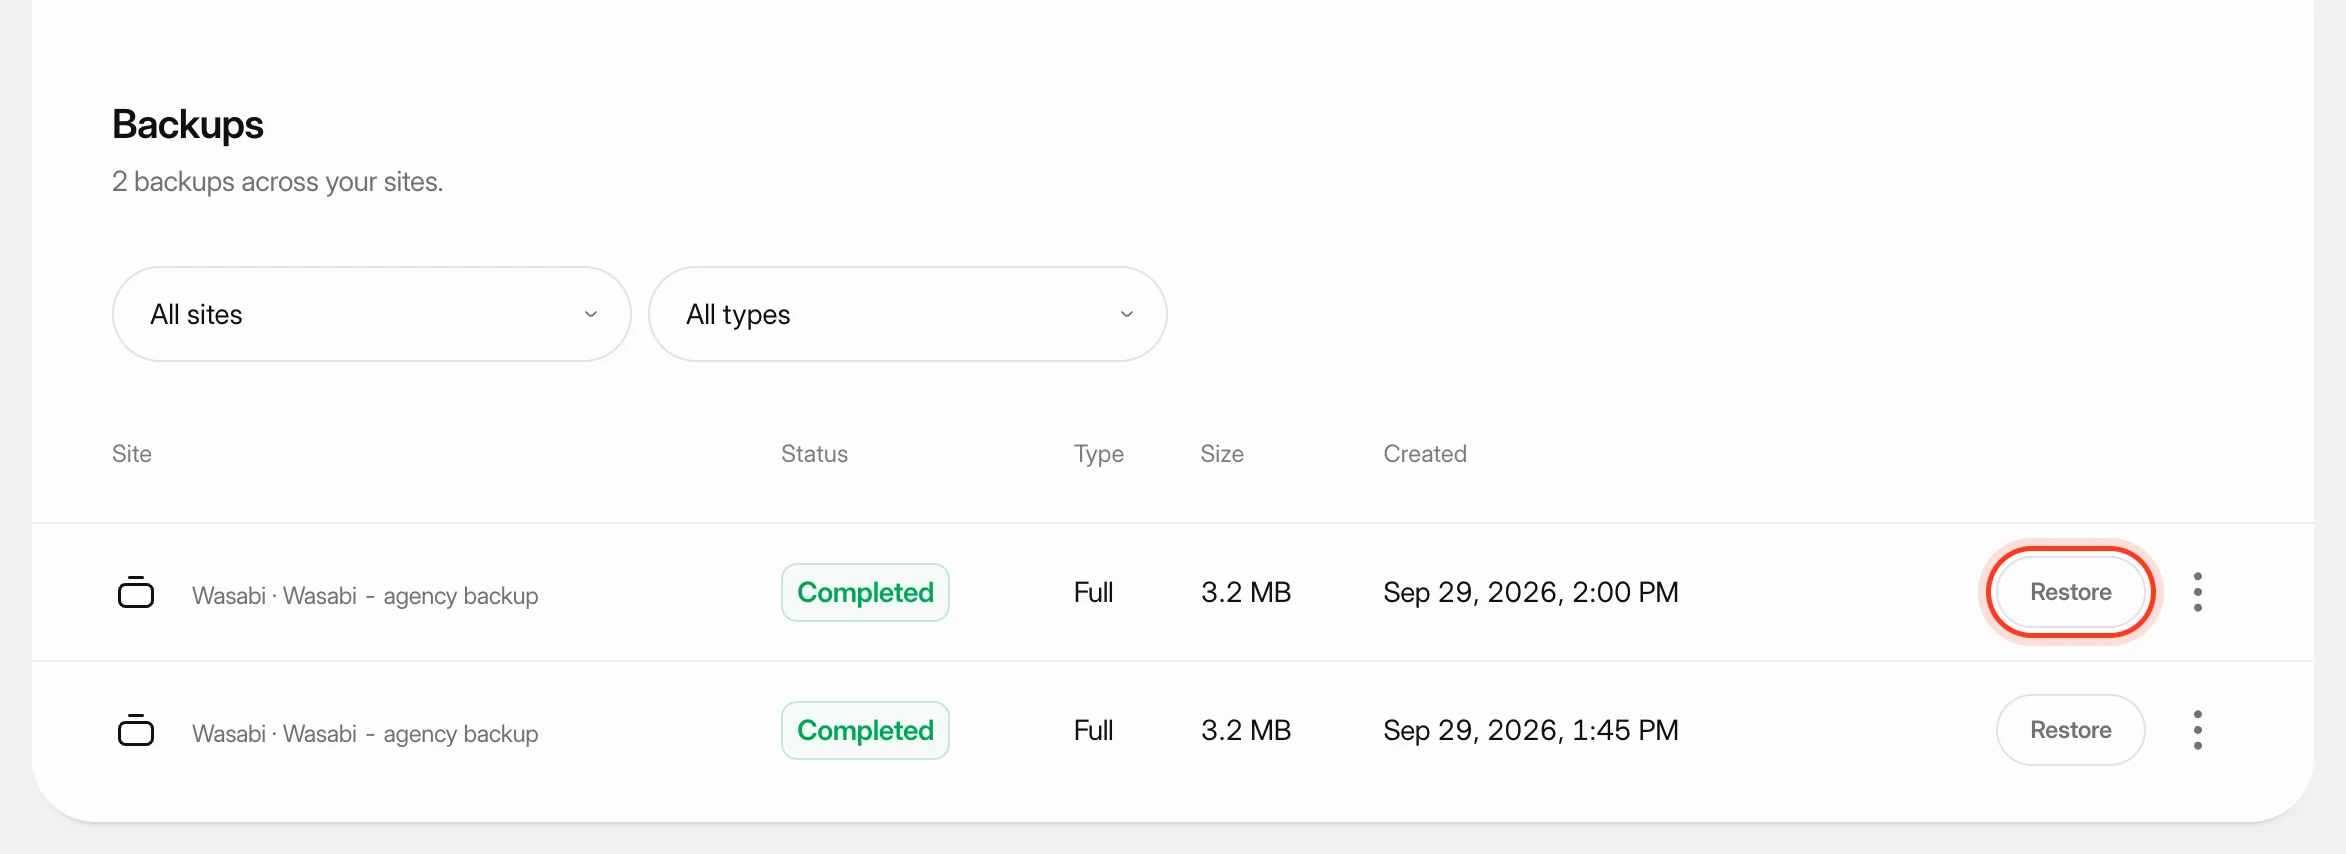 Restore a site backupRoll a site back to one of its backups: the database, the files, or both.