Put your first site online
Connect a cloud provider, create a server and deploy a site on it. Each step links to a detailed guide if you need more help.
On this page
Before you start
- A Nuvlo account. See Create your account.
- An account at a cloud provider such as Hetzner, DigitalOcean or AWS, with a payment method set up there.
- A domain name you can change DNS records for, if the site should be reachable at your own address.
Follow the Get started guide
A new account opens on the Overview page with a Get started guide. It checks off each step as you finish it and always shows the next one, so you can follow it instead of the steps below.
If your role in a team workspace is Viewer, the guide shows An owner or admin does this step. instead of the buttons. Ask the team’s owner or an admin to do these steps.
Step 1 Connect your cloud provider
Click Connect a provider in the guide, or go to Workspace in the sidebar, then Connections and Server providers.
Click Add provider, choose your provider and paste the API key you created in the provider’s console. Click Connect account.
Each provider asks for a different kind of key. Connect a server provider lists them and links to a guide for each one.
Step 2 Create a server
Click Create server in the guide, or open the Create menu and choose Server.
The form walks you through Provider, What to host, Region & plan, Configure and Review. Pick a region close to your visitors and a plan that fits your sites. You can resize later with most providers.
On Review, check the cost and click Create server.
The detailed walk-through is in Create a server.
Step 3 Wait for the server to be ready
Nuvlo now creates the server in your provider account and installs the web server, firewall and SSL. The page shows each part as it finishes.
You can leave the page while this runs. The Get started guide moves on by itself once the server is ready.
When setup is done, click Create a site on this server.
If setup fails, click Open server in the guide to see what went wrong and retry.
Step 4 Create your site
Under What would you like to deploy?, check that your new server is selected under Server, then pick a Site type: WordPress, Node.js app, Headless, PHP & Laravel or Static website.
The next screens depend on the type. Each type has its own guide:
- WordPress: Install WordPress.
- Node.js and other apps from Git: Deploy an application.
- Static and PHP sites: Create a site.
- An existing site from another host: Move a WordPress site.
Step 5 Point your domain at the server
If you entered your own domain for the site, point its DNS at the server’s IP address at your domain registrar or DNS host. HTTPS can only work once the domain points at the server; see SSL certificates.
Add a domain shows the records to create. If your domain uses Cloudflare, Connect Cloudflare lets Nuvlo set the records for you.
What to do next
- Connect storage and schedule backups: Connect backup storage.
- Invite people to work with you: Invite and manage team members.
- Turn on two-factor sign-in: Two-factor authentication.
Related guides
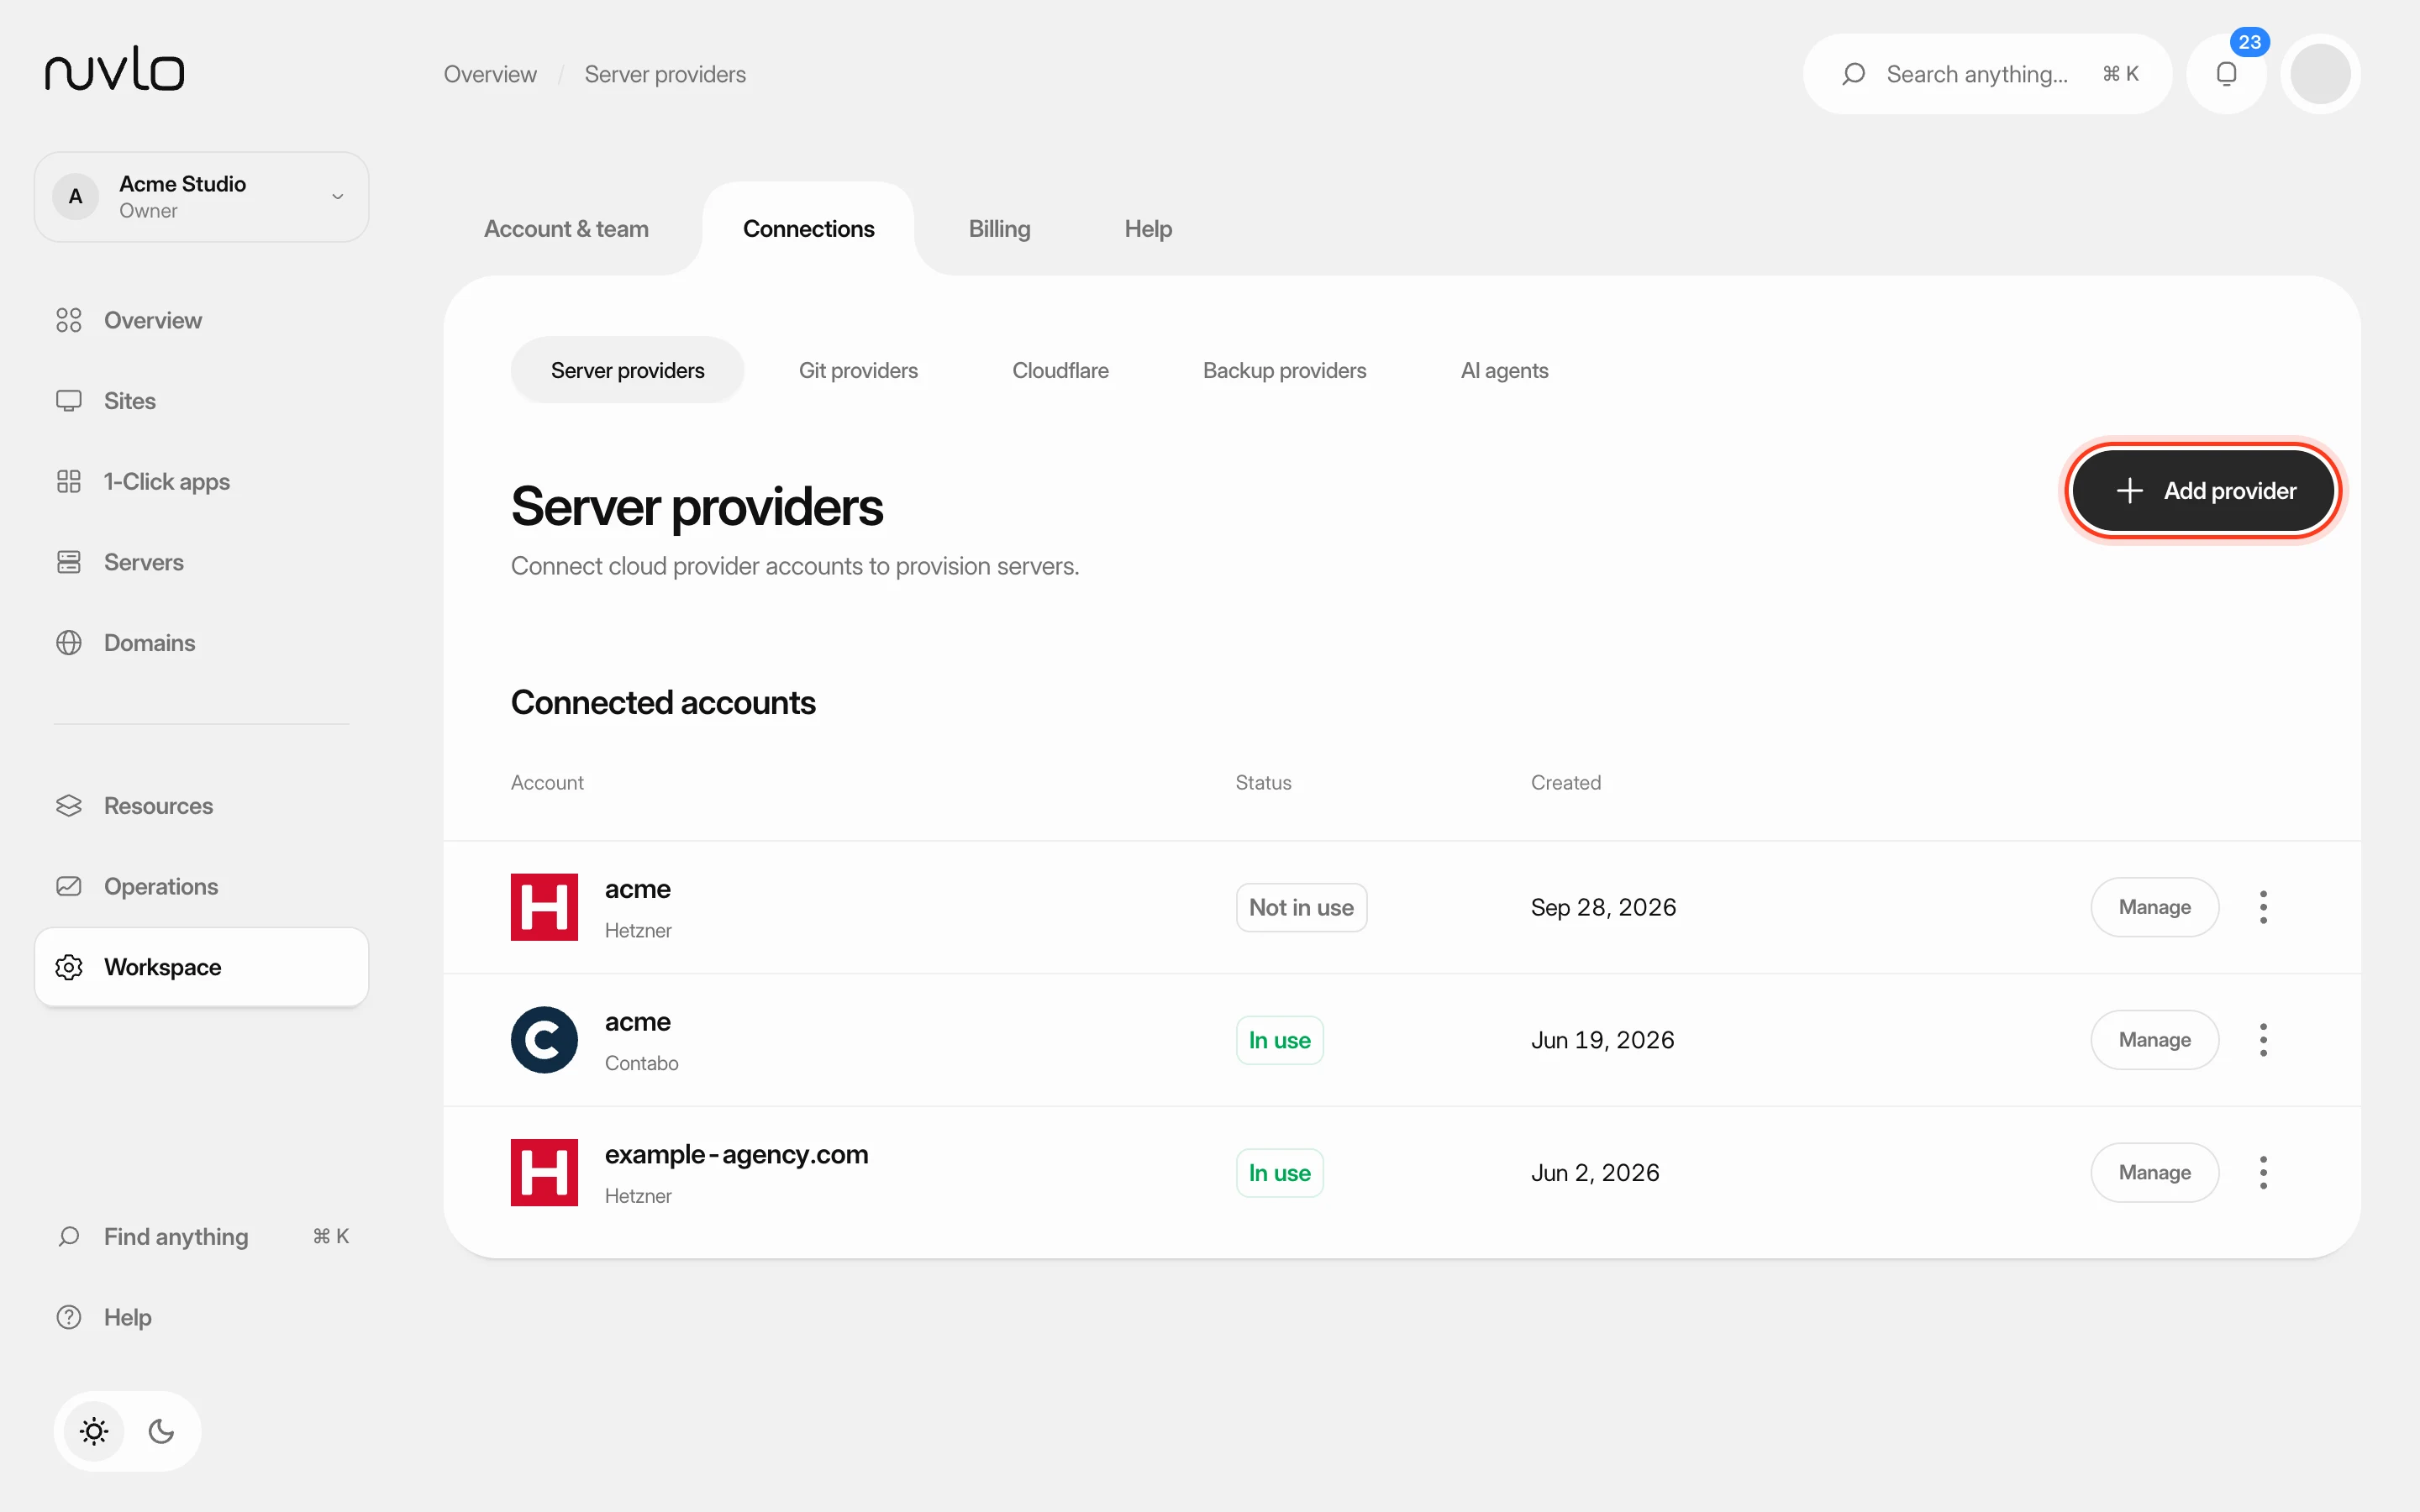 Connect a server providerConnect your own cloud account so Nuvlo can create and manage servers in it. You add an API key on the Server providers page, and Nuvlo checks it with the provider before saving it.
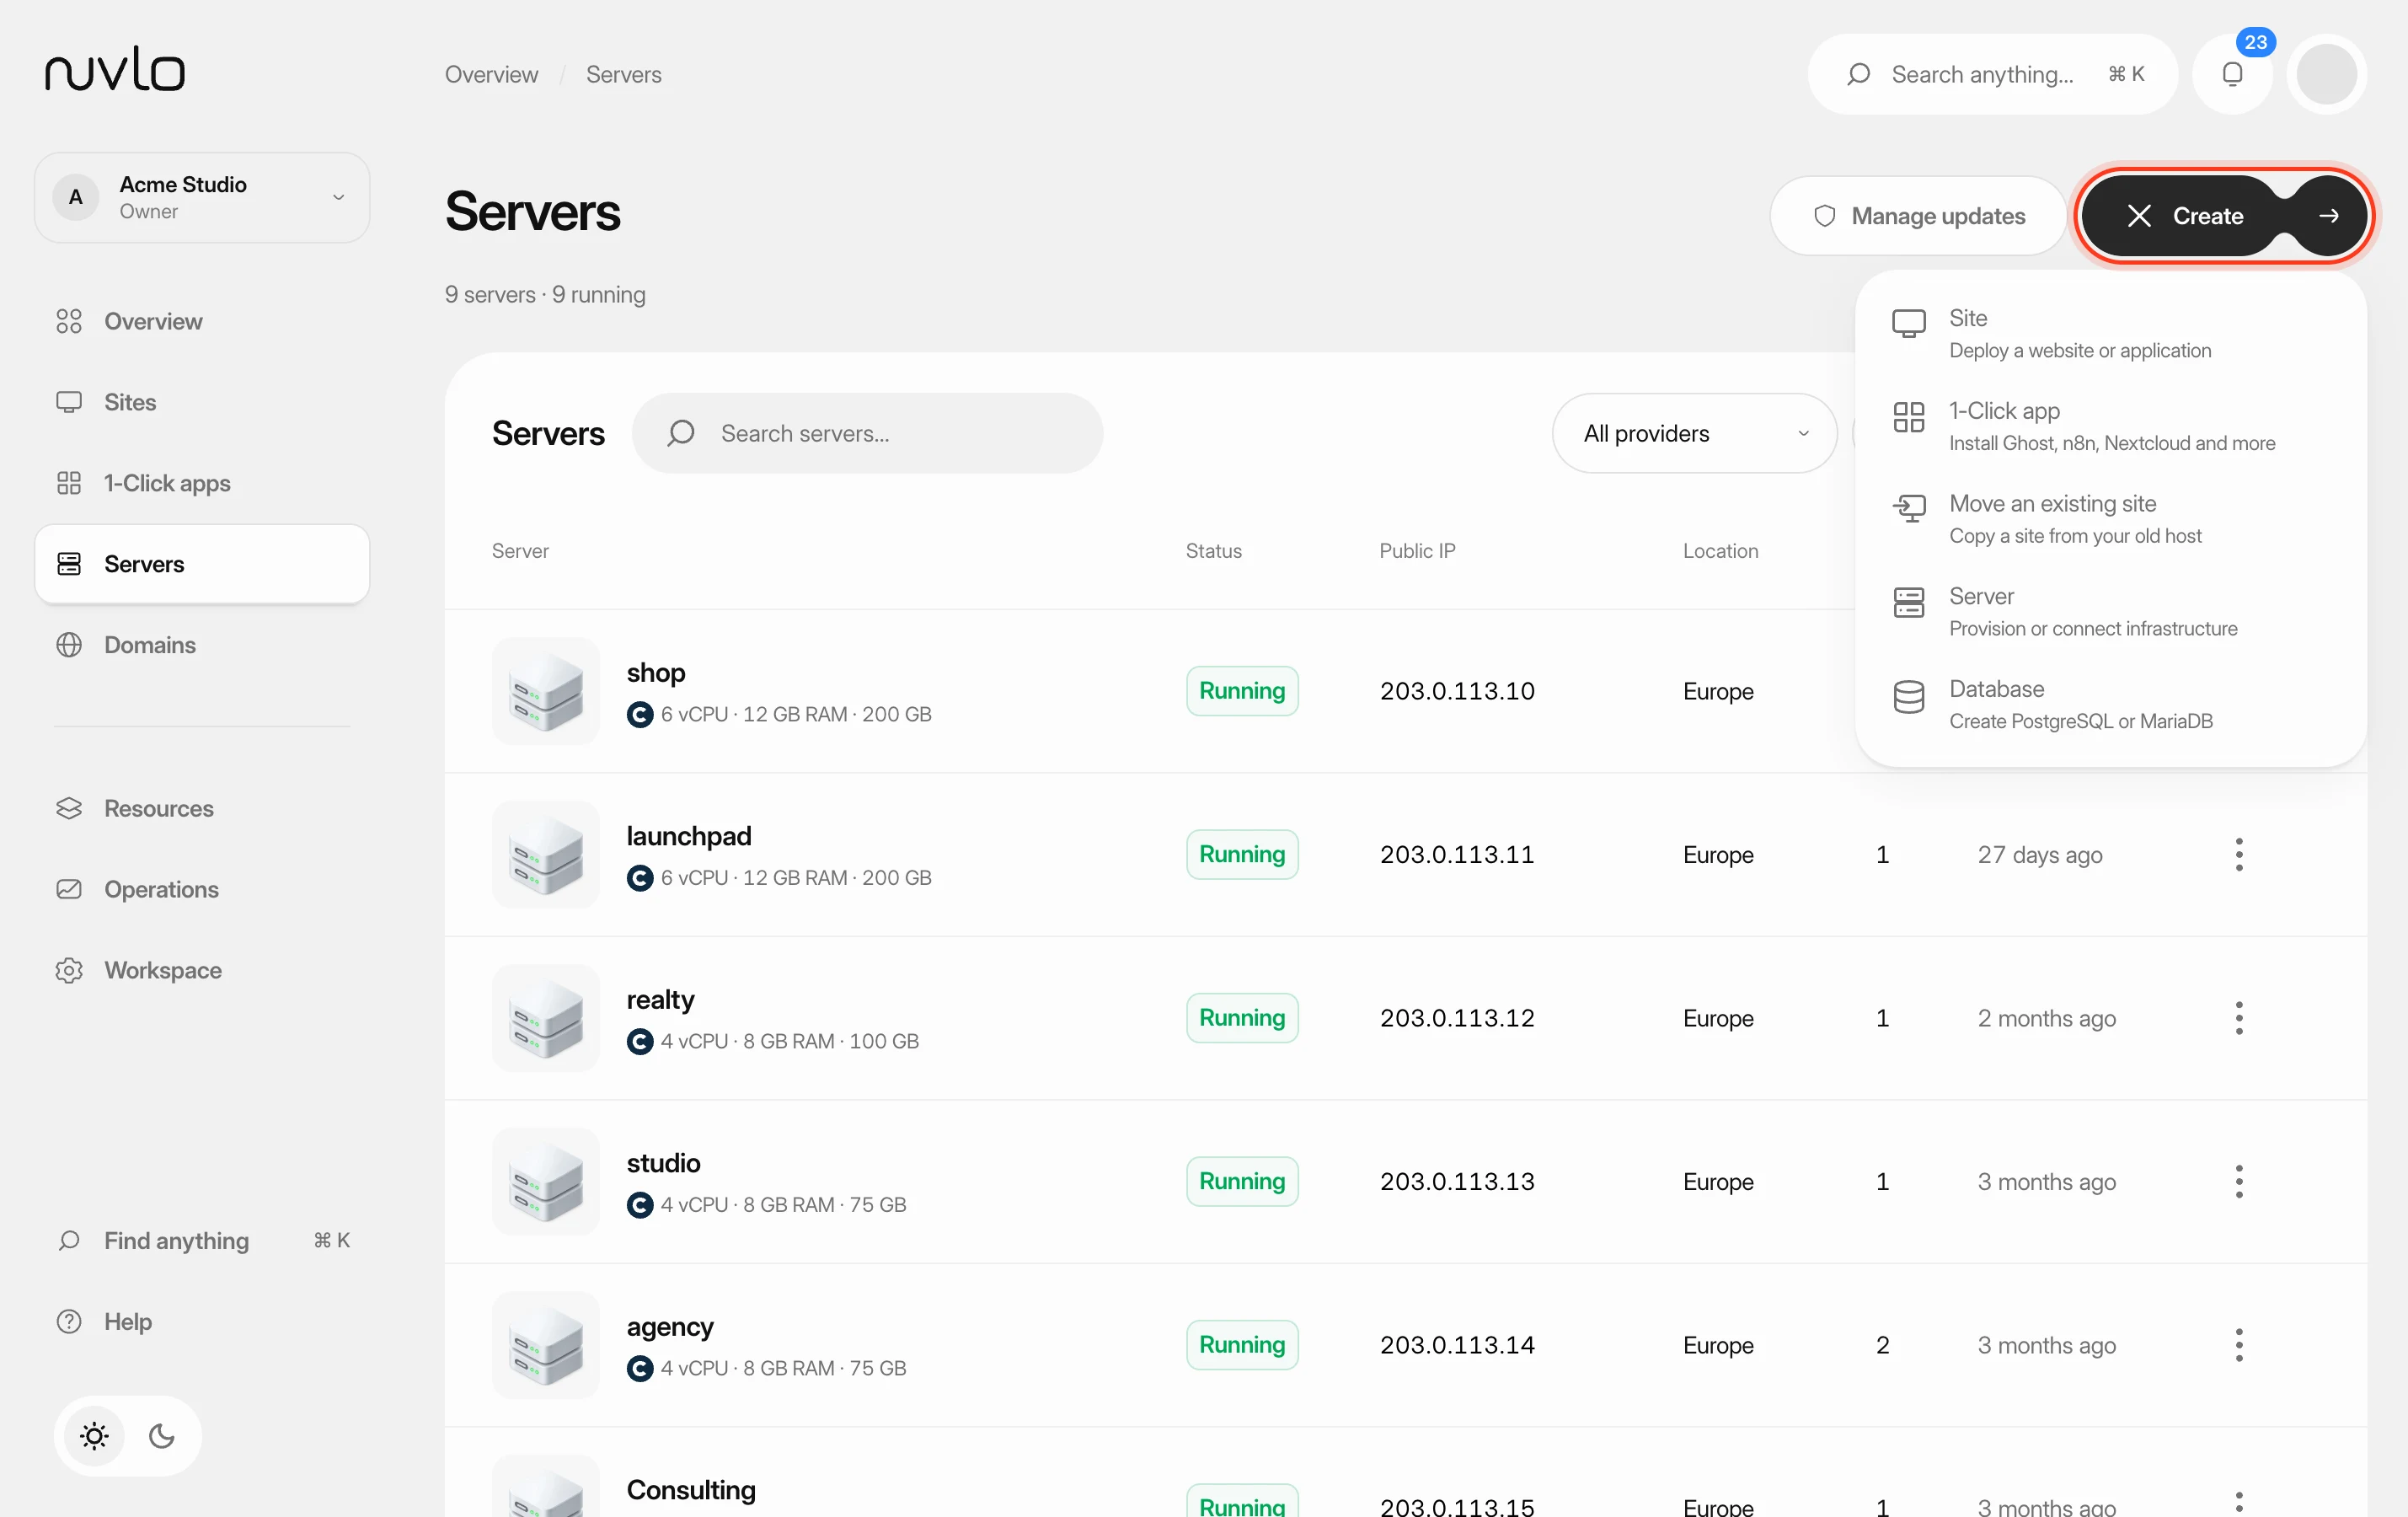 Create a serverOrder a new server at your cloud provider from Nuvlo and have it set up with everything your sites need: web server, firewall, security hardening and the software for the projects you plan to host.
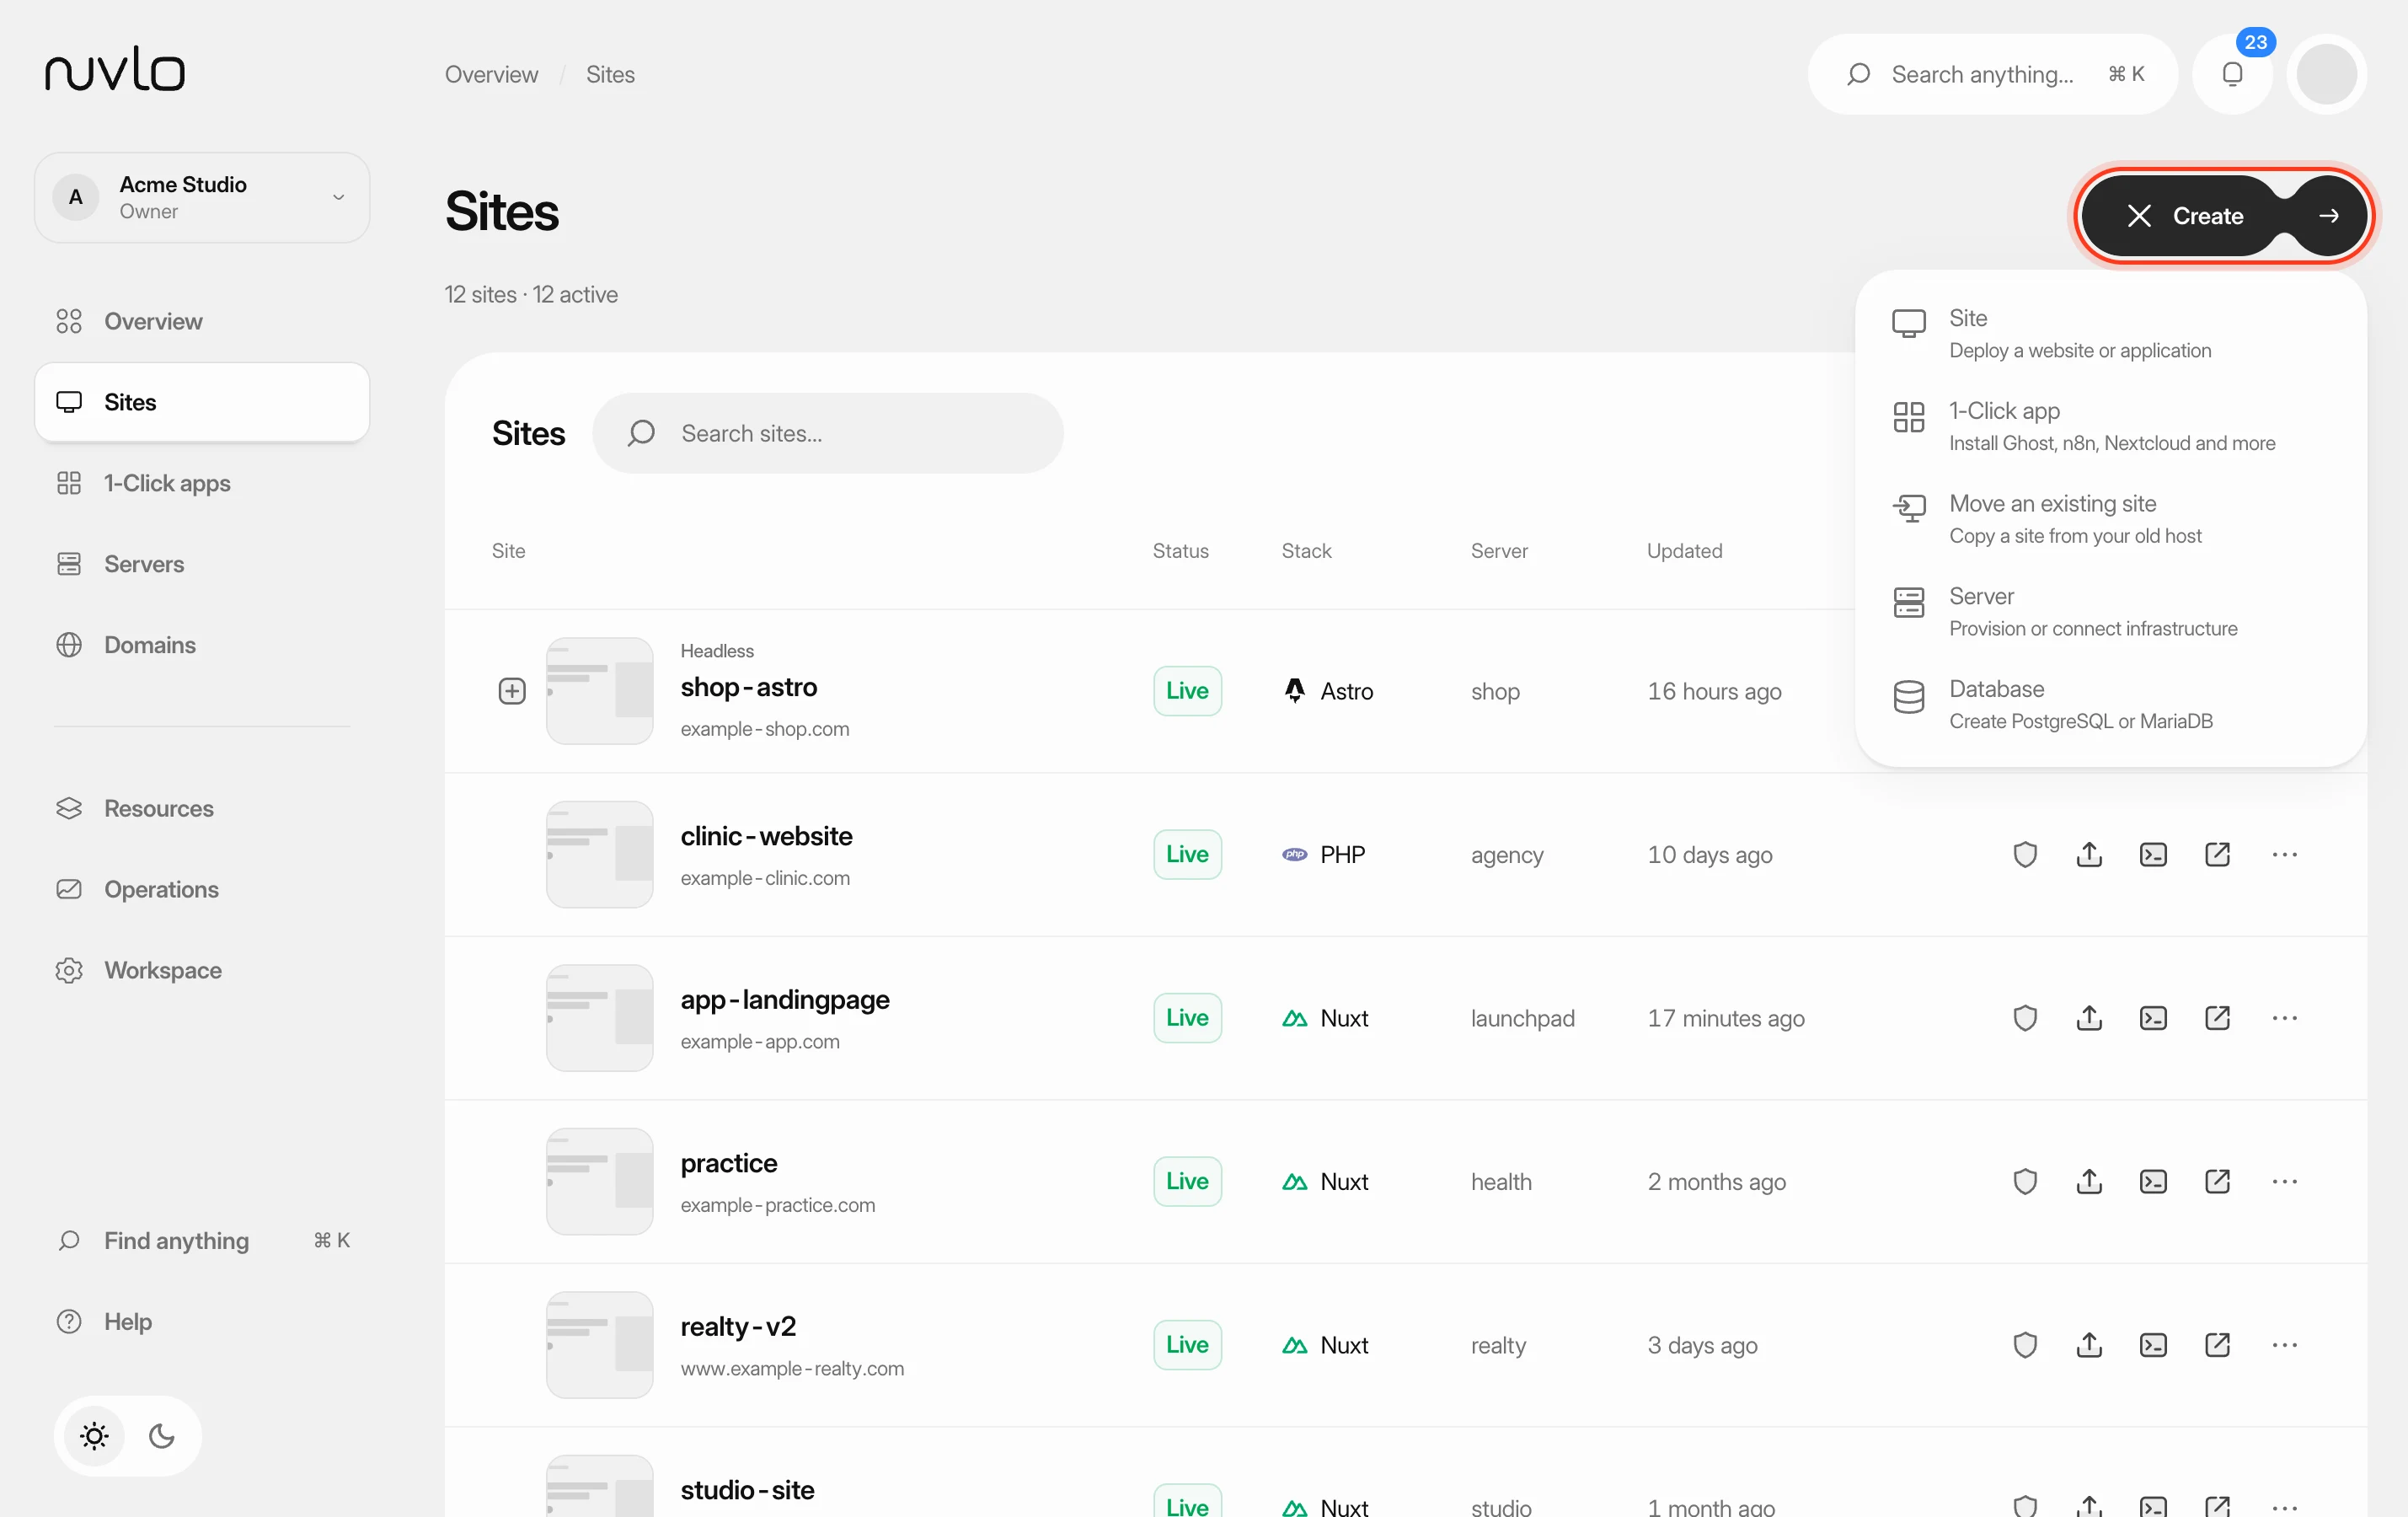 Create a siteChoose the right site type for your project and put a static website or a PHP or Laravel site online from a GitHub repository or a ZIP file, with its own domain and HTTPS.
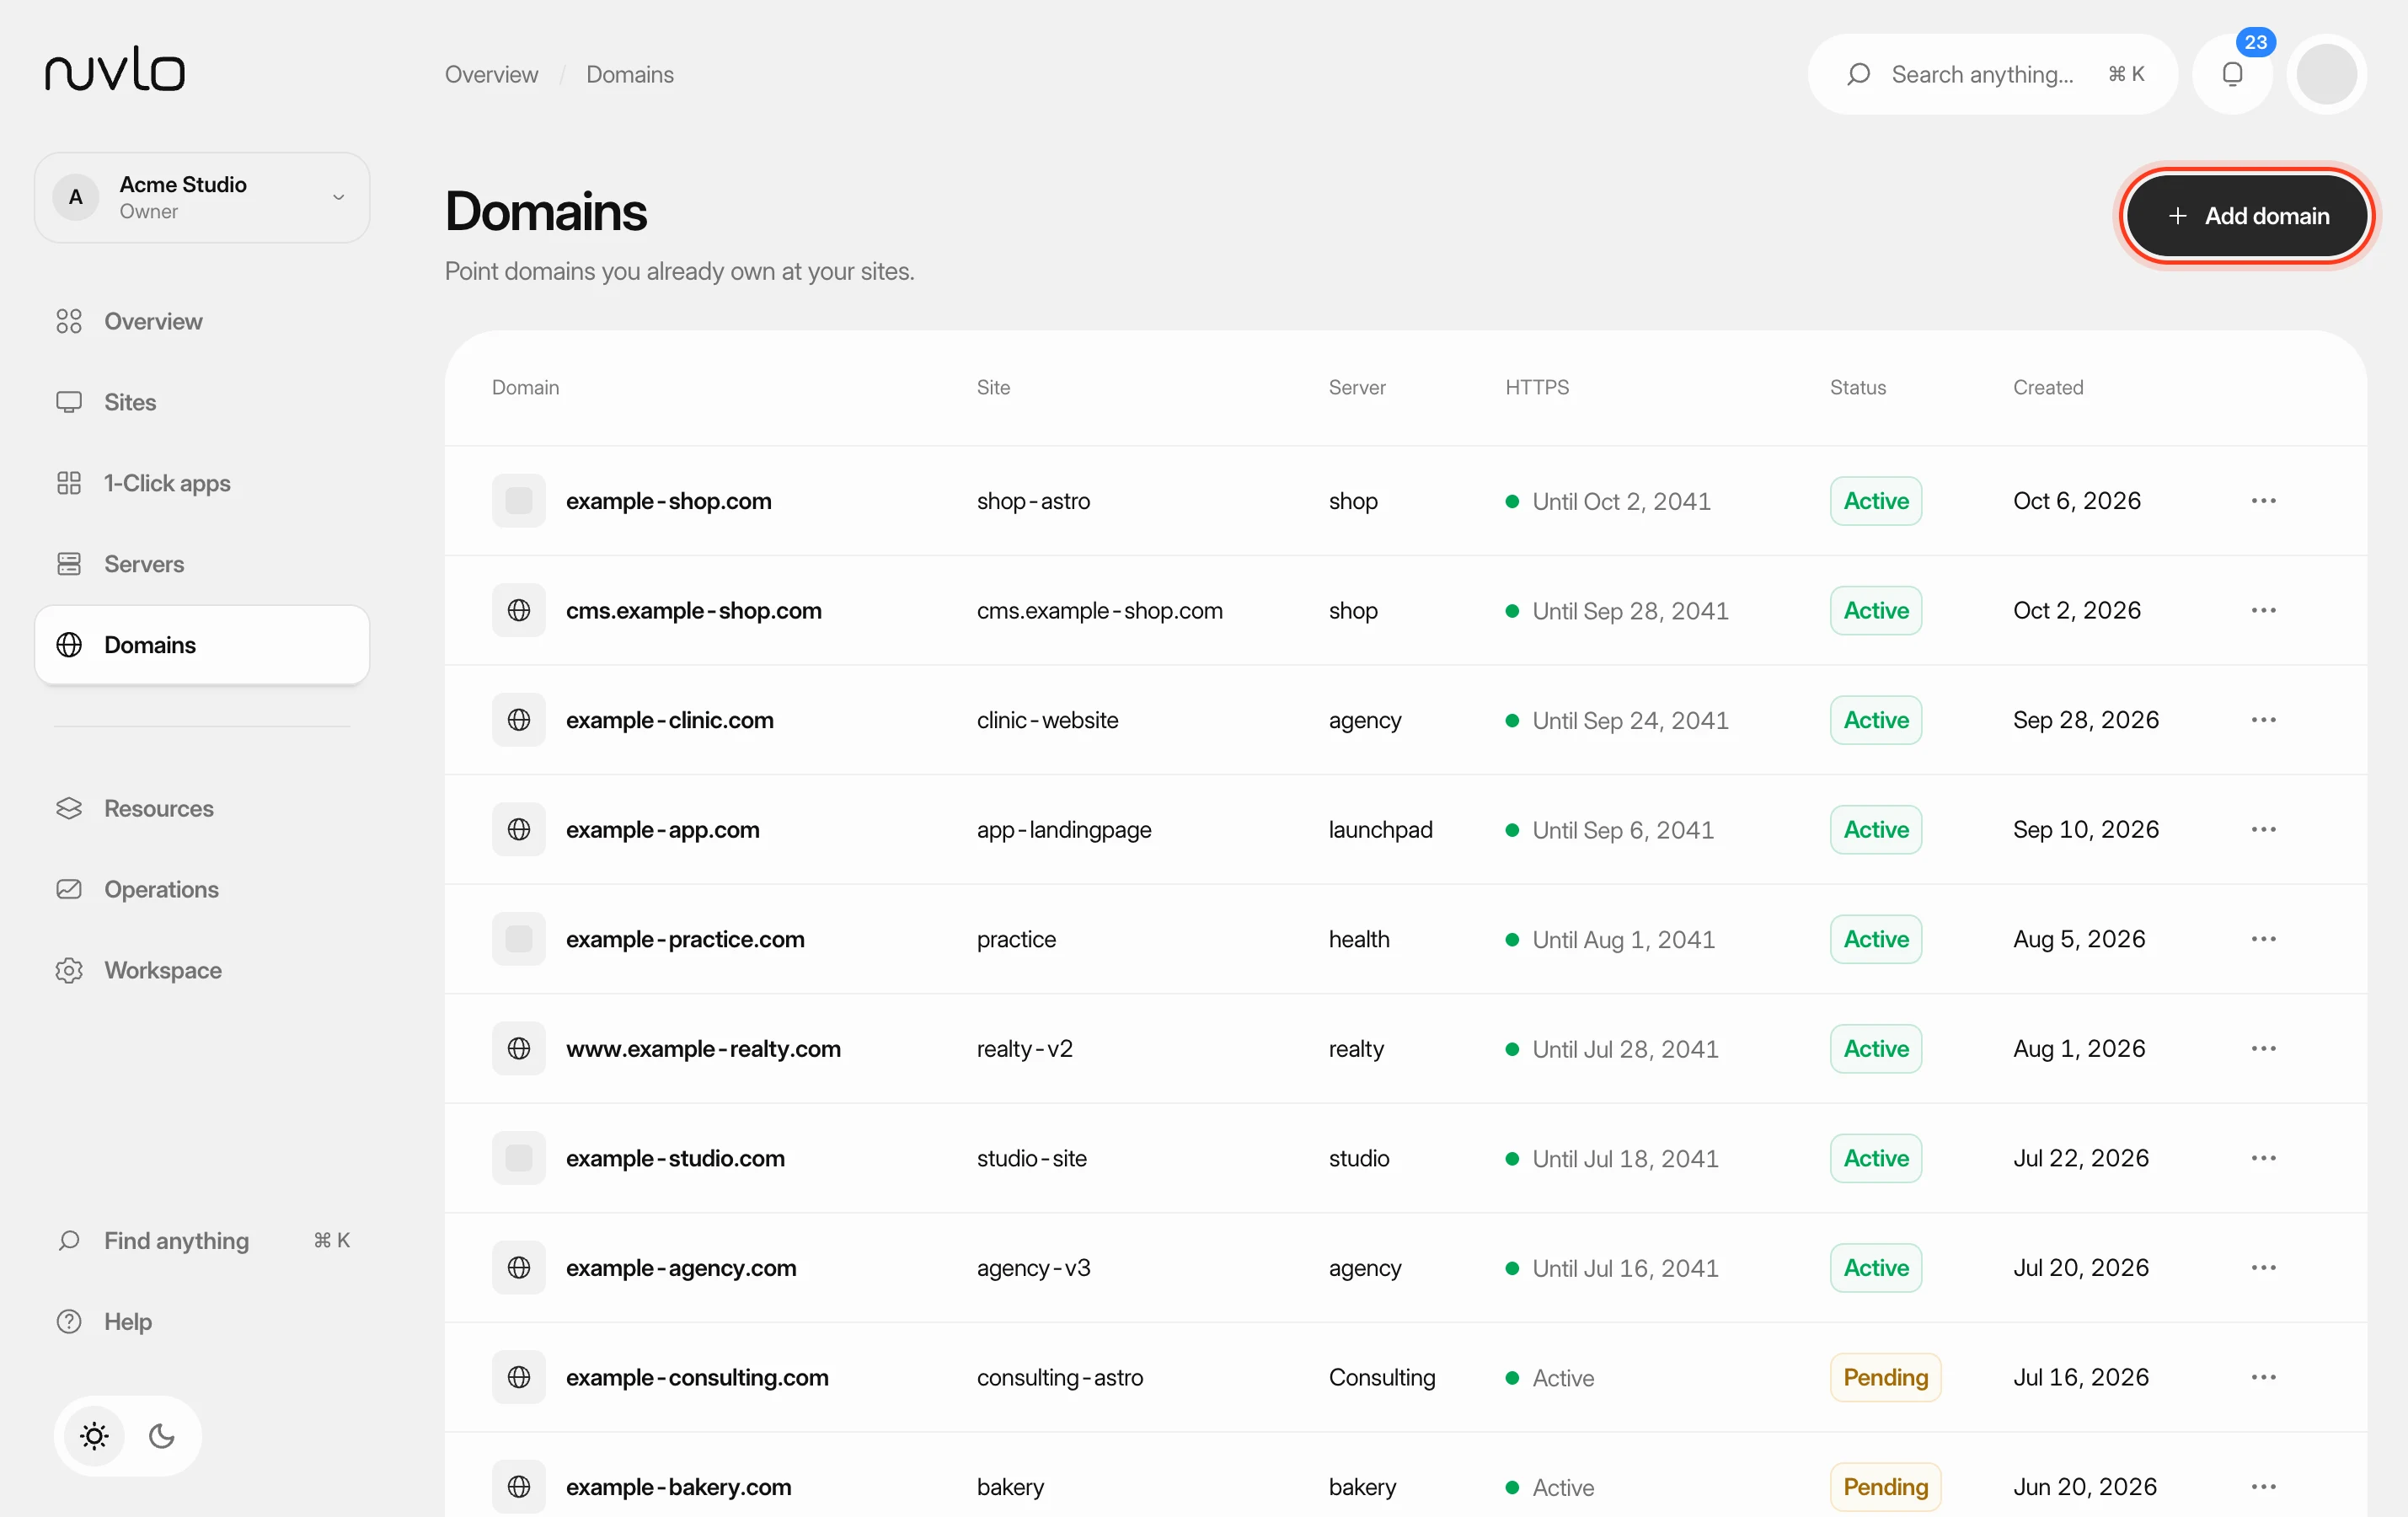 Add a domain to a sitePoint a domain you own at one of your sites. Nuvlo sets up the web server for it and issues a free HTTPS certificate as soon as the domain reaches your server.