Install a 1-Click app
Install a self-hosted app such as n8n, Ghost, Nextcloud, Uptime Kuma or Supabase on one of your servers, or on a new one, with its own address and HTTPS.
On this page
Before you start
- Room for another site on your plan. Each 1-Click app counts as a site.
- A server with enough memory and disk for the app, or a connected cloud provider to create one. See Connect a server provider.
- A domain for the app, unless you use a free temporary address.
Step 1 Open the app catalog
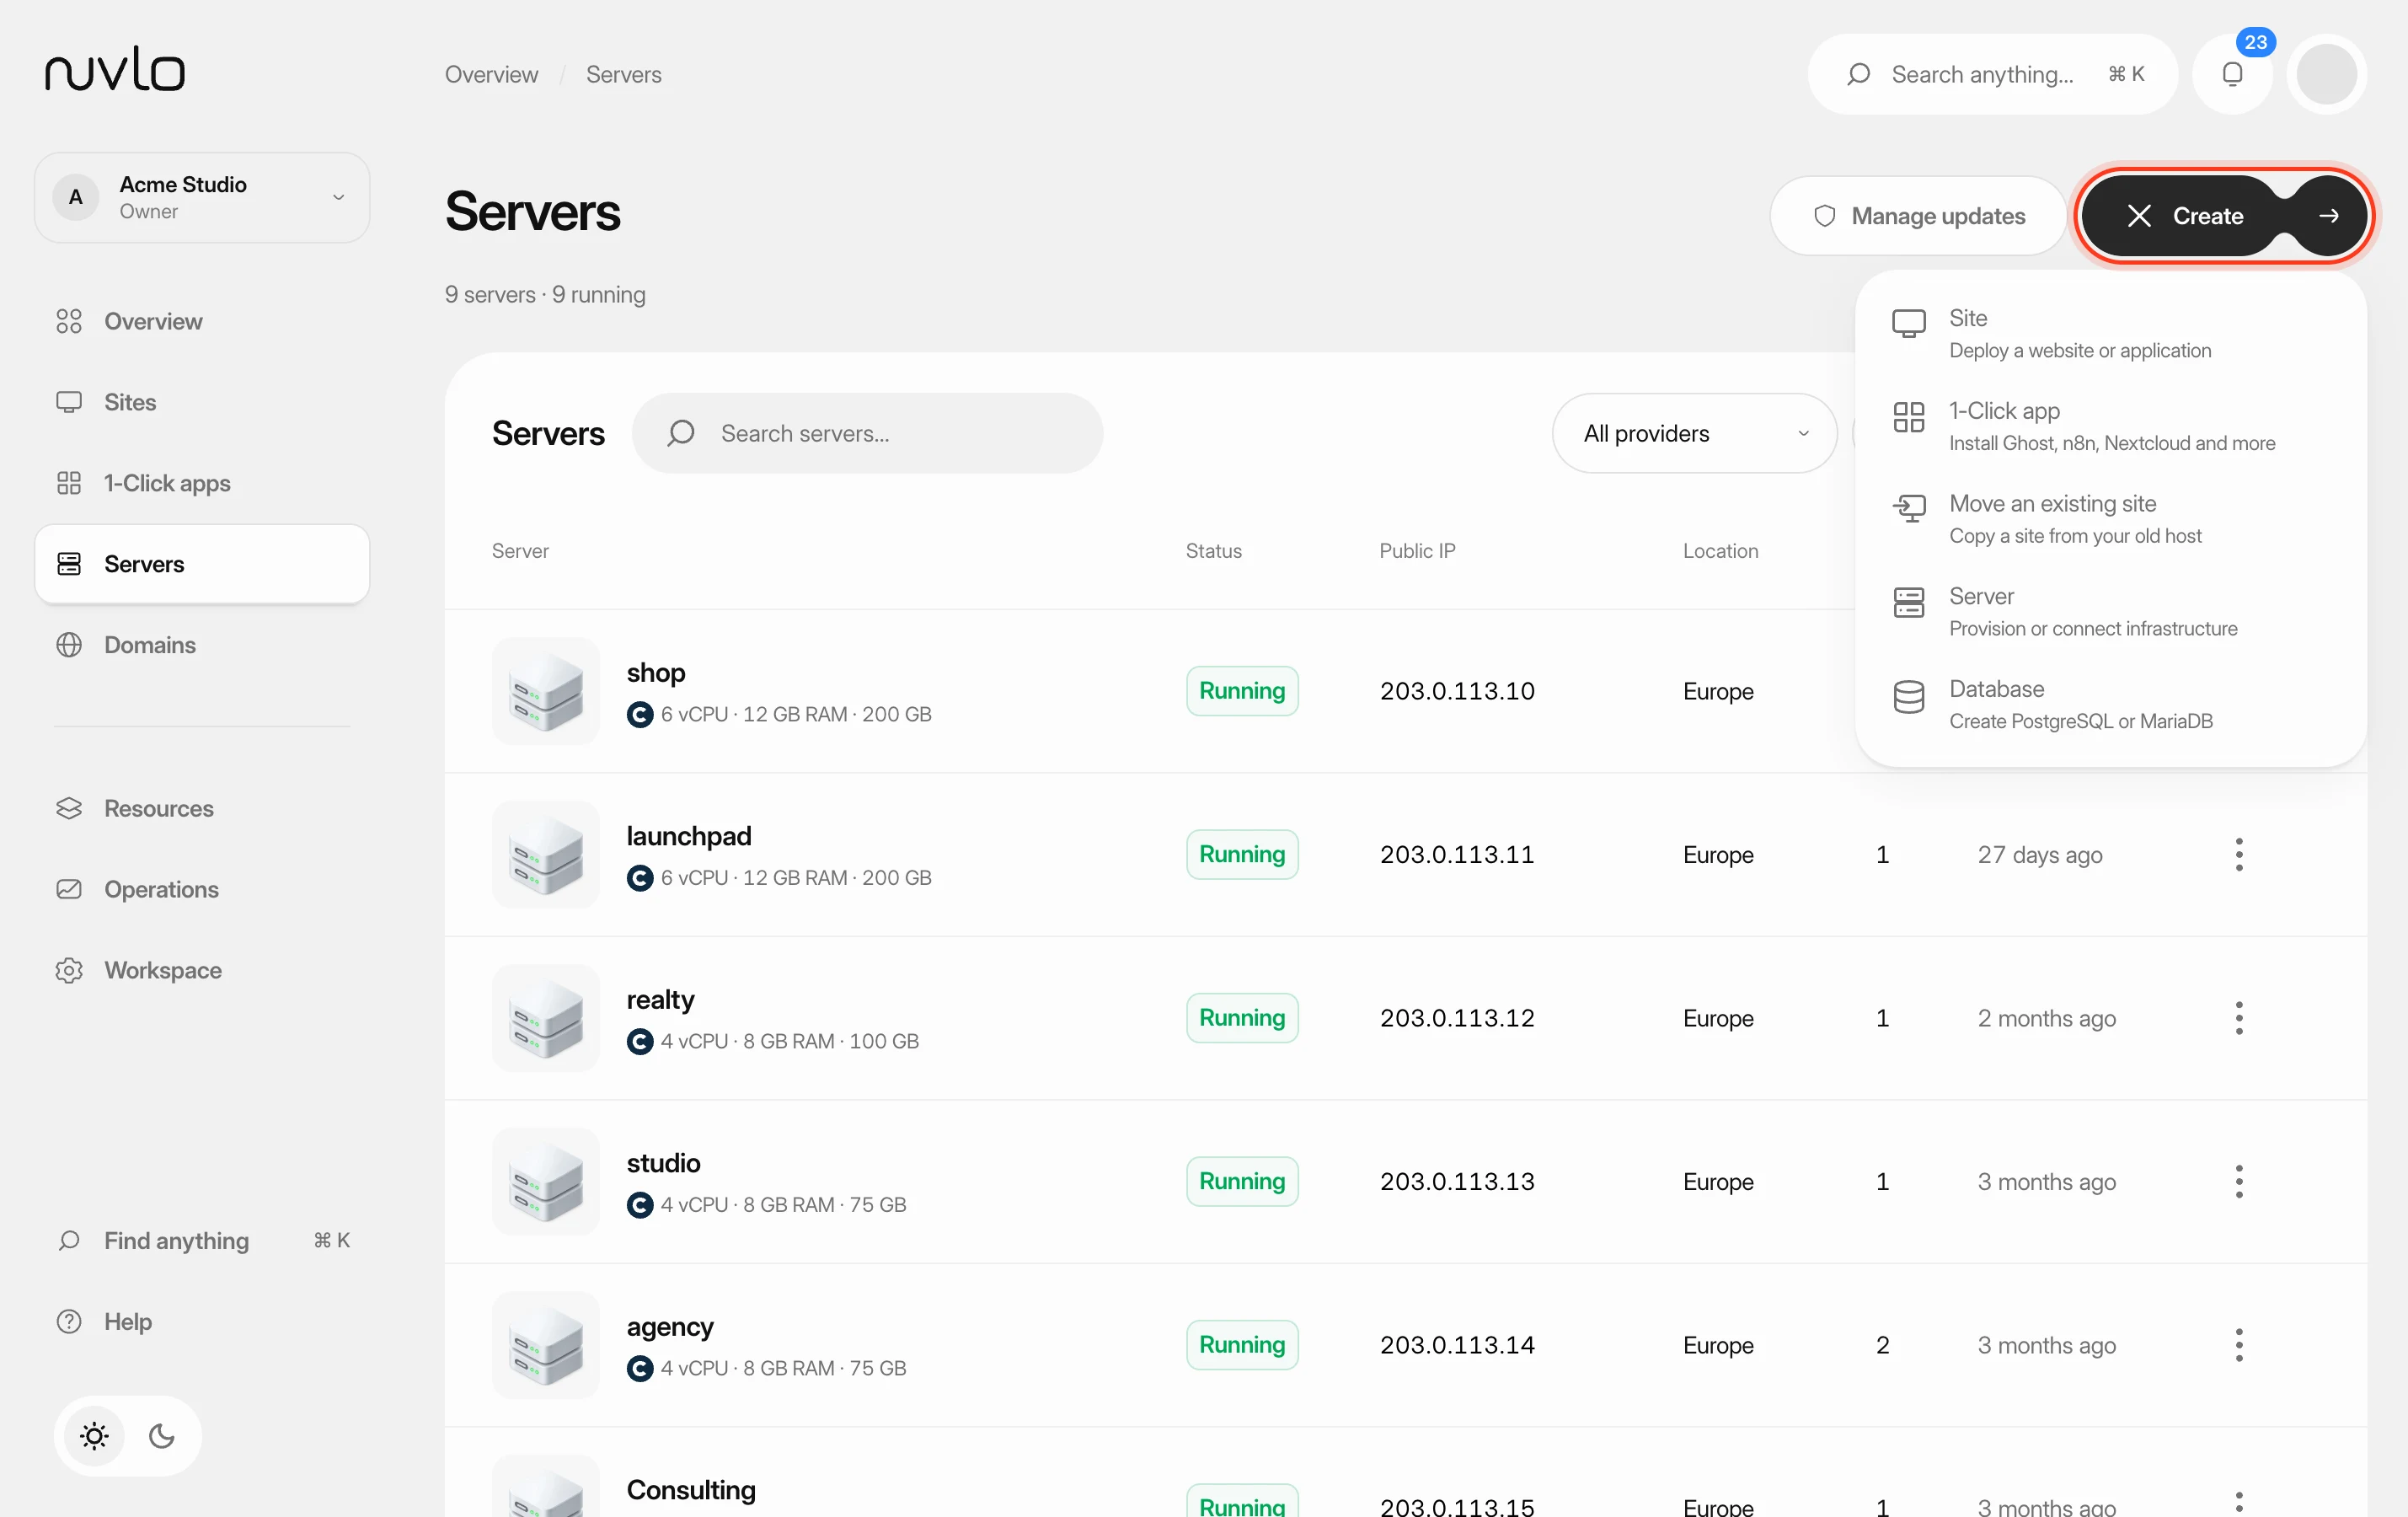
Open 1-Click apps in the sidebar, or click Create and choose 1-Click app. The App catalog lists the available apps. Search by name or pick a category, such as Automation, Analytics, AI & ML, Storage or Development.
The catalog has 20 apps, including n8n, Open WebUI, Ollama, Umami, Plausible, Matomo, Nextcloud, MinIO, Vaultwarden, WireGuard VPN, Ghost, Mattermost, Gitea, Uptime Kuma, Portainer, NocoDB, Penpot, Snipe-IT, Typebot and Supabase.
Step 2 Pick the app
Click an app tile. Deploy an app opens with the app selected. Each app shows the memory and disk it needs, for example 1 GB+ RAM · 5 GB+ disk.
Step 3 Choose the server
Under Server, click one of your servers, or New server to have Nuvlo create one in your cloud account.
- 1-Click apps run in Docker. If the server doesn't have Docker yet, Nuvlo installs it first. This takes a few minutes, and sites already on the server keep running.
- If the server has less memory than the app needs, a warning says so. Choose a bigger server for the app to run well.
- With New server, pick the provider, region and plan. Your provider bills you for the server until you delete it. If your plan has no room for another server, Nuvlo shows Server limit reached.
Some apps show a warning at the top that you should read before installing. Portainer, for example, can manage every container on the server.
Step 4 Choose the address
Under Address, choose where the app is reachable. The choices depend on your account:
- Your domain: enter it under Domain name, then add the A record shown below the field at your DNS provider. Add HTTPS once the domain points at the server; see SSL certificates.
- Subdomain: a name under a domain you already have, such as
n8n.example.com. For domains on Cloudflare, Nuvlo adds the DNS record and sets up HTTPS. - A free temporary address: a random name with HTTPS included.
Some apps ask for extra settings below, such as an admin username or SMTP details. Fields marked optional can stay empty. WireGuard VPN needs no address.
Click Review followed by the app name.
Step 5 Review and deploy
Check the app, server, domain and HTTPS. For a new server, the review shows its provider, region, size and monthly cost. Read the note about what to do after the install.
Click Deploy followed by the app name.
Step 6 Save the credentials
The Deploy step shows the progress. With a new server, the server is created first; keep the page open, or come back later and deploy the app to the finished server.
When the app is ready, Nuvlo shows what to do next and, for apps that need them, the generated credentials.
ImportantThe credentials aren't stored and won't be shown again. Save them now, together with the root password of a new server.
Click Visit app to open it, or Manage followed by the app name to go to its page.
Manage an installed app
In the App catalog, click Installed to see your apps with their status and server. Click one to open its page, or find it under Sites with the 1-Click filter.
| Tab or button | What it does |
|---|---|
| Overview | The address, app version, status, admin username, server and install date. |
| Domains | The app's domains and HTTPS. See Change a site's domain. |
| Logs | The app's runtime logs, filtered by level and source. |
| Settings | Deleting the app. See Delete a site. |
| Stop app / Start app | Stops the app's containers, so it goes offline, or starts them again. |
| Restart app | Restarts the containers, with a brief downtime. |
For WireGuard VPN, the Overview tab offers the client configuration as a download.
Related guides
 Create a serverOrder a new server at your cloud provider from Nuvlo and have it set up with everything your sites need: web server, firewall, security hardening and the software for the projects you plan to host.
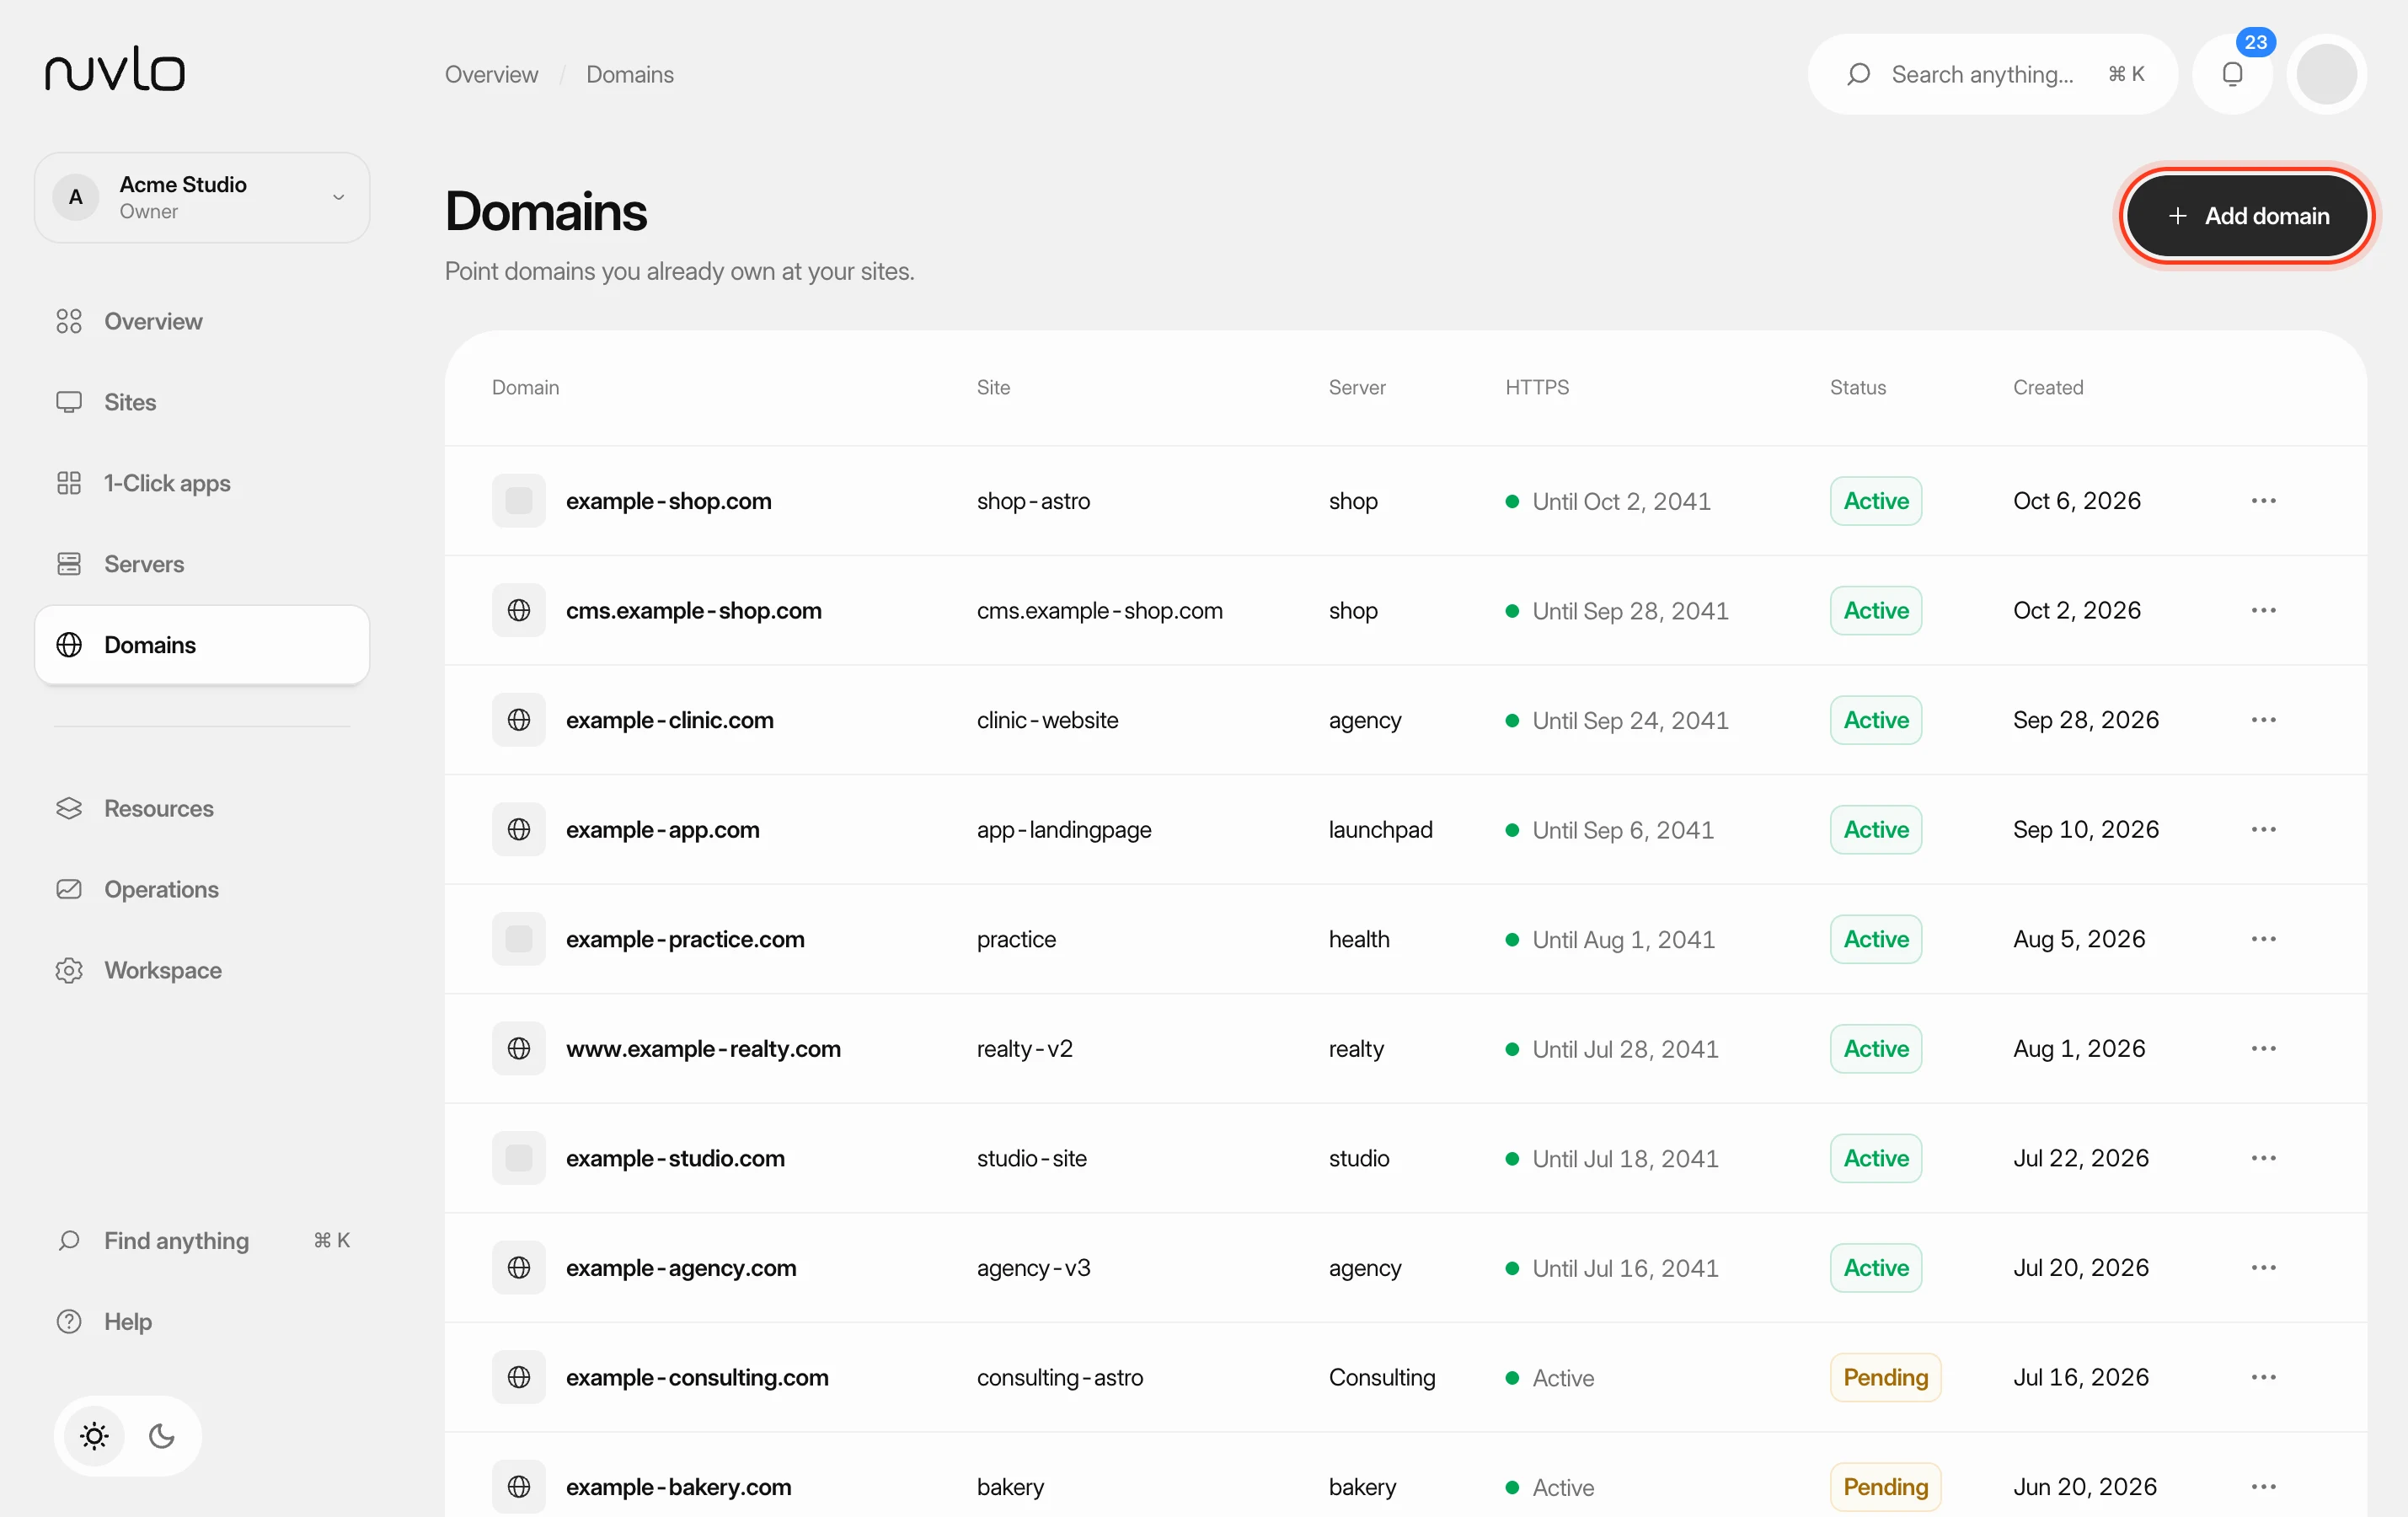 Add a domain to a sitePoint a domain you own at one of your sites. Nuvlo sets up the web server for it and issues a free HTTPS certificate as soon as the domain reaches your server.
 Delete a siteRemove a site, its files, domains and deployment history from its server and from Nuvlo. This can't be undone.