
Invite and manage team members
Invite people to your workspace, choose their role, and change or remove their access later. You can also switch between your own workspace and the teams you belong to.
On this page
Before you start
- A plan with more than one seat. Free and Starter include only you; Pro includes 5 people and Agency is unlimited. Lifetime licenses have their own limits; see Plans and pricing.
- The owner role, or a role that may manage the team. By default that is the owner and admins.
Step 1 Open the Team page
Click Workspace in the sidebar, then Team in the tabs at the top. The page lists everyone with access under Members, followed by Roles & permissions and Recent activity.
Step 2 Name your team
Click Rename team, enter a Team name and click Save team name. People you invite see this name when they join and in their workspace switcher.
Step 3 Invite a member
Click Invite member. Enter the person’s Email address and choose a Role: Admin, Developer or Viewer. New invites start as Developer.
Click Send invite. The person appears in the list with the status Pending until they accept.
Pending invites count toward your plan’s seats. When every seat is taken, the button changes to Get more seats and opens your plan.
What each role can do is explained in Roles and permissions.
Step 4 Let them accept the invite
Someone new to Nuvlo gets an email with a link. They choose a password and join in one go.
Someone who already has a Nuvlo account gets a notification in the dashboard instead. Opening it shows a Join button for your team.
Either way, they must confirm their email address before they can join. Once they do, their status changes to Active. The steps on their side are in Create your account.
An invite expires after 14 days. To send it again, open the actions menu (the three dots) at the end of the row and choose Resend invite. Resending starts a new 14 days.
Step 5 Change a member’s role
In the Role column, pick a new role from the list. The change takes effect immediately.
Step 6 Remove a member
Open the actions menu at the end of the member’s row and choose Remove member. Confirm with Remove member. The person loses access to this workspace’s servers, sites and settings immediately.
ImportantConnections the member made, such as a GitHub sign-in under Integrations, are disconnected with them. Reconnect them if the team still needs them.
To withdraw an invite that hasn’t been accepted yet, remove it the same way.
Switch between workspaces
Your own account is one workspace, and every team you join is another. The current one is shown at the top of the sidebar with your role in it.
Click it to open Switch workspace and choose another. The dashboard then shows that workspace’s sites, servers and settings.
To leave a team, switch to its workspace, open Team and click Leave team. You lose access right away; to come back, someone in the team has to invite you again.
Good to know
- Only the owner can invite admins or make someone an admin.
- You can only change or remove members whose role is below yours. Nobody can change their own role.
- The owner can’t be removed and their role can’t be changed.
- Recent activity at the bottom of the Team page shows the latest changes in the workspace. View full log opens the activity log; see Events and activity.
Related guides
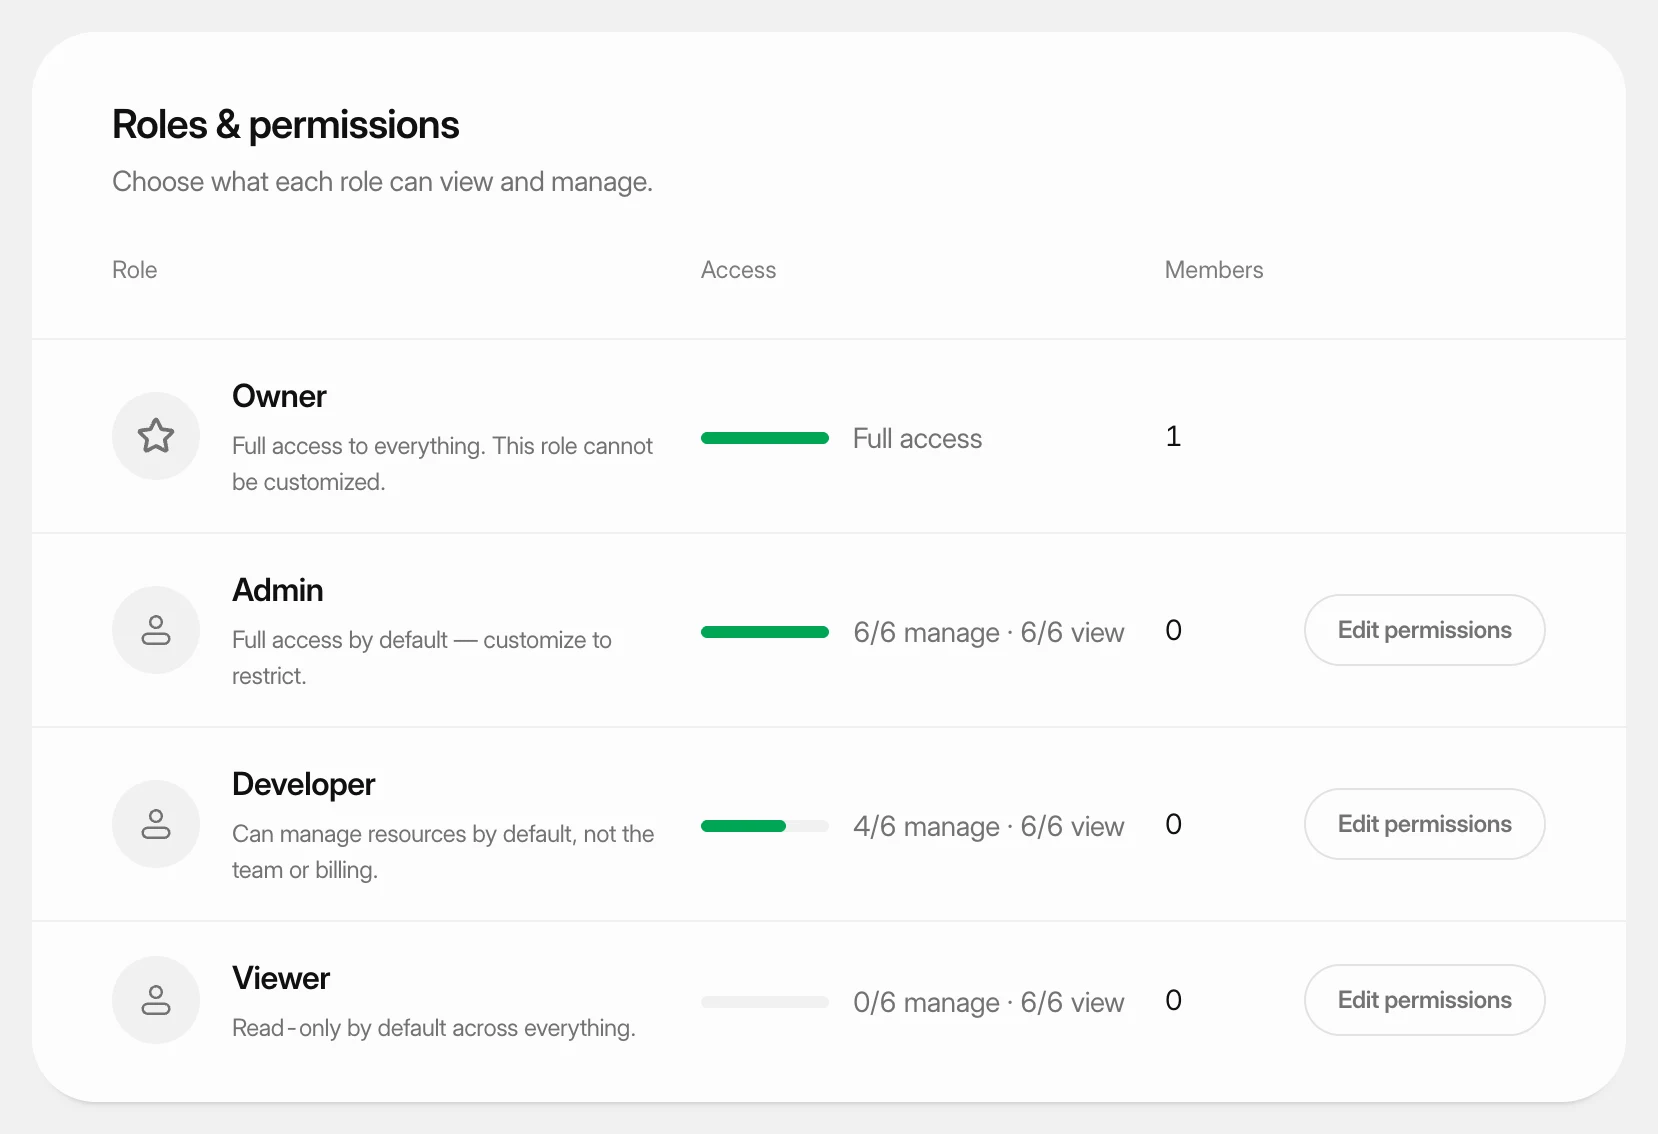 Set what each role can doUnderstand the four team roles and change what the Admin, Developer and Viewer roles may view and manage in your workspace.
- Create your accountSign up with your email address or with GitHub or Google, confirm your email and sign in. This guide also covers resetting a forgotten password and joining a team you were invited to.
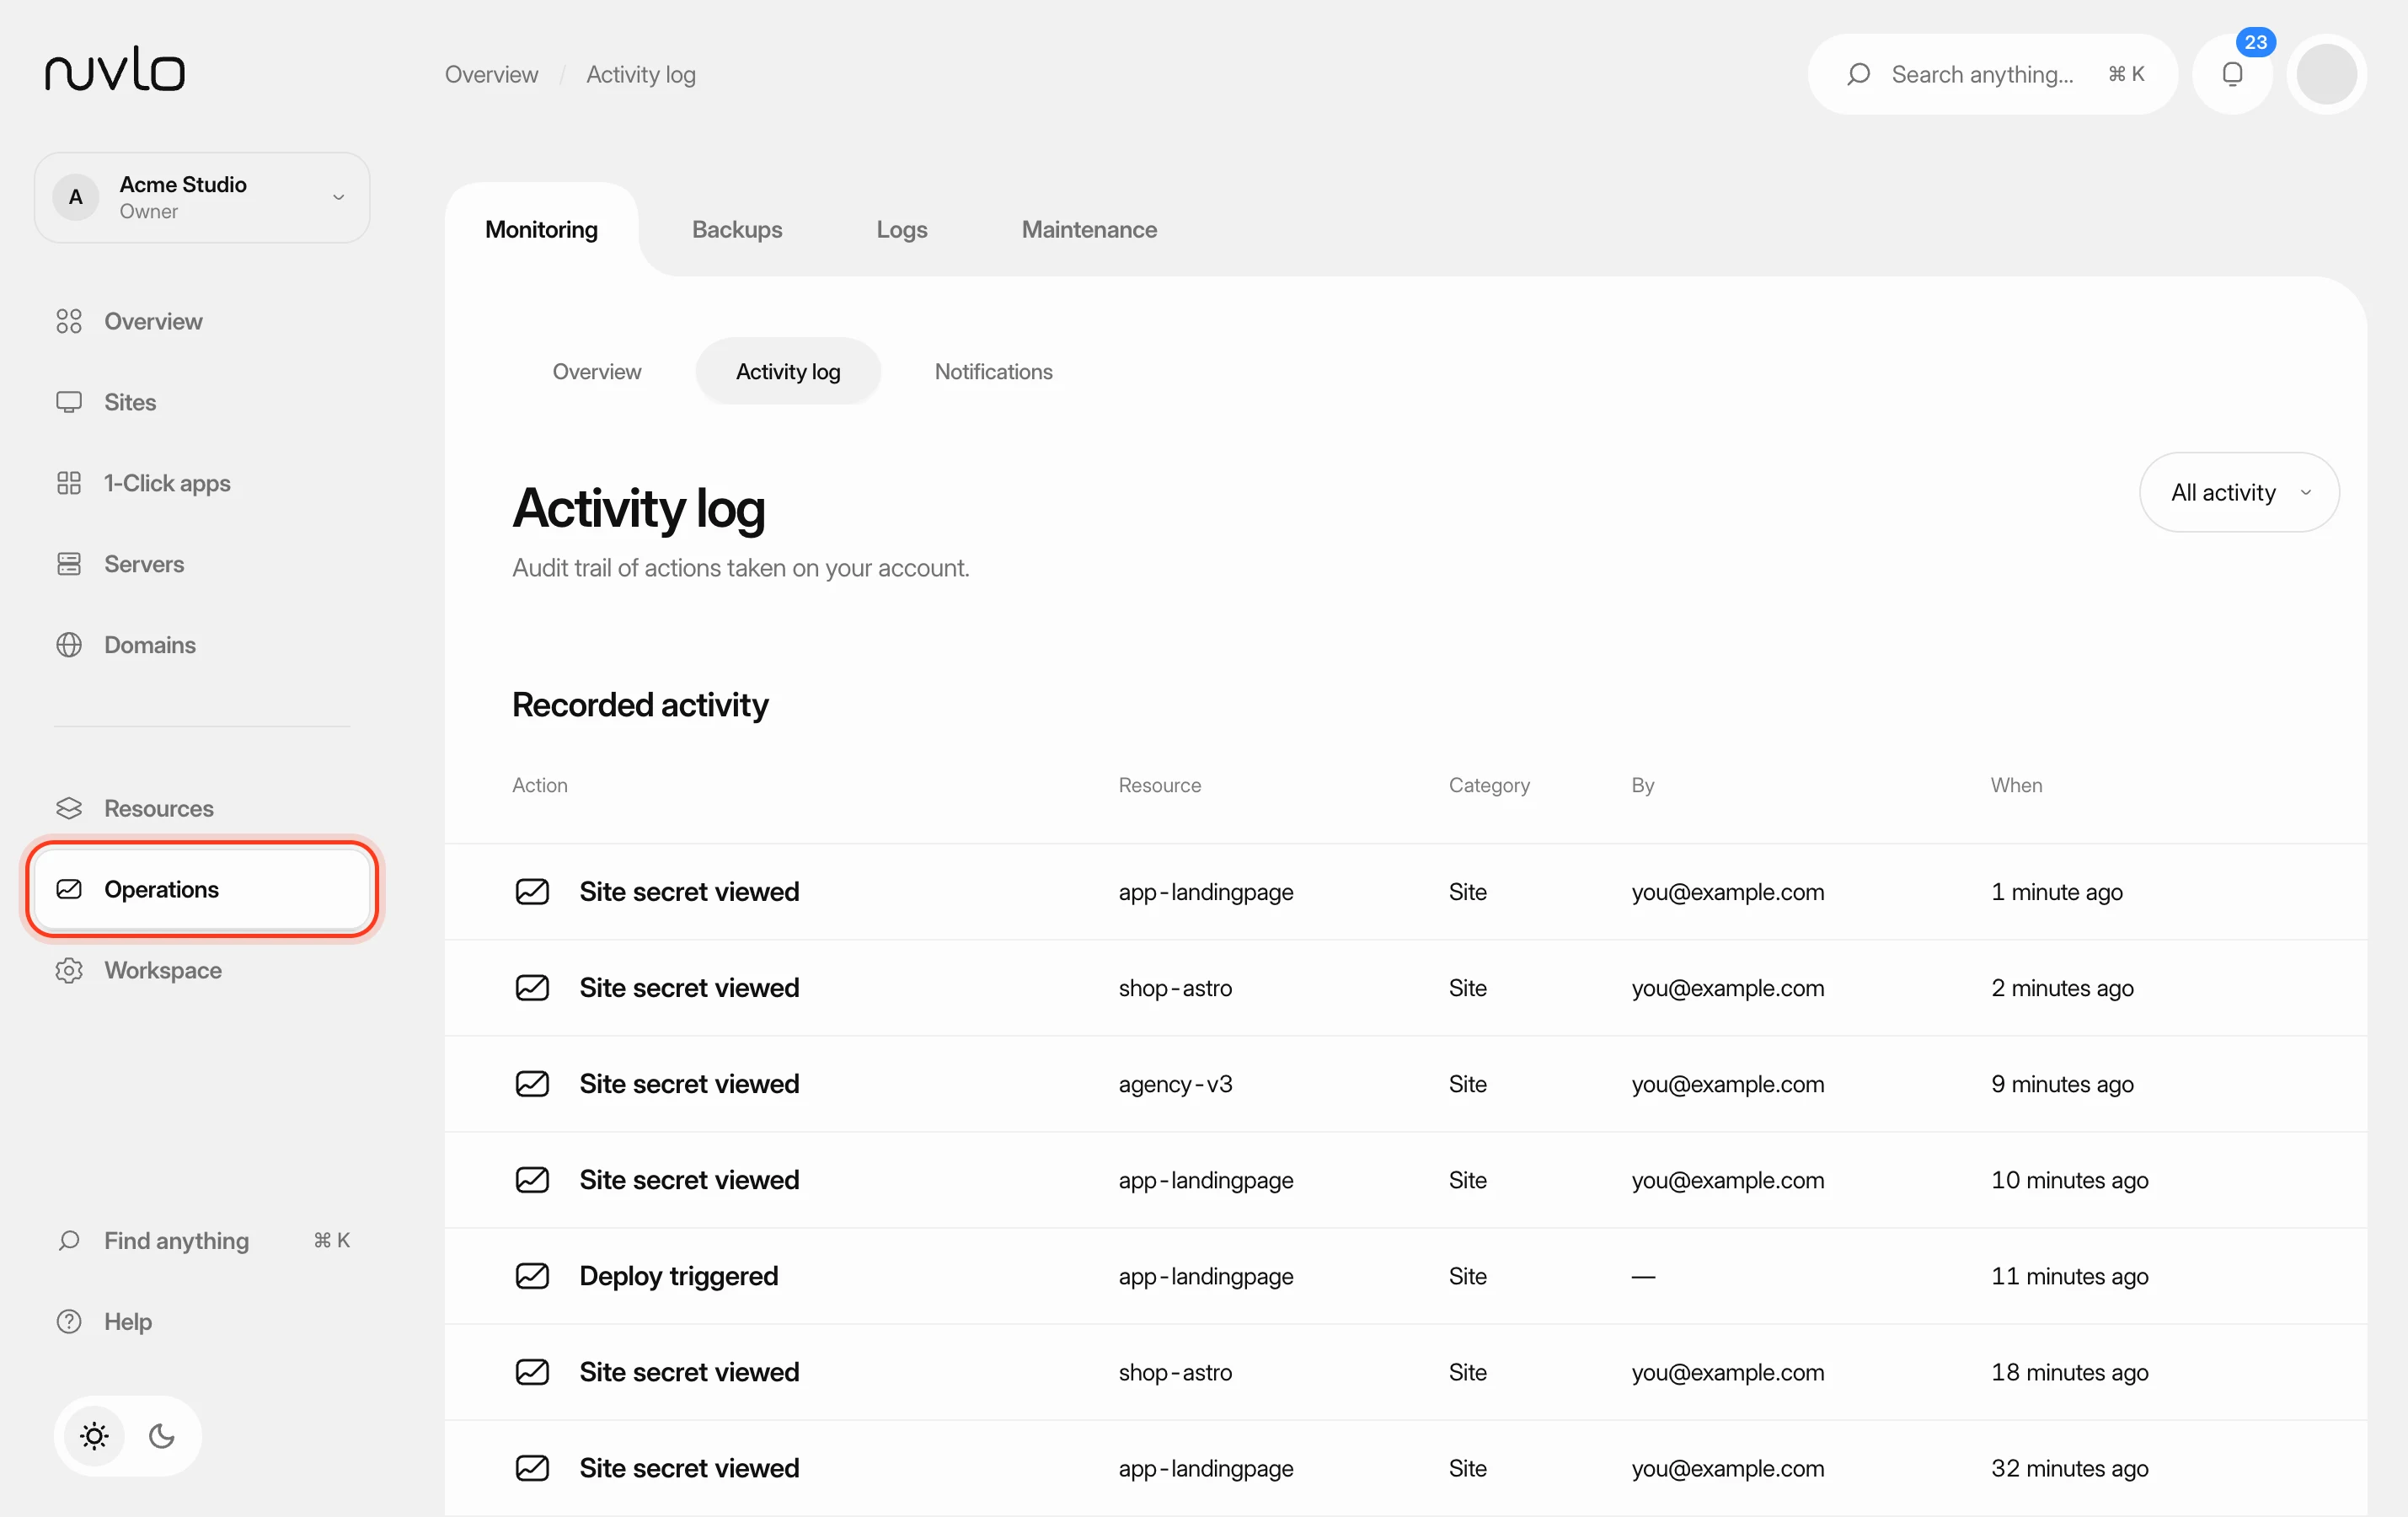 Review the activity logSee who did what in your workspace: deploys, deletions, security changes, server actions and billing events, including actions taken through API tokens and AI agents.
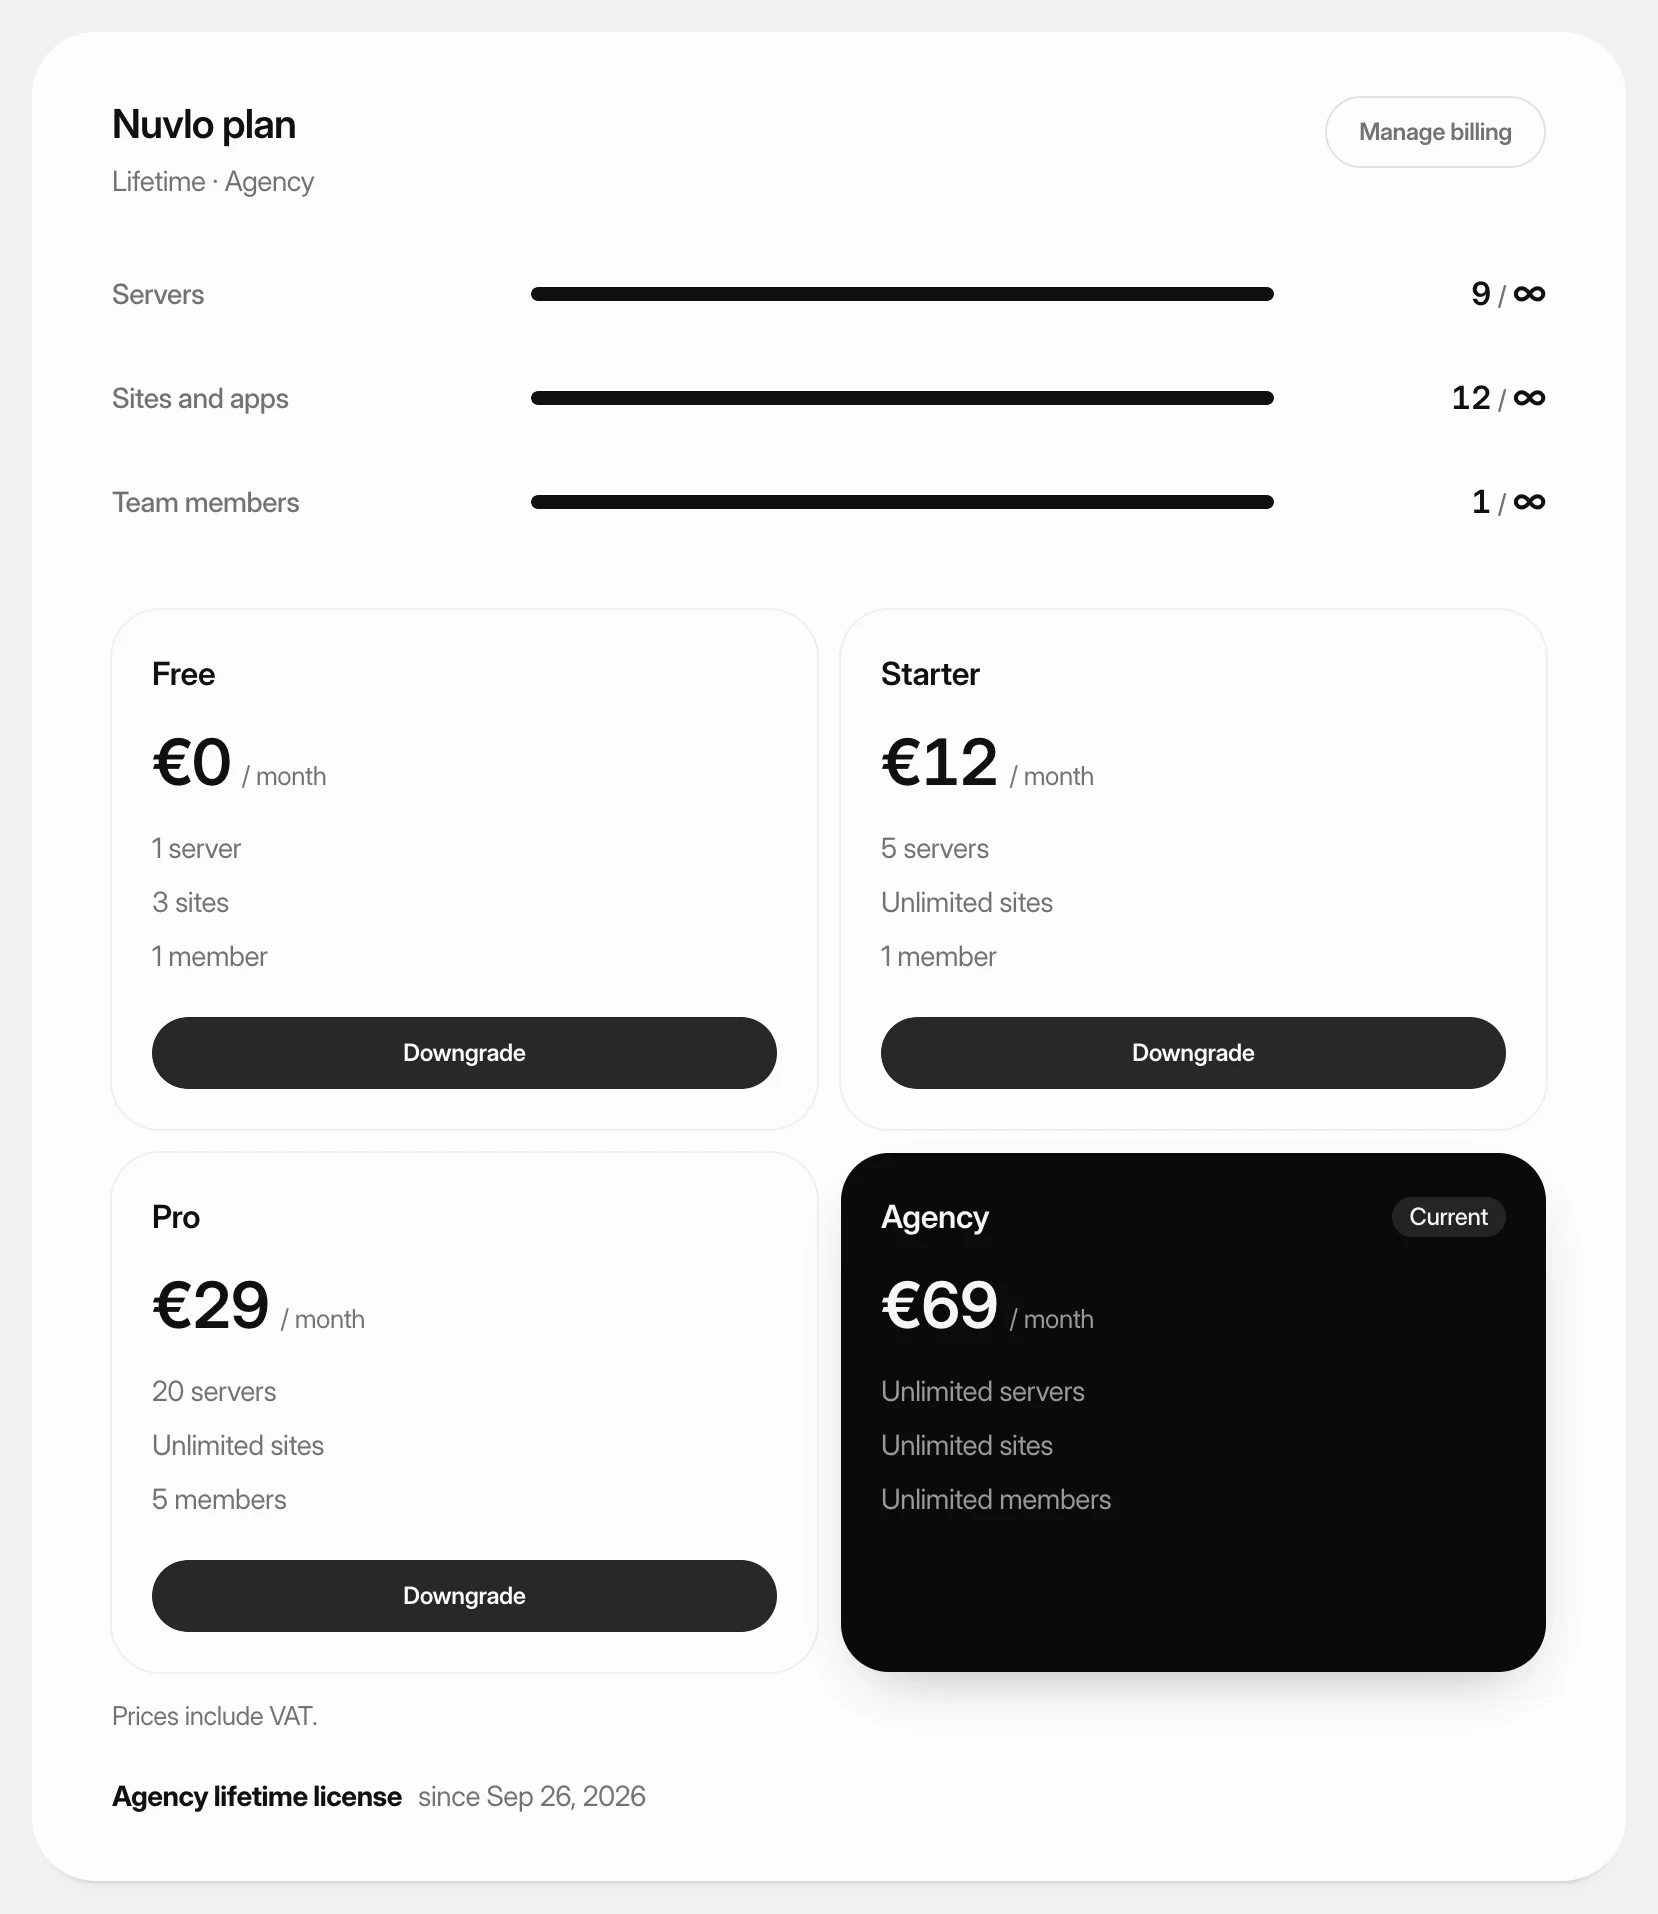 Choose or change your planPick the Nuvlo plan that fits how many servers, sites and team members you run, subscribe to it, and move up or down later.